How to Make the Perfect Lemon Curd Recipe

Here are my step-by-step instructions for Perfect Lemon Curd every time! This recipe uses just 5 ingredients and takes just 15 to 20 minutes to throw together. The end result is a bright, tart, sweet, creamy, luscious lemon curd that will go with all your desserts, cakes, tarts, pies, cookies and more!
This post may contain affiliate links. Please read my disclosure policy.

I created this Perfect Lemon Curd Recipe because my daughter, Stella, told me my curd recipe in The Cookie Book was too complicated. ;) I set out to create a recipe that was quick (this is so quick), simplified (it is!), uses minimal ingredients and has lots of bright flavor.

I am very excited to finally be sharing this recipe with you!

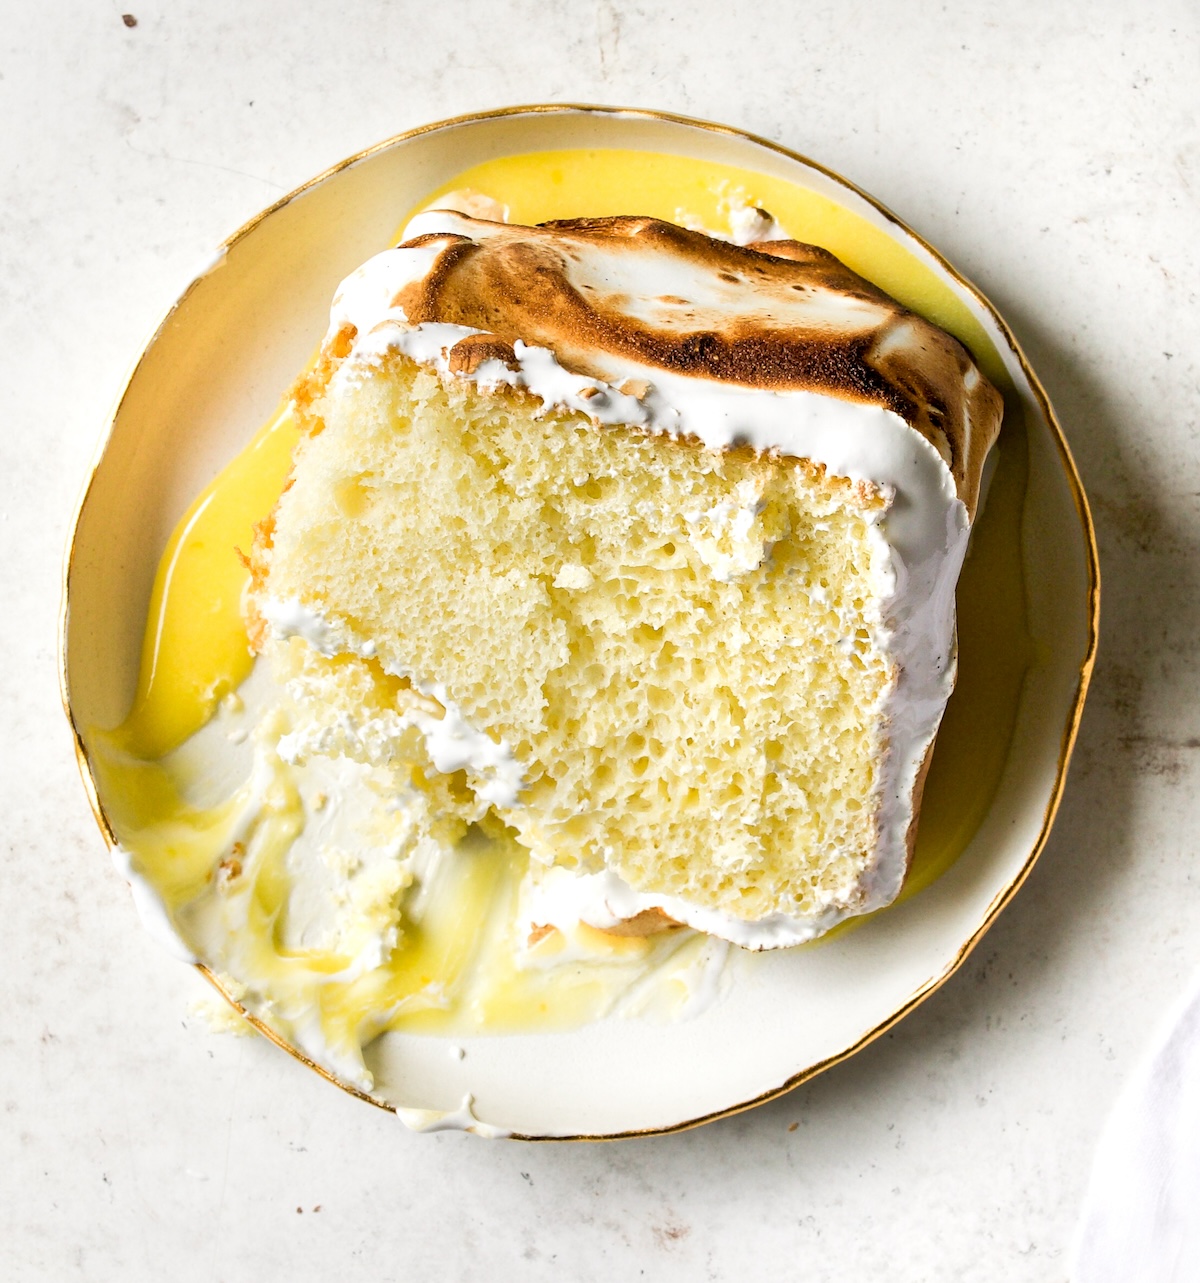
The push to finally share this homemade lemon curd recipe was this Lemon Meringue Cake that you will seriously swoon over (I hope you’ll make it!). This is my favorite cake to serve with a big schmear of lemon curd on the plate before adding a slice of fluffy chiffon cake (it’s the best, see photo below).

But classic lemon curd has many many uses. You can make this Flaky Danish Recipe and add a big glossy spoonful of lemon curd to the center. It’s also great with Raspberry Muffins (or these Blueberry Muffins).

You can also try it with these Crispy French Meringues, my favorite Fluffy Buttermilk Pancakes, add it to these Hand Pie Pastries, serve with French toast, swirl it it Perfect Whipped Cream, on top of vanilla ice cream, use it in this Lemon Tart, use between cake layers, add it to this Lemon Gelato (for even more lemon flavor)…the possibilities are endless!

A glass bowl with lemon curd, a jar with curd on a white surface.

Why You Should Make This Bight Lemon Curd Recipe

  • It’s bright, citrusy, lemony and smooth
  • Amazing silky texture
  • The intense tart lemon flavor makes this the ultimate sweet-tart dessert
  • Takes just 15 to 20 minutes to make (start to finish!)
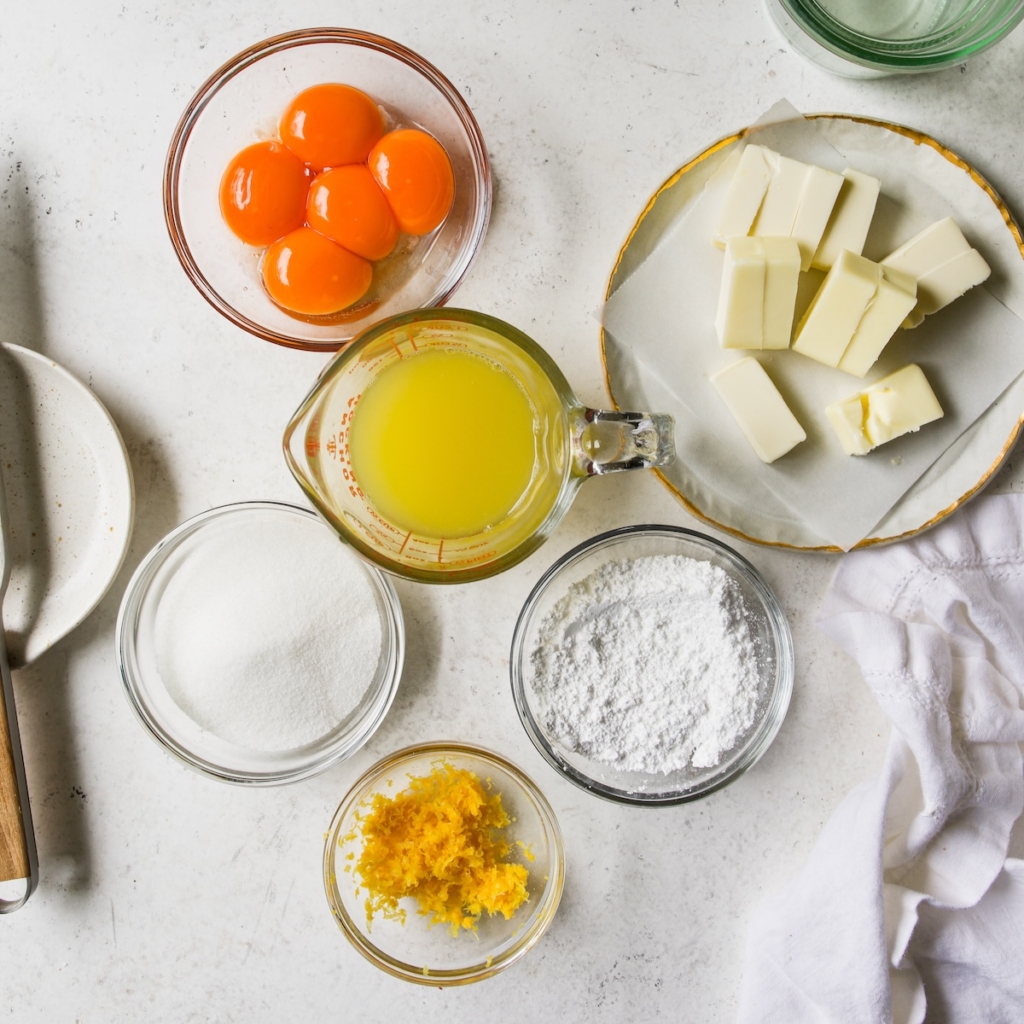
  • Uses only 5 simple ingredients (sugar, confectioners sugar, eggs, lemons and butter; and no corn starch!)
  • Great with scones, muffins, cakes, pies and cookies!

Let’s make my favorite homemade lemon curd recipe!

Curd being poured from a glass bowl into a glass jar.

Step-by-Step Instructions (with photos!) to Make 
Perfect Lemon Curd

Below are step-by-step photos (with captions) to make THE BEST Homemade Lemon Curd perfect every time! My biggest tips are:

  • Start With Juicy Fresh Lemons. If you start with really ripe lemons, you’ll need about four medium-sized ones, you’ll end up with a really bright, lemony curd.
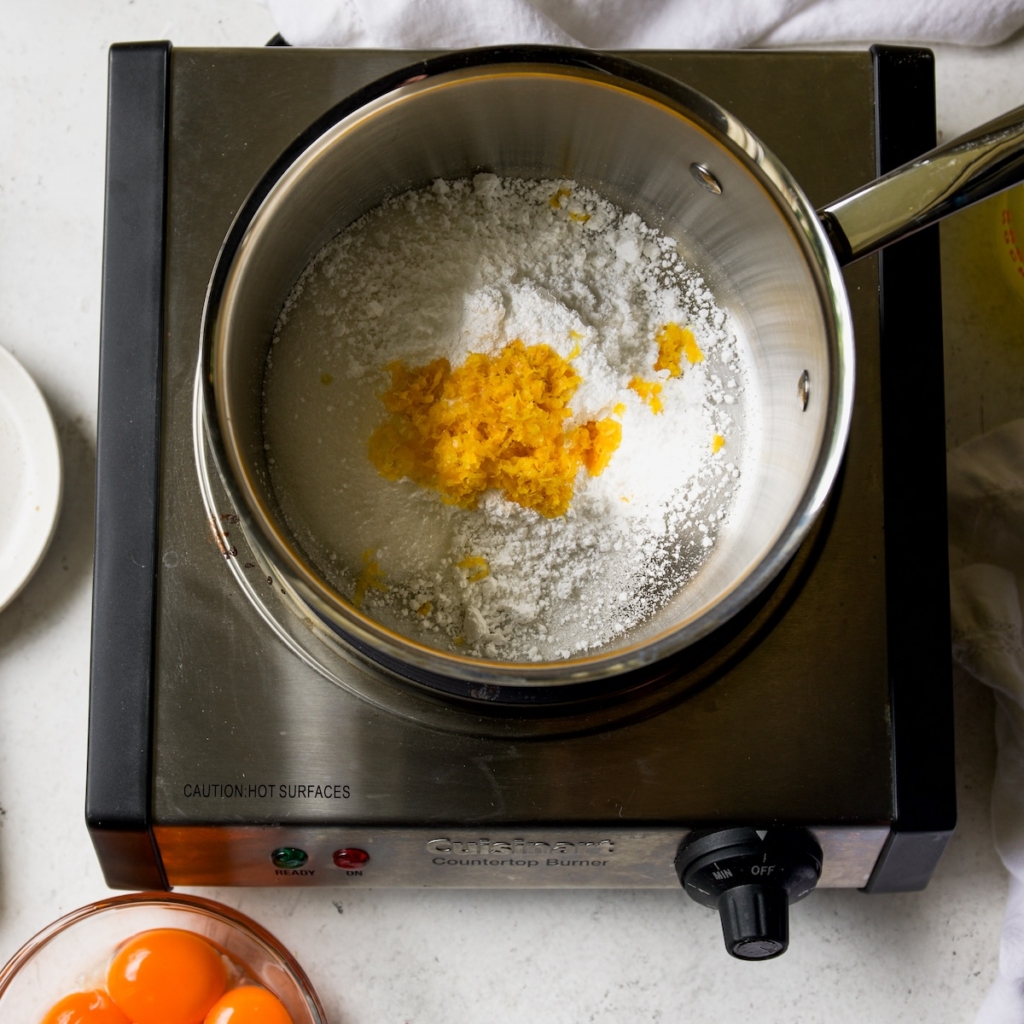
  • Make Sure You Really Combine Ingredients in the Beginning. When you’re whisking together the sugars and zest (and then again when you’re whisking in the egg yolks), make sure you combine all of the ingredients into a smooth, cohesive mixture. Leave no speck of sugar behind. 😉
  • Keep Whisking and Then Whisk Some More! Slowly whisk in the fresh lemon juice and then keep whisking over low heat until the curd starts to thicken. Don’t turn the heat up, as that can change the texture (it won’t be smooth).
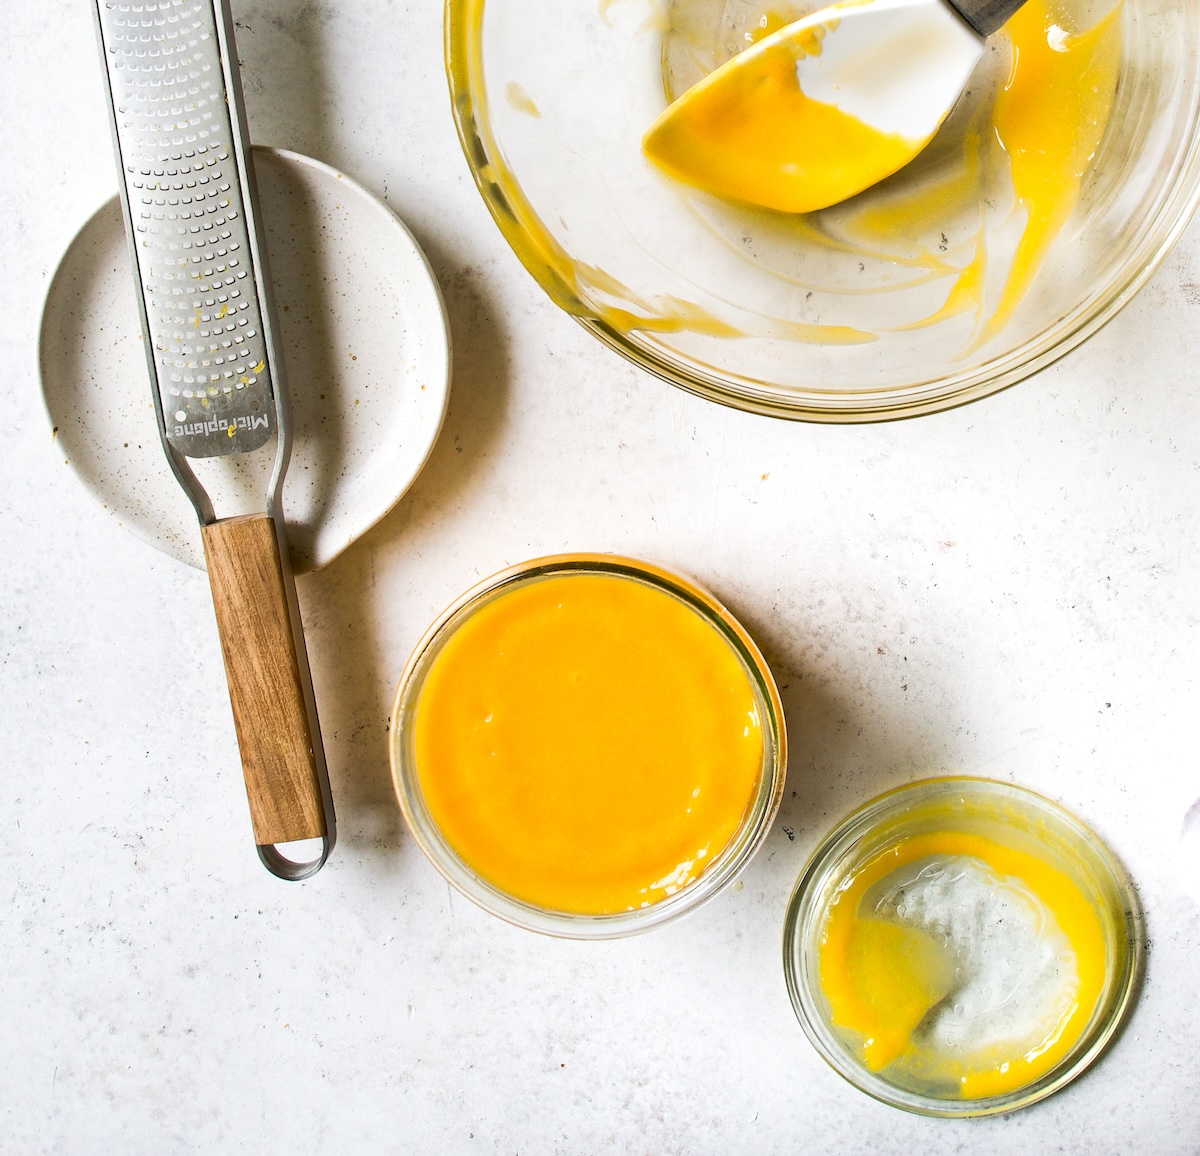
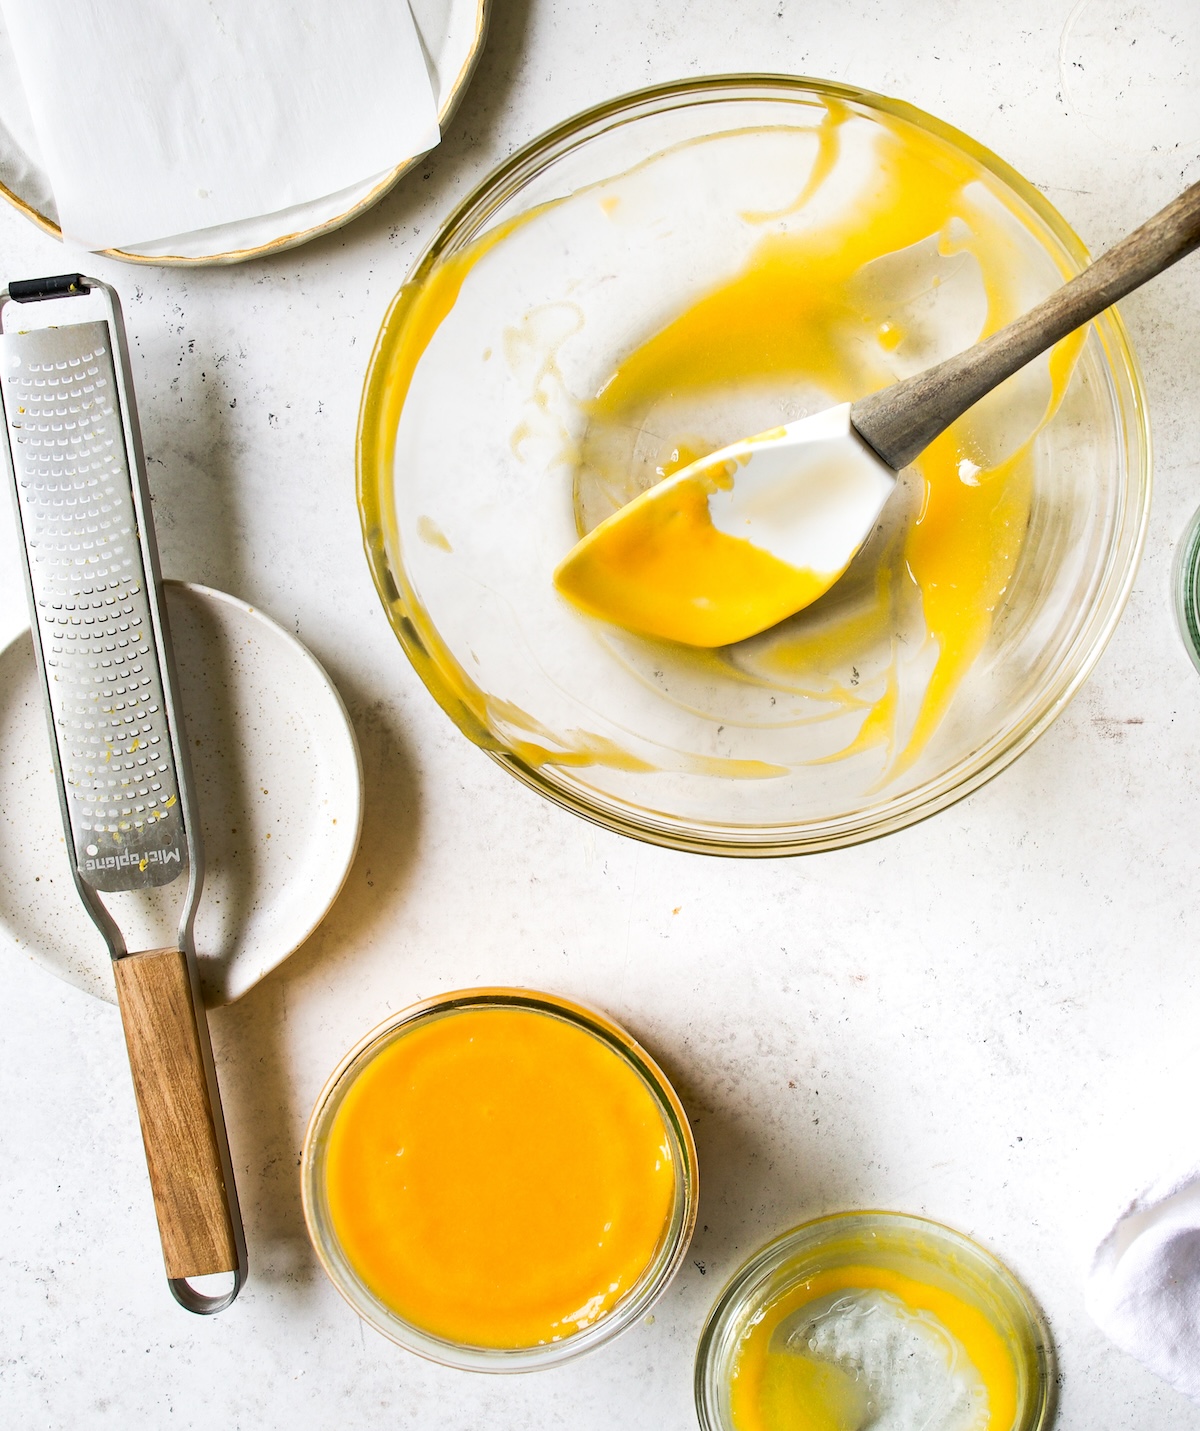
  • Ideally, Use a Fine Mesh Sieve. I use mine first when I’m juicing the lemons (to keep seeds and excess pulp out) and then again once it’s done. This second step will create an extra smooth and creamy lemon curd.

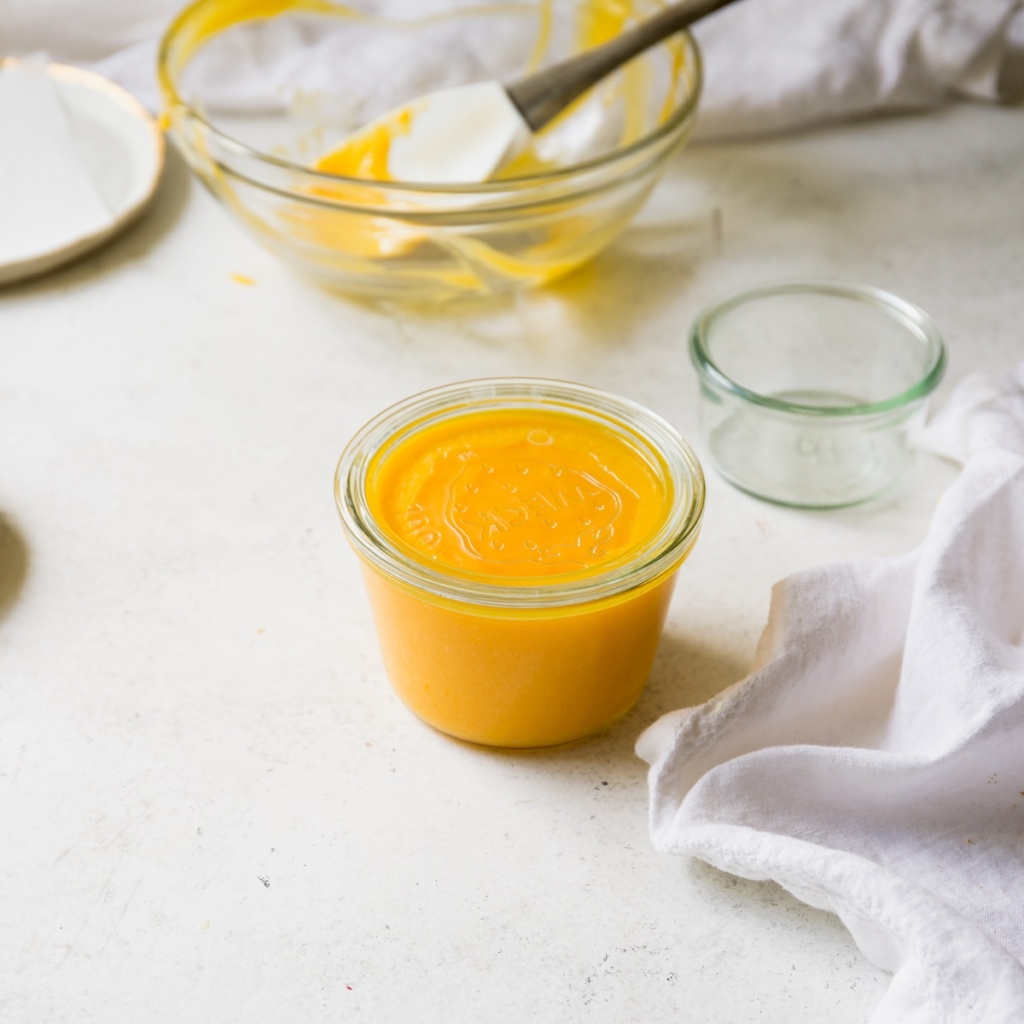
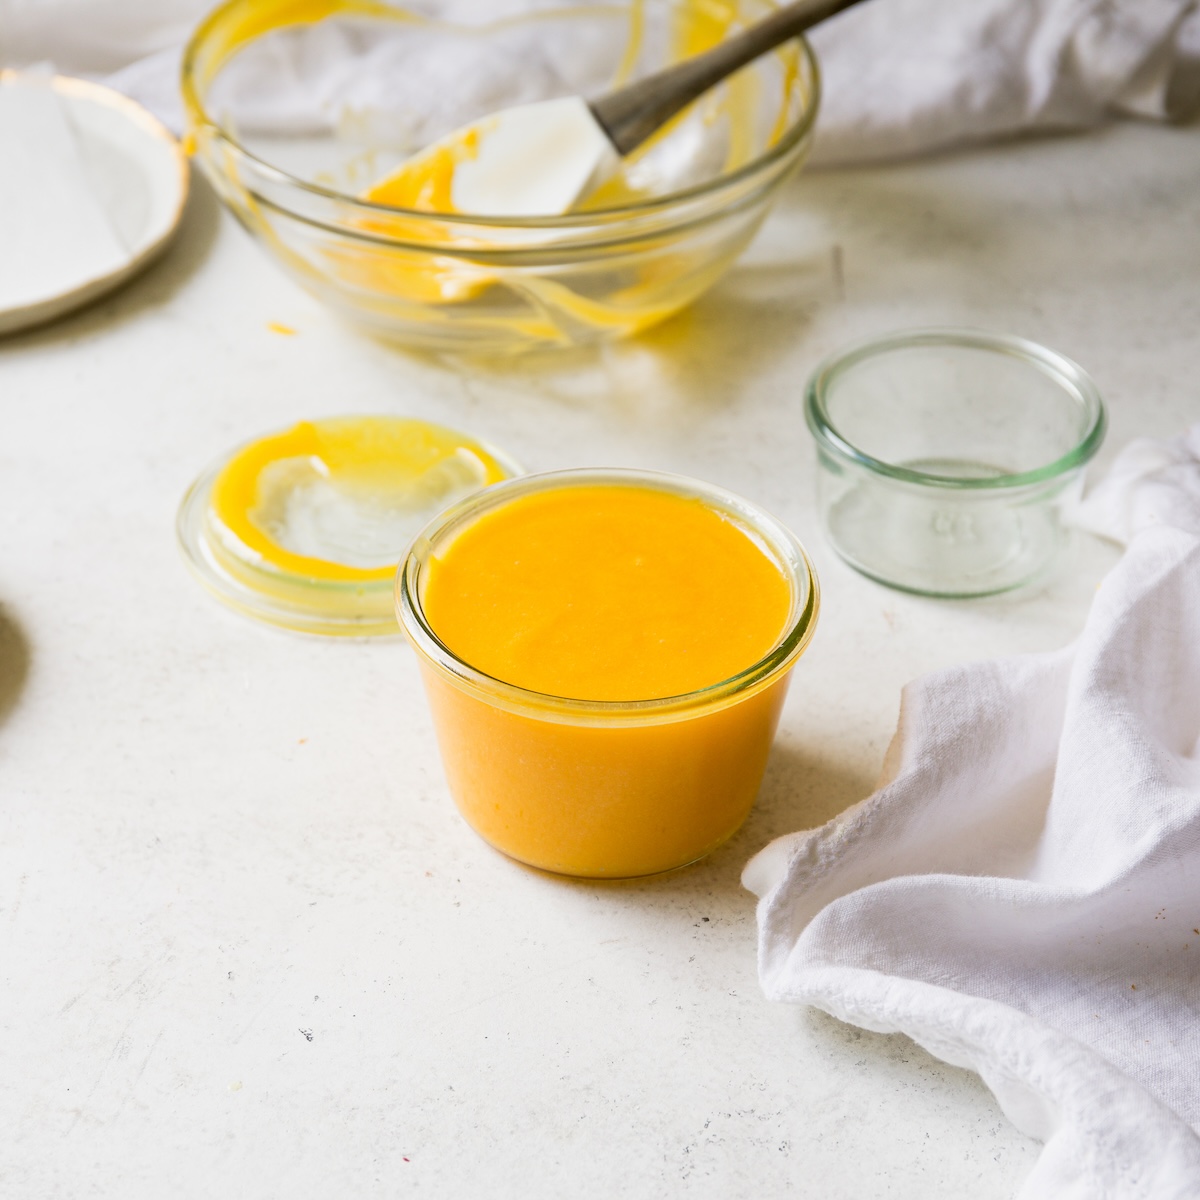
Let’s make some bright, sunny, smooth and creamy lemon curd!

All of the ingredients you need to make lemon curd.
STEP ONE: Gather your ingredients: granulated sugar, confectioners’ sugar (also called 10x, icing sugar, powdered sugar), lemon zest, egg yolks, fresh lemon juice and butter.
A saucepan with sugar and lemon zest.
STEP TWO: Add the sugar, confectioners’ sugar and zest to a medium heavy-bottomed saucepan and whisk until thoroughly combined. Don’t turn on the burner just yet.
Whisking the eggs into the sugar and zest and in saucepan.
STEP THREE: Whisk in the eggs until a smooth paste forms. Make sure everything is completely combined and the saucepan is still cold.
A saucepan with eggs and sugar and a whisk in it.
STEP FOUR: Slowly pour in the lemon juice, whisking to combine into a well-blended sauce (if you will). Over low heat continue whisking for 10 to 15 minutes or until the curd starts to thicken and coats the back of a spoon. See Note below recipe regarding the stove-top temperature.
A piece of butter in hot lemon curd in a saucepan on a white background.
STEP FIVE: Add the butter to the curd and whisk until completely melted and blended.
Pouring lemon curd through a fine-mesh sieve.
STEP SIX: Strain through a fine mesh strainer (sieve), if using, into a small bowl. This optional step yields the best texture and consistency.
Lemon curd being poured from a glass bowl into a glass jar.
STEP SEVEN: Immediately pour the curd into storage containers and cover. If the lid doesn’t sit directly on top of the curd, place a piece plastic wrap over the surface of the curd so a ‘skin’ doesn’t develop.
Lemon curd in a lidded container.
STEP SEVEN: She’s done! Store in the fridge for at least 3 hours prior to using. The lemon curd will be loose while warm and firm up as it cools.
A slice of lemon meringue cake on a white plate on a white background.
Note that the lemon curd used in this Lemon Meringue Cake above was made with different eggs than the lemon curd featured in the remaining photos. The yolks used for the lemon curd photos were very orange and yielded a bright, vibrant lemon curd!
A glass bowl with remnants of lemon curd and a jar of lemon curd on a white surface.

Shop this Easy Lemon Curd Recipe
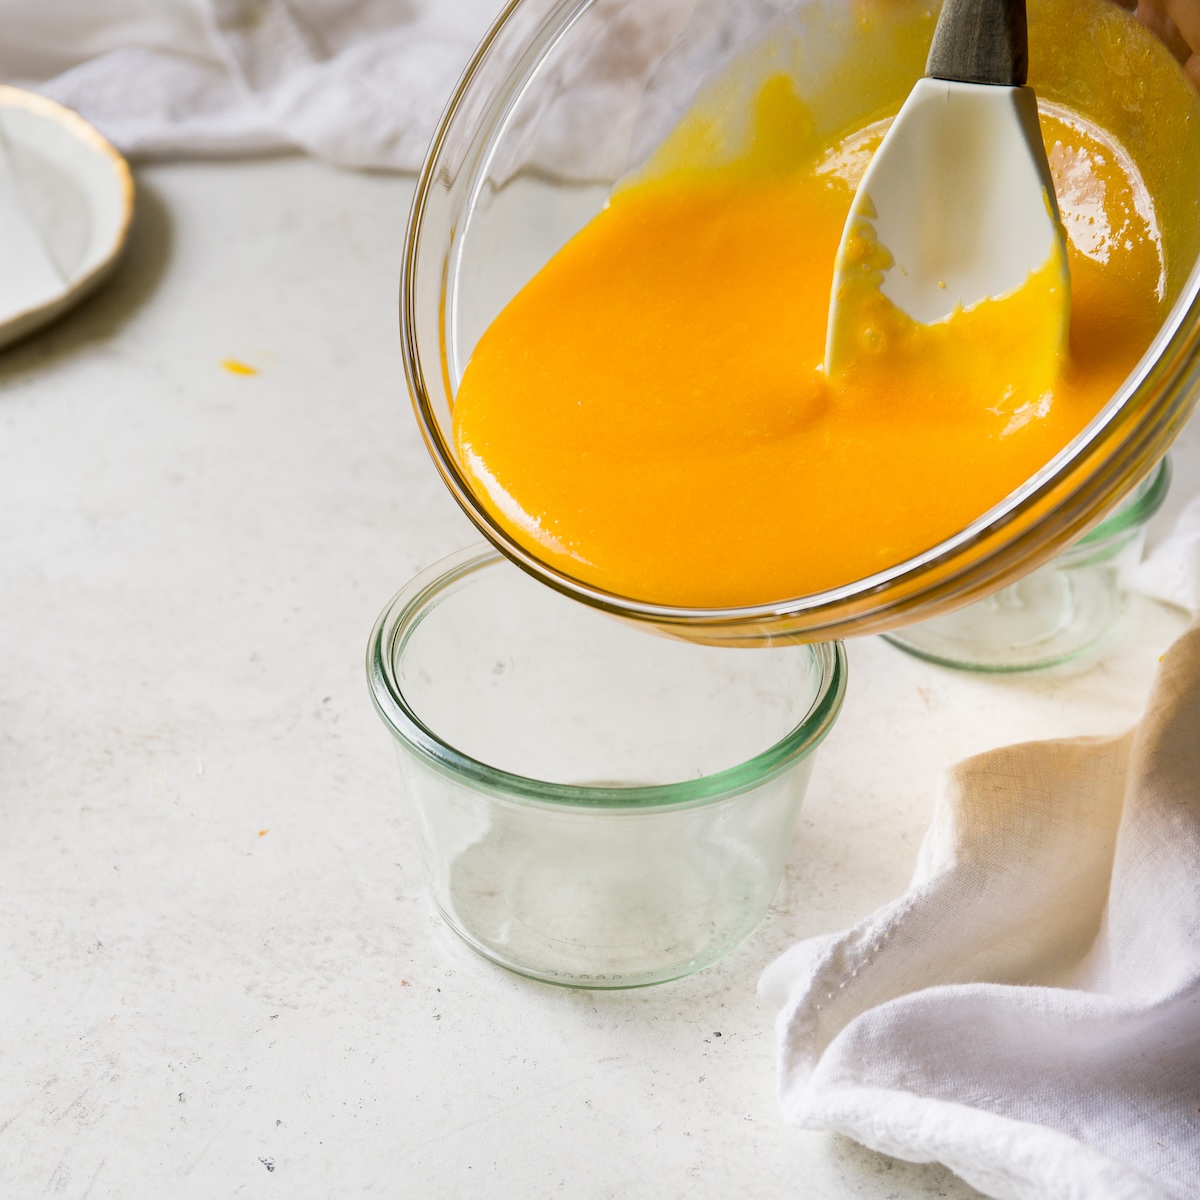
whisk and you’ll also need a spatula to scoop the curd into jars

My trusty scale for precision

These heat-safe nesting glass bowls for straining the curd into

A fine-mesh sieve for the smoothest curd

Liquid measuring cups for the lemon juice

Weck jars for storage

For more fun shopping, check out my Shop (aka my favorite things!).

A jar of yellow stuff on a white surface..

More Lemon Recipes!

You have to try this delicious lemon curd with my Lemon Meringue Cake!

You’ll also love these lemon desserts: Tropical Pineapple Coconut Cake, Raspberry Muffins with Streusel, Lemon Olive Oil Cake, Homemade Blueberry Muffins or these Strawberry Cream Scones!

Enjoy the best lemon curd!

Rebecca Firth

How to Make the Perfect Lemon Curd Recipe

Here are my step-by-step instructions for Perfect Lemon Curd every time! This recipe uses just 5 ingredients and takes just 15 to 20 minutes to throw together. The end result is a bright, tart, sweet, creamy, luscious lemon curd that will go with all your desserts, cakes, tarts, pies, cookies and more!
Be the first to rate this recipe!
Print Save Rate
Prep Time: 5 minutes
Cook Time: 10 minutes
Course: Dessert
Cuisine: Curd
Keyword: Lemon Curd, Lemons, Homemade, Recipe
Servings: 2 Cups

Ingredients

  • 1/2 cup (100 g) granulated sugar
  • 1/4 cup (30 g) confectioners’ sugar
  • 3 tablespoons (6 g) lemon zest
  • 5 large yolks
  • 1/2 cup (112 g) fresh lemon juice
  • 8 tablespoons (113 g) unsalted butter

Instructions

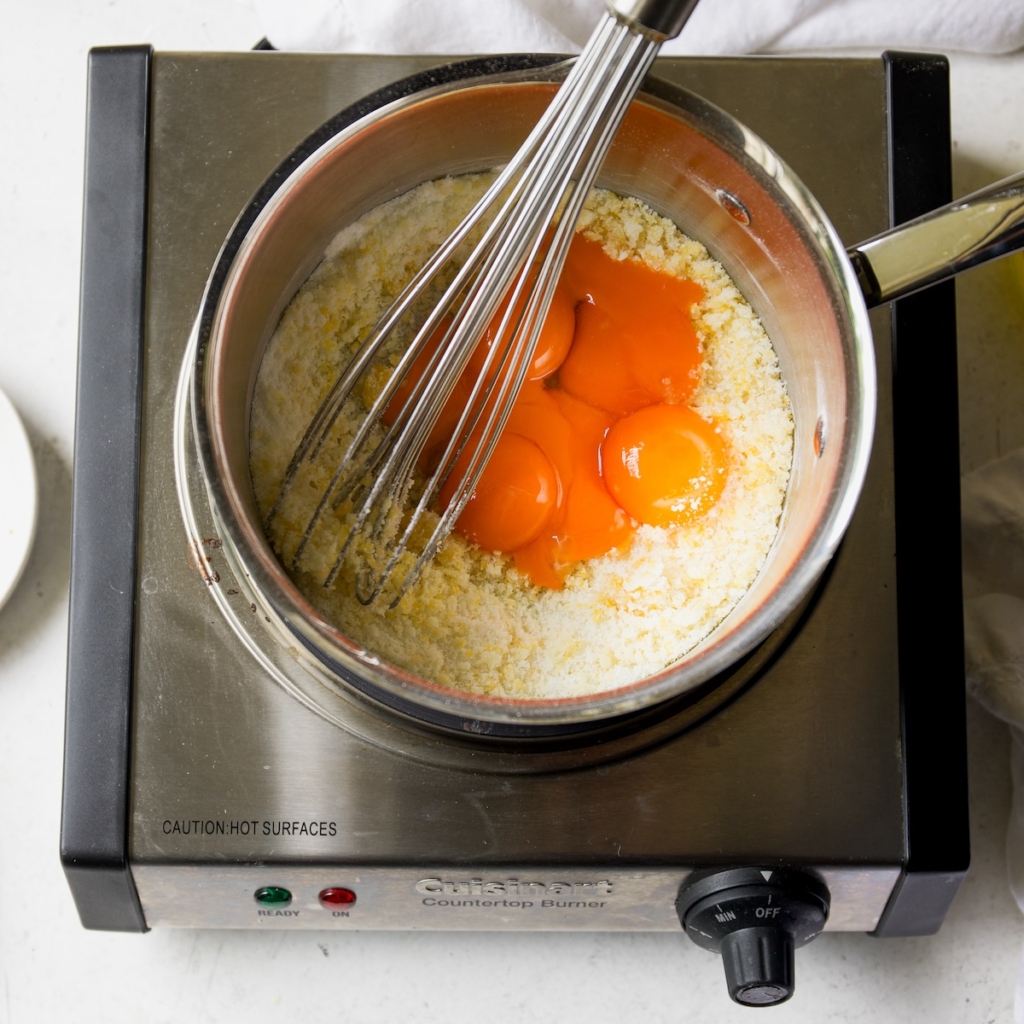
  • To a medium (2-quart) saucepan, add the granulated sugar, confectioners sugar and lemon zest whisking to combine.
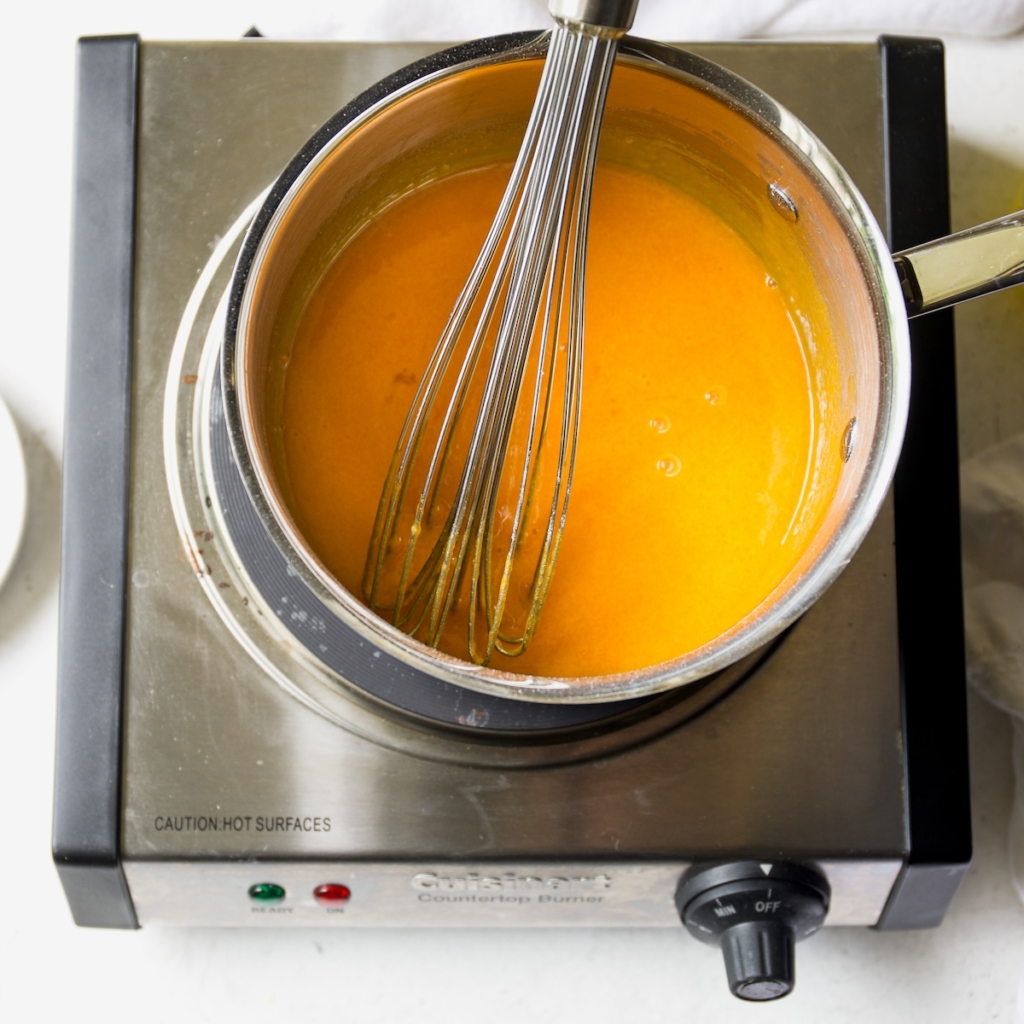
  • Whisk in the egg yolks until a thick paste forms and then slowly pour in the lemon juice, continuing to whisk all the while. Place the saucepan over low heat (see note below recipe regarding temperature) and whisk for 10 to 15 minutes or until the curd starts to thicken and coats the back of a spoon. Resist the temptation of turning up the heat as it will yield a curd that isn't smooth and fabulous.
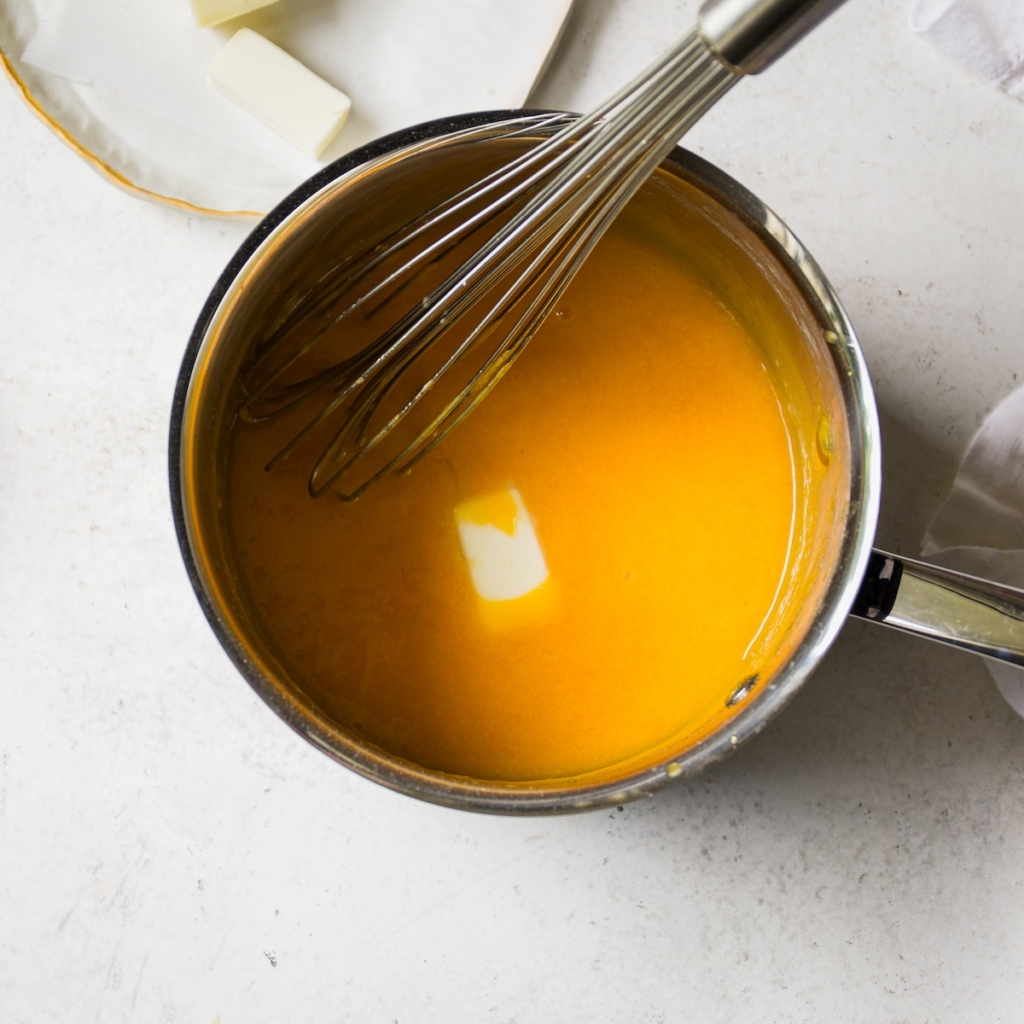
  • Once it has started thickening, take it off of the heat and whisk in the butter.
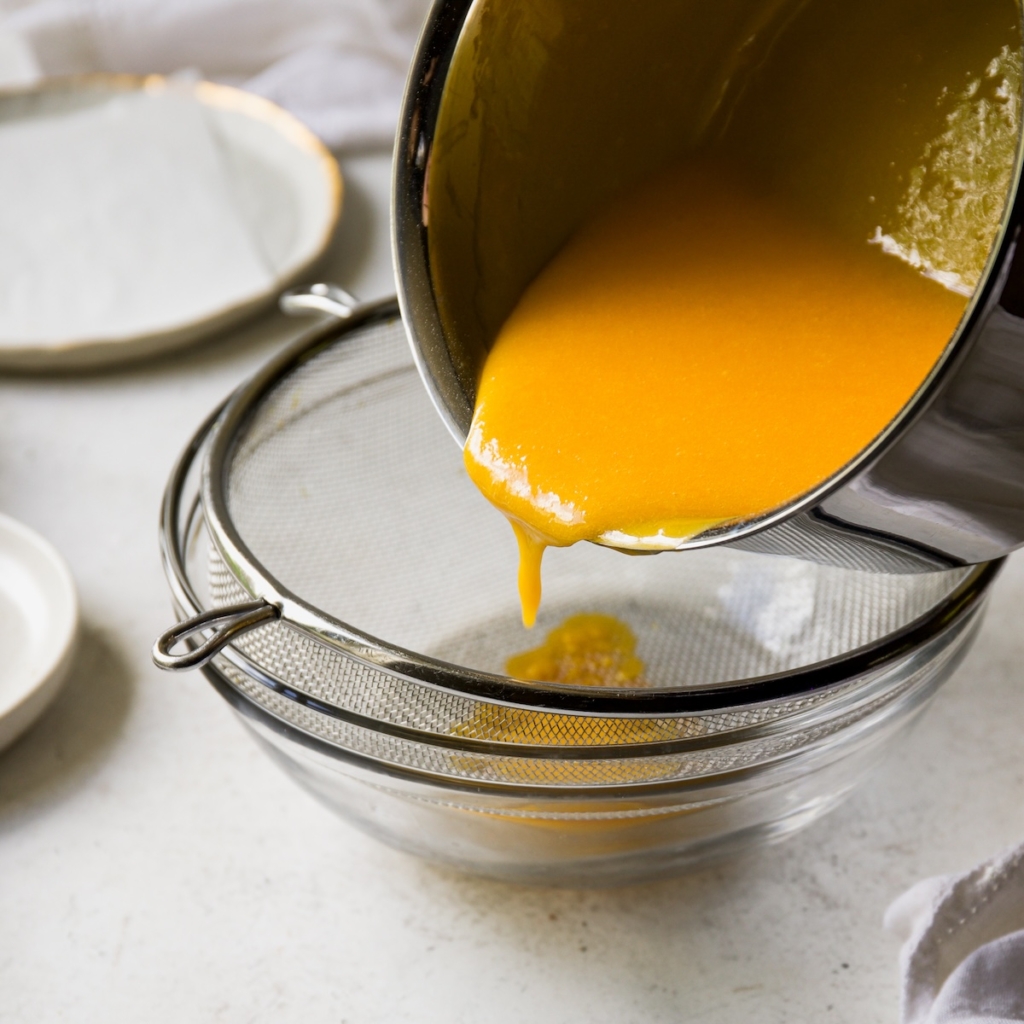
  • Ideally, pour through a fine-mesh sieve (if you have one) and then into a lidded airtight container. Place a layer of plastic wrap directly over the top so that it doesn't form a 'skin' (once thoroughly chilled you can remove and discard the covering). Chill in the fridge for at least 3 to 4 hours before using.

Notes

Zesting Lemons

Always zest your lemons before you cut and juice them.

Juicing Lemons

Room-temperature lemons will yield more juice. Also, rolling the lemons on the counter will help them release more juice.
Please don’t be tempted by bottled lemon juice, it just doesn’t yield the same delicious lemon flavor as fresh lemons.

Using Other Citrus

I wouldn’t substitute Meyer lemons in this recipe as they tend to be sweeter and would need less sugar. However, limes would be great here.

Heat Tips for Cooking Your Lemon Curd

This recipe is meant to be cooked low and slow. Resist the urge to turn up the heat. 
However, if your stovetop runs cool or if after 10 minutes you haven’t seen any thickening, then increase to medium-low heat. You don’t want the curd to come to a boil, so keep the heat to where the curd is steaming, but not bubbling.

Using a Thermometer

It isn’t necessary to use an instant-read thermometer with this recipe. If you follow the visual cues and times given, your curd will turn out perfect.
If you’re someone who loves a good thermometer moment, you’ll want your curd to reach 165°F to 170°F (74°C to 77°C) before taking it off of the stovetop and whisking in the butter.

Storing Lemon Curd

Stored in an airtight container your lemon curd will last for about 2 weeks in the refrigerator. I love to store lemon curd in a glass mason jar or the Weck jars listed above in the Shopping section above the recipe.
You can also freeze the homemade lemon curd for up to two months. Defrost in the fridge overnight.

Wondering What To Do With Your Leftover Egg Whites?

You could make Chocolate Pavlova (my favorite), this Lemon Meringue Cake, Crispy French Meringues or Soft, Toasted Meringue!
Enjoy your batch of homemade lemon curd!
Thanks for baking with me! Please rate + comment this recipe and tag me on social @displacedhousewife #displacedhousewife so I can see your beautiful treats! xo

Comments

Leave a Comment & Rate this Recipe

I love your comments, reviews and questions! If you love this recipe, please rate it when you leave a comment. Star ratings 🌟🌟🌟🌟🌟 help people discover my recipes. Your support means a lot, I look forward to chatting with you!

Rebecca xox

Rate the Recipe:


No Comments