
As I write this post, my sourdough starter is sitting on the counter in the kitchen growing and getting bubbly so I can mix together the dough for The Best Overnight Sourdough Bagels to bake off in the morning. Heaven.
I love breakfast baking recipes (they’re my jam). Check out all of my breakfast baking recipes and also my How to Make a Sourdough Starter tutorial if you need a refresher before you get started.
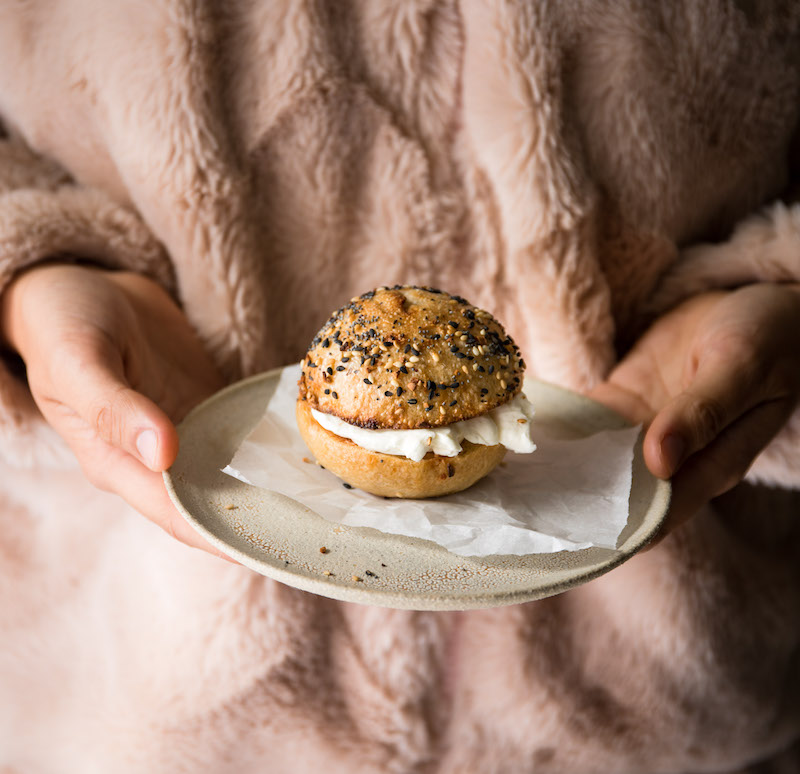
Have fun with these overnight sourdough bagels!
About This Sourdough Bagel Recipe
This recipe comes from Emilie Raffa‘s book Artisan Sourdough Made Simple (she calls them Sunday Morning Bagels in her book) and she has graciously allowed me to share her recipe with you. I have talked about this cookbook A LOT — I love it so much!
If you love sourdough, want more sourdough recipes, want to get started with sourdough or are just sourdough curious ;) I cannot recommend it enough!!
This is a pretty straight-forward recipe that turns out amazing every time. The key to its success is making sure you have a robust starter that is rising and falling predictably and has lots of large and small bubble development.
Using a Sourdough Starter
I have my guide for making a sourdough starter here if you need to get one going (and I highly recommend you do!!). If you have a starter going, use it once it has doubled (or more) in size with lots of bubbles.
I like to use mine when it’s reached its peak and you can continue to use it even once it’s fallen a bit.
*IF* your starter isn’t super robust, you can throw a teaspoon of store-bought yeast in with your starter and the warm water. That will give you the taste of sourdough with the added insurance of store-bought yeast making sure everything rises properly.
This is something I did during my early days of sourdough baking years ago. And it works!
I am loving sourdough baking more than ever right now! It’s incredibly cathartic and relaxing and best of all, you don’t have to leave the house to have warm bagels in the morning. This is definitely a lemon-lemonade scenario.
What You Need to Make Awesome Bagels
You’ll Need a Scale
Baking bread with a scale is so helpful, this is the one I use if you’re in the market. Otherwise, the cup measurements are also listed below!
A Happy Sourdough Starter
You can check out my sourdough starter guide here or you can call a local bakery and ask if they would share some of their sourdough starter with you (most are happy too do so!) if you can’t be bothered.
As mentioned above, you want a bubbly active starter that has doubled in size and has lots of large and small bubble development.
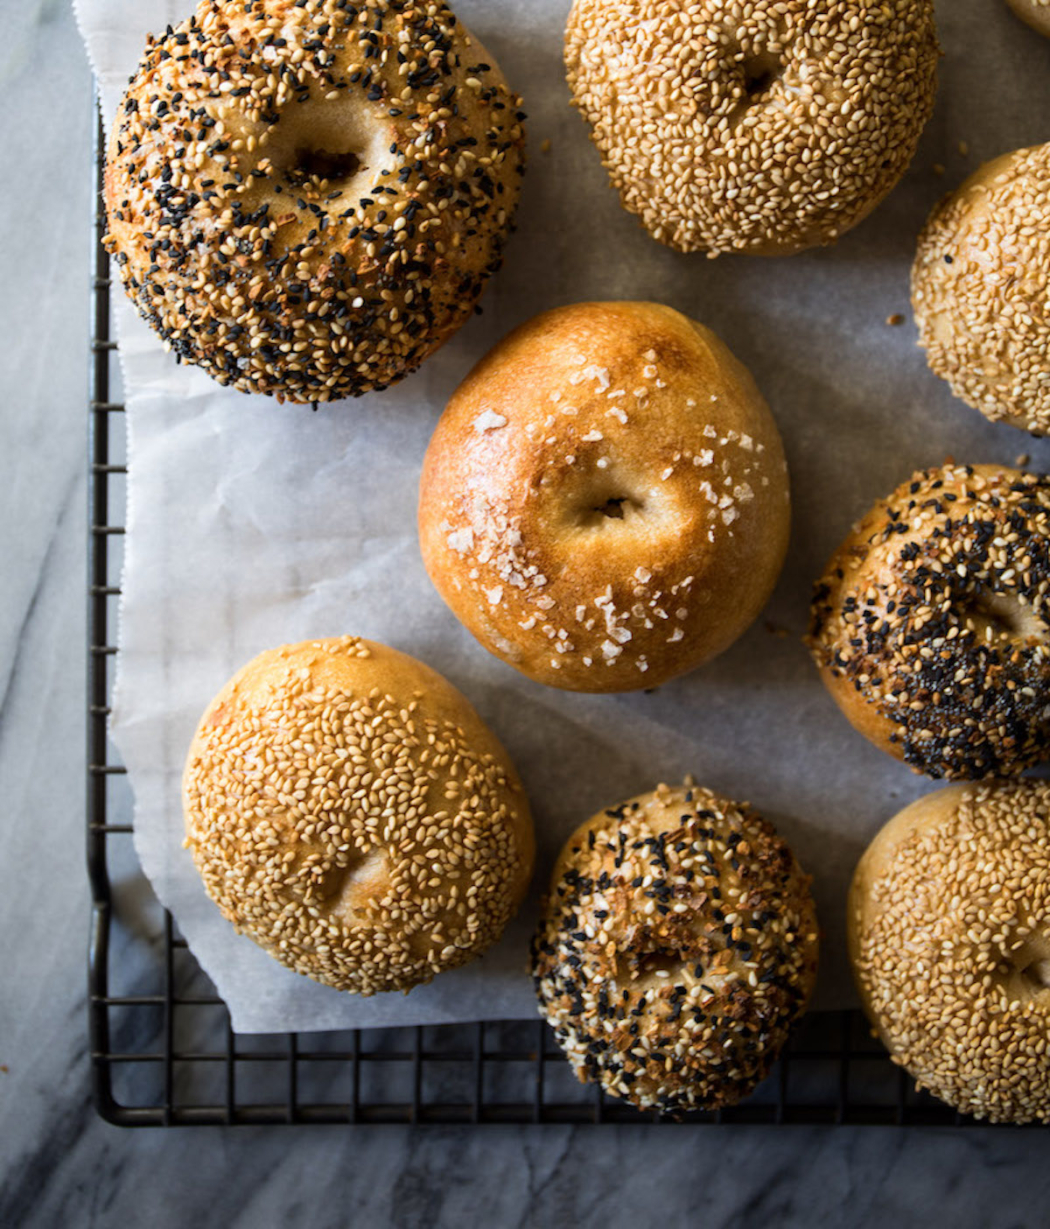
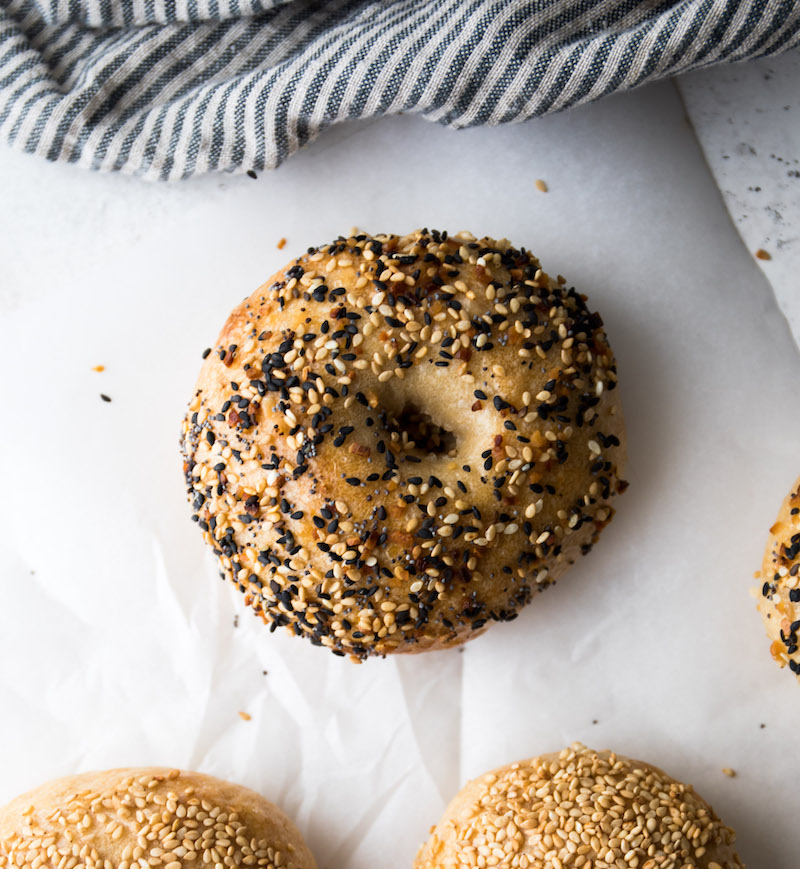
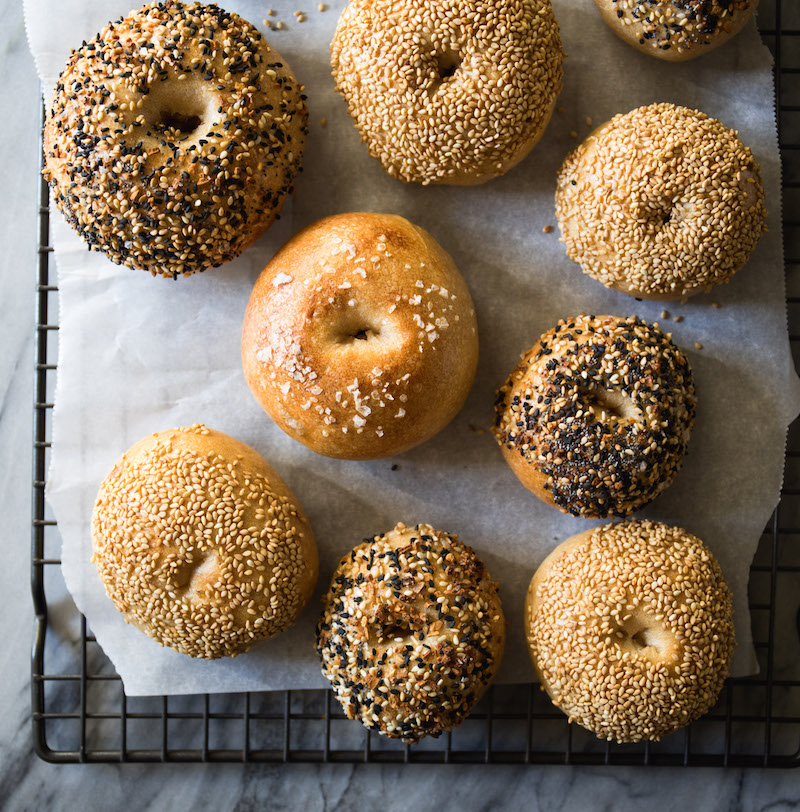
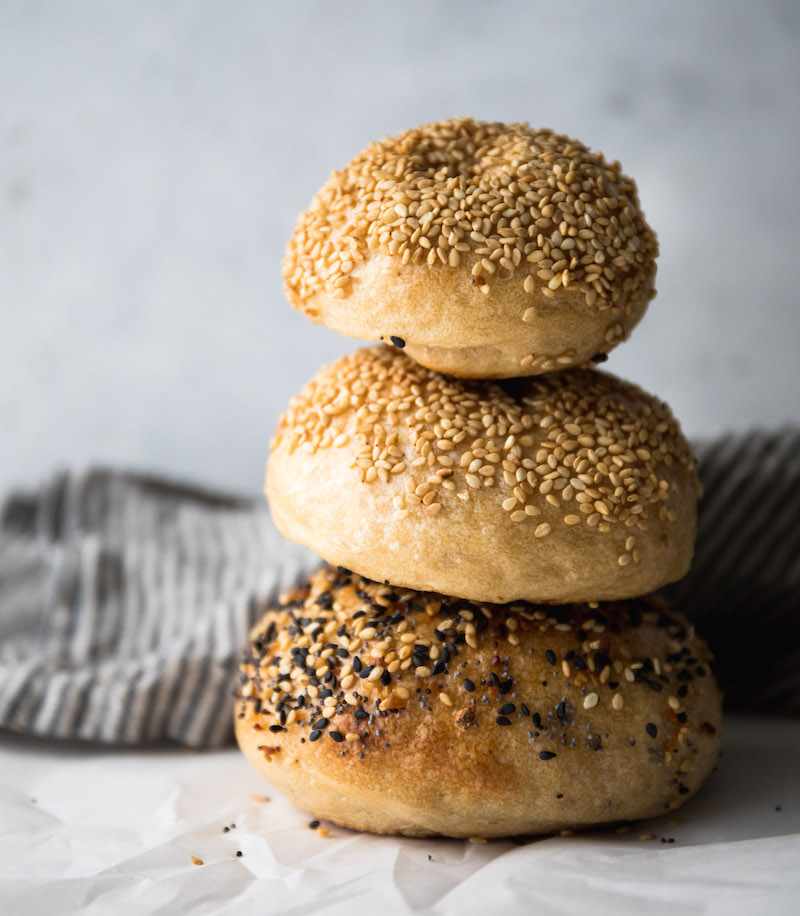
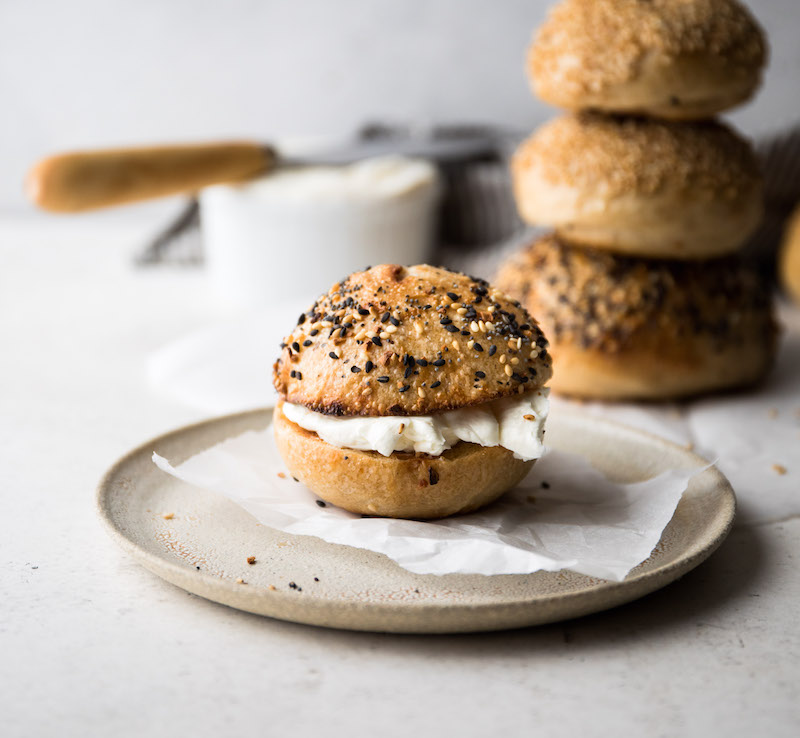
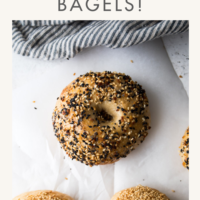
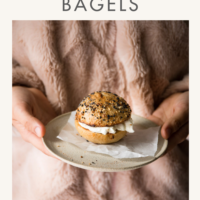
Bagel Toppings
I love to use Trader Joe’s Everything Bagel Seasoning. You can also just sprinkle your bagels with sesame seeds or even simply sea salt flakes (which is delicious). To customize your bagel:
Everything Bagel Seasoning for Everything Bagels
To make your own everything season follow this recipe.
The Ingredients for Cinnamon Raisin Bagels
From Emilie: “For cinnamon raisin bagels, add 6 grams (2 teaspoons) cinnamon to the dry ingredients. While the dough is resting, soak 80 grams (1/2 cup) of raisins in warm water. Drain well before kneading them into the dough to incorporate.” Do this after the dough has been mixed.
Using The Correct Flour
If you only have all-purpose flour (and no bread flour), you can still make these bagels. You may need a touch more flour (added very conservatively at 1 tablespoon at a time) as the all-purpose flour won’t absorb as much moisture as the bread flour resulting in a slightly stickier dough.
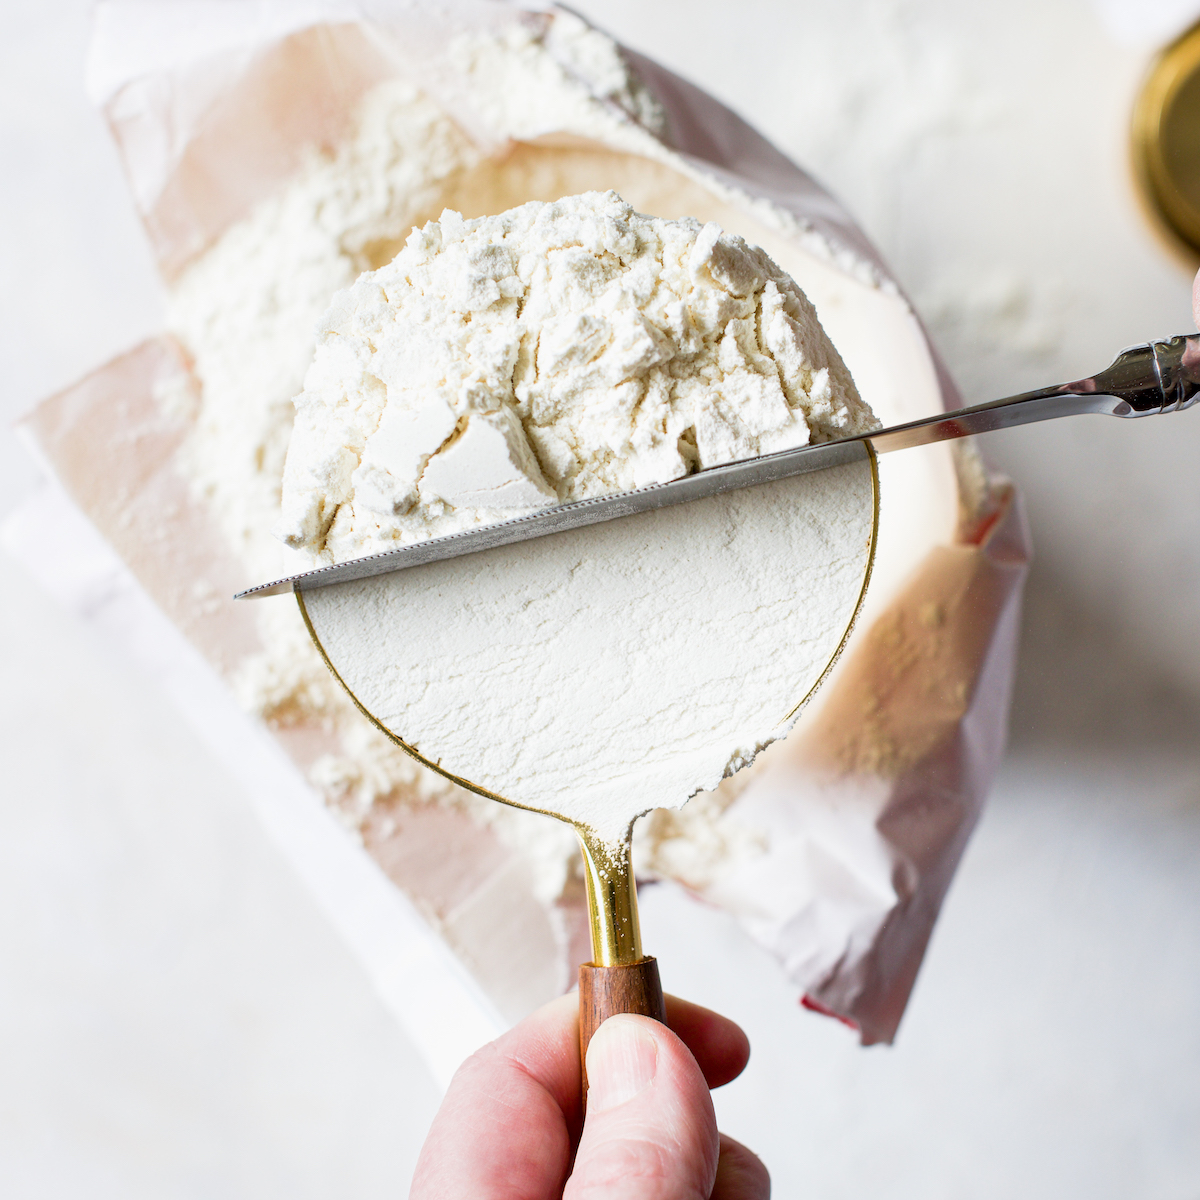
The Baker’s Guide to Measuring Flour
One of the biggest (and most common) mistakes in baking is how we measure flour. If you find yourself without a scale, see my top tips on how to properly measure flour for the perfect amount every time!
Sea Salt
I love salt. I add a full 1 tablespoon of sea salt to the dough and I think you should consider it. Just saying.
A Mixer is Optional
You don’t have to have an electric stand mixer to make these sourdough bagels. The instructions will reference it, but you can mix and knead using those beautiful arms of yours.
A Note About the Recipe Instructions
The overnight bagel instructions below are Emilie’s from her book. I added my own notes in italics.
One Final Note on Humidity
A quick note about humidity… If you live in a dry climate consider covering the bowl with plastic wrap while the dough rests overnight to keep moisture in there. A damp towel, as recommended in the instructions, can dry out overnight and there is nothing more frustrating than when the top of your dough develops a scab (from lack of moisture).
I hate to recommend plastic wrap, so if you can come up with another way to keep it sealed, use that and let me know in the comments below so we can help others.
The Baker’s Schedule
Feed your starter in the morning, mix the dough in the afternoon/evening when your starter has reached its peak and then allow the bagel dough to rest and rise overnight while you sleep. When you wake up, proceed with Step 3. This is known as living your best life.
As I mentioned, I have an awesome Sourdough Starter Guide, if you’re new to sourdough baking or are looking for a refresher.
Let’s bake some badass homemade sourdough bagels, shall we?


The Best Overnight Sourdough Bagels
Ingredients
For the Bagels
- 150 grams (3/4 cup) active starter
- 250 grams (1 cup plus 2 teaspoons) warm water
- 24 grams (2 tablespoons) sugar
- 500 grams (4 cups plus 2 tablespoons) bread flour (how to measure flour)
- 9 grams (1 1/2 teaspoons) fine sea salt (I use 1 tablespoon of sea salt in this dough)
- 20 grams (1 tablespoon) honey
To Garnish
- You can use everything seasoning (see note above, cinnamon raisin variation (also see note above), sesame seeds, poppy seeds, sea salt flakes…get frisky)
Instructions
Make the Dough
- In a large bowl, whisk the starter, water and sugar together with a fork. Add the flour and salt. Combine to form a rough dough, then finish mixing by hand to fully incorporate the flour. Because this dough is stiff, consider using a stand mixer (fitted with the dough hook attachment) to give your hands a break; run on low speed for 5-6 minutes to combine. Cover the dough with a damp towel and let rest for 45 minutes to 1 hour. Meanwhile, replenish your starter with fresh flour and water. Store according to preferences. After the dough has rested, work the mass into a semi-smooth ball, about 15-20 seconds and place in a large bowl that’s lightly oiled.
Bulk Rise
- Cover with a damp towel and let rise until double in size, about 8-10 hours at room temperature, 70F (21C). Note, this dough can also be stashed airtight in the fridge for several days until ready to bake if you can’t get to making them right away.
Shape
- Line a sheet pan with nonstick silicon mat or parchment paper. If using parchment, lightly coat with cooking spray or oil to prevent sticking. Remove the dough onto a non-floured surface. Flatten the dough into a rectangle and divide into 8 equal pieces, about 115 grams (4 ounces) each. (I divided mine into 16 pieces for more, smaller bagels). Gather the ends, flip the dough over and roll each piece into a ball. Let the dough rest on your sheet pan for 10-15 minuets to relax the gluten. Working with one ball of dough at a time, poke a hole straight through the center. Lift up the dough, insert both index fingers through the center hole and barrel roll to gently stretch the opening to about the size of a walnut. When finished, place the dough back onto your sheet pan. It’s ok if the hole shrinks slightly. Repeat shaping the remaining dough. Set on the prepared baking sheet.
Second Rise
- Cover the dough with a damp towel and let rest for 15-20 minutes. The dough will puff up only slightly at this stage. Meanwhile, bring a medium pot of water to a boil. Add the honey and whisk well to dissolve. Preheat your oven to 425F (220C). Add the seeds and/or any other toppings to a rimmed tray or shallow bowl.
Boil the Bagels
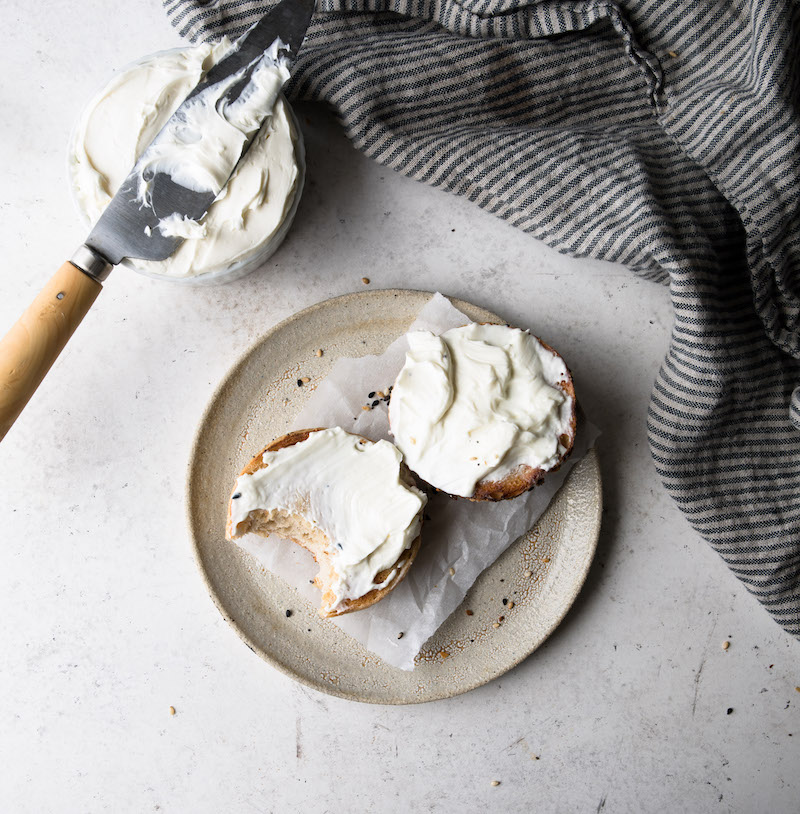
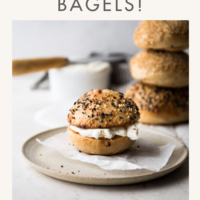
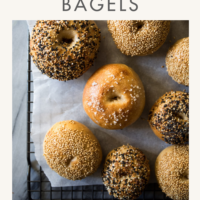
- Add 2-3 bagels into the pot and wait for them to float to the top, about 10 seconds (some will float immediately). Cook for 30 seconds on each side for a thin crust. Using a slotted spoon, transfer the bagels back to the sheet pan you used earlier, placing them rounded side up. Once slightly cool but still wet, dip the rounded side of the bagels into the seeds (or whatever topping, if using) to coat. Place back onto the sheet pan and finish boiling the rest of the bagels.
Bake!
- Bake the bagels for about 20-25 minutes in the center of the oven. Flip them over to briefly cook the bottom side, about 1-2 minutes or less. When ready, your bagels will be puffed up and light golden brown, and they will feel light to the touch. Transfer to a wire rack to cool, but indulge yourself and eat one (or two) warm. The chewy texture of bagels is best enjoyed when made fresh. Stir tin a plastic bag at room temperature for up to 2 days. Bagels freeze well; freeze them whole or slice, covered in plastic wrap and a layer of foil, for up to 3 months.
I have an artisan bread baking bowl with a cover that is ceramic. It is made by KitchenAid, and it works with my KitchenAid stand mixer. My husband bought it for me for Christmas and I love it! I can mix and bake artisan bread right in the bowl. I can bake bread using the lid as a cooking sheet and use the bowl as the lid when baking bread in it. I am trying your bagels recipe and I just covered the dough for an overnight rest by using the lid on the bowl. It is not airtight but it is heavy so my dough will not dry out! I have attached the link below to the bowl but I am not sure if it’s going to open? If not, you can google KitchenAid Bread Bowl with Baking Lid $169.99 (canadian)
https://www.kitchenaid.ca/en_ca/countertop-appliances/stand-mixers/accessories/p.bread-bowl-with-baking-lid.ksm2cb5bgs.html
Oh I love this, I’ve never seen this. Thank you so much for the note. Let me know how your bagels turn out! xox
OMG, they are the best I have ever made!! We had them warm from the oven for breakfast and because we are Canadian, we had Maple Butter on them. They are so easy and delicious!! This is my bagel recipe from now on!! Thank you!
I’m so happy you loved them!! I’ll have to try with the maple butter, that sounds delicious! R
Hi Rebecca….in your cinnamon raisin bagel you say add 6 grams to dry ingredients….6 grams of what?
Hi Robert,
Thank you so much for your note. I clarified that paragraph. It’s 6 grams (2 teaspoons) cinnamon that is added to the dry ingredients. Please reach out with any other questions. xo
Aren’t these the best!?! So happy you enjoyed the recipe! xo