
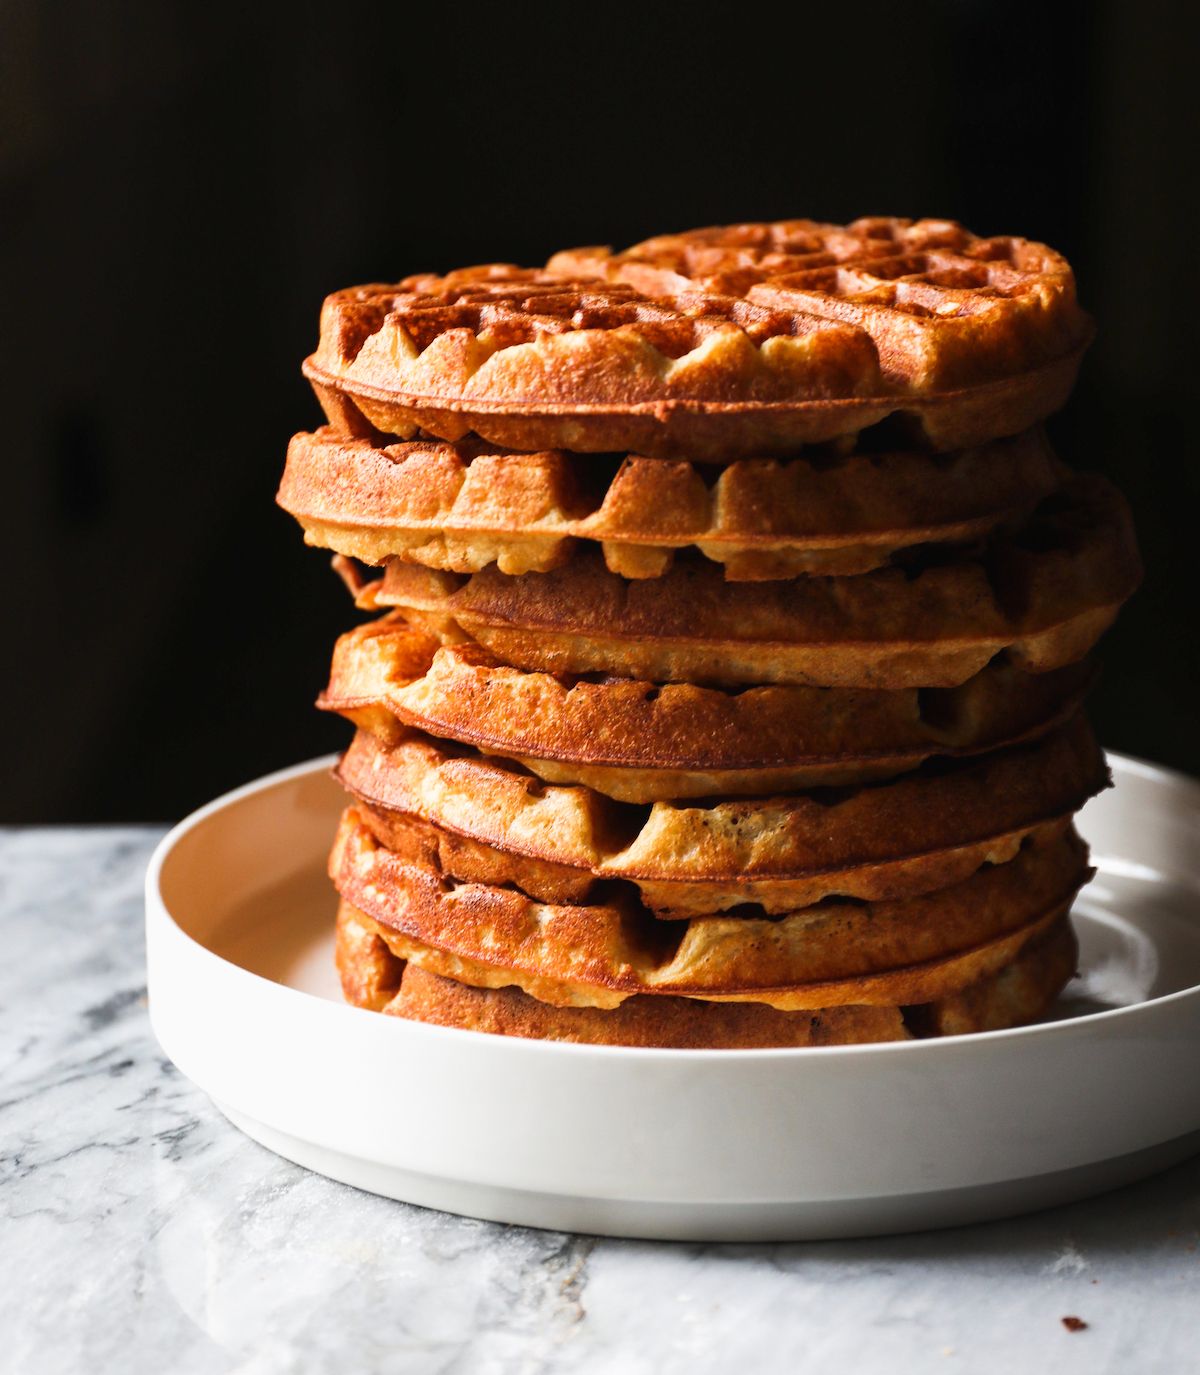
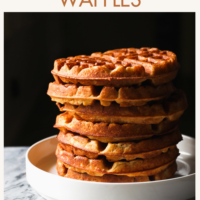
So many things give me joy in life, and overnight anything is one of them. If I can prep something the day before and easily (breezily) wake up in the morning to something delicious. I’m in. 100%. Which is exactly what happens with these Crispy Overnight Yeast Waffles.
We whisk together the ingredients the night before (flour, yeast, milk, butter and sugar) and let the mixture mingle overnight. When you wake up in the morning, you whisk together three eggs with some leavening and voile, you’ve made yourself the easiest, fluffiest, crispiest batch of waffles in the same amount of time that it takes you to open a bottle of champagne and make your way through one glass.
In the wise words of Ina Garten: how easy is that?
These are the best waffles I have ever made. I once substituted oil for the butter. DO NOT do it! They were not as good. My family absolutely loves these. I serve them to my grandkids with butter, pure maple syrup,whipped cream and fresh blueberries! They freeze well and are great reheated in my toaster oven. Thanks for this recipe! I give them the highest rating that exists!
—PAMELA
I really like the taste of my Crispy Buttermilk Waffles (we love this recipe if you can’t be bothered with yeast) and so I wanted these to have a similar vibe, but prepped the night before.
I’ve been futzing with this recipe for months and I’m so happy these Overnight Waffles are finally ready for you!!
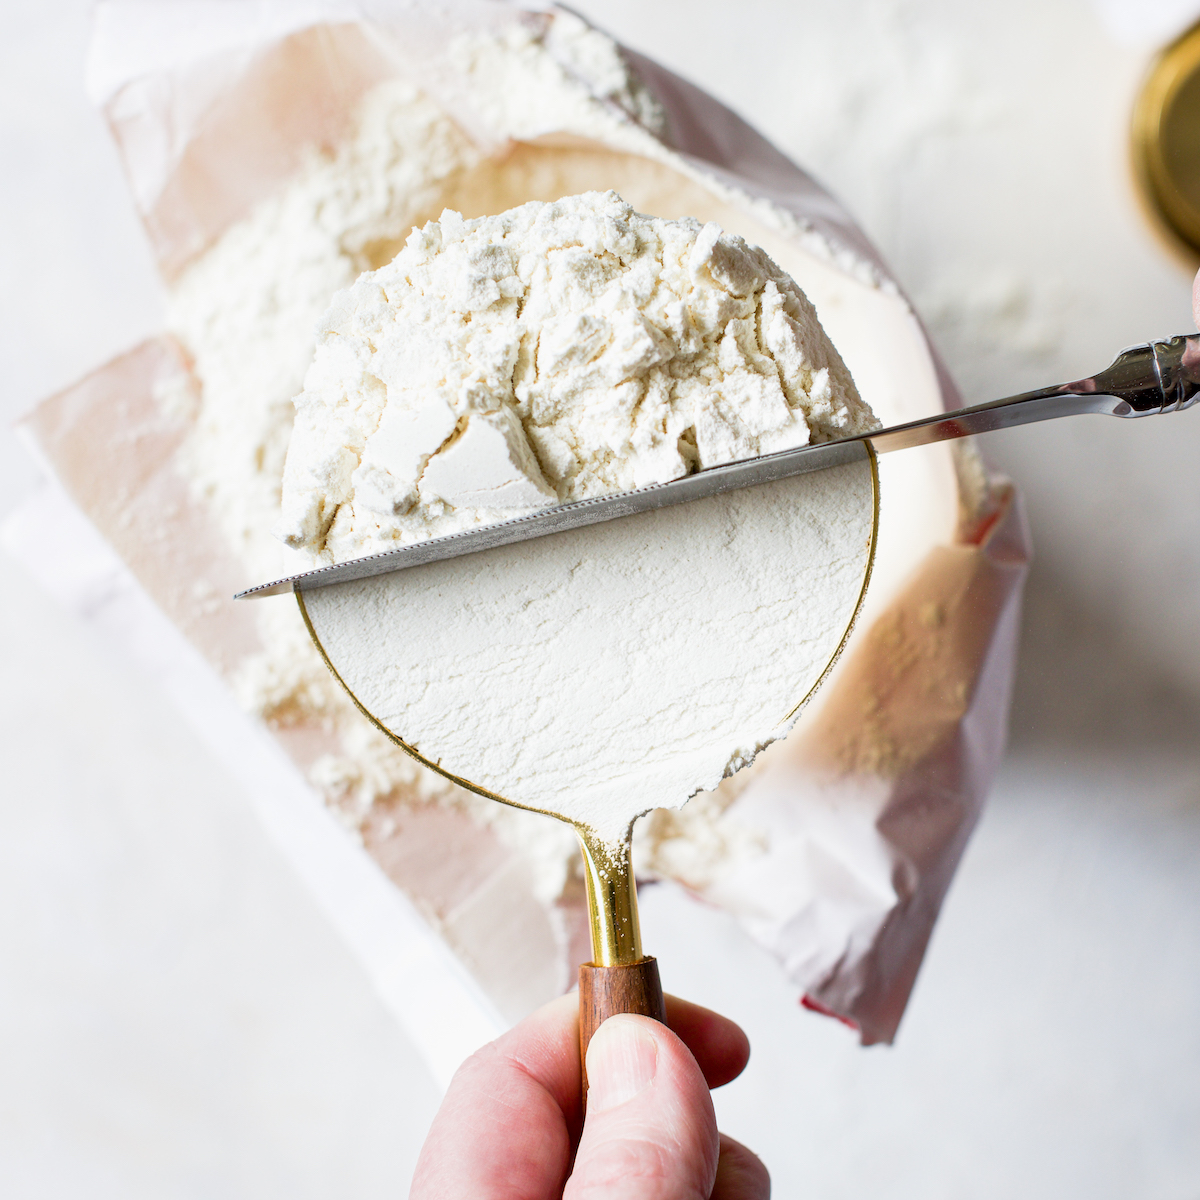
The Baker’s Guide to Measuring Flour
One of the biggest (and most common) mistakes in baking is how we measure flour. If you find yourself without a scale, see my top tips on how to properly measure flour for the perfect amount every time!
Overnight Yeast Waffles Tips
- FLOUR. I use a combination of all-purpose flour and white whole wheat flour for these. This latter flour offers wonderful flavor. I use white whole wheat flour often in recipes (think cookies), so I hope you’ll pick some up. I use King Arthur’s White Whole Wheat which has 15% protein…if you’re going to swap in another flour, try to keep it around that protein level.
- YEAST. I tested this recipe with both store bought yeast and my sourdough starter. I give you the quantities for both below. If using store bought yeast, grab active dry yeast. If using your sourdough starter, make sure it’s active and ready to go. My favorite way to check this is by dropping a small bit into a glass of water. If it floats, it’s ready to go!
- TEMPERATURE. When you melt your butter and milk together, make sure that the temperature of the mixture isn’t screaming hot when you put the yeast in. The ideal temperature for yeast is around 100F to 115F (37C to 46C). If you don’t have a thermometer, stick your finger in it. If it burns or feels hot, let it cool off a bit before adding the yeast. You want it to feel just warmer than your body temperature. One other temperature note…if the ambient temperature in your home is over 70F (21C) then keep the waffle batter on the counter for just several hours and then cover and place in the fridge overnight.
- WAFFLE MAKER. My waffle maker isn’t on the market anymore, but this one looks pretty comparable. The double-sided, two-waffles-at-once schtick is a game changer.
- WEIGHT. I’m adding weight measurements in here so all of my overseas, out-of-the-US followers will have an easier go at it. I’m going to do this from now on with my recipes, feel free to use either measurement method.
- GRANOLA. If feeling frisky, add 1 cup of granola to the waffle batter (omitting any nuts or big, hard chunks). Weird, but SOOOOO GOOD.
- TIMING. You start this recipe the night before, so just make a mental note of that. If you want immediate satisfaction, head over to this waffle recipe.
Let’s make some fabulous overnight waffles, shall we?
More Breakfast Treats
I love breakfast more than anything! I also have Crispy Buttermilk Waffles, Granola Waffles, my Favorite Blueberry Muffins, Classic Sour Cream Coffee Cake, Homemade Sourdough Bagels (you can read about how to make a sourdough starter here), this Cherry Streusel Coffee Cake and Banana Chocolate Chip Muffins.
Enjoy your overnight yeasted waffles!!

The Best Overnight Yeast Waffles Recipe
Ingredients
- 2 cups (480 g) milk (use 2% or higher fat)
- 6 ounces (12 tablespoons/1 1/2 sticks/168 g) unsalted butter, (cut into 12 pieces)
- 2 1/4 teaspoons (1 packet/7 g) active dry yeast (or (120g) active sourdough starter)
- 3 tablespoons (36 g) granulated sugar
- 1 teaspoon real vanilla extract
- 1 1/4 cup (170 g) all-purpose flour (how to measure flour)
- 3/4 cup (90 g) white whole-wheat flour
- 1 teaspoon sea salt
- 3 large eggs (room temperature)
- 2 teaspoons (10 g) baking powder
- 1/2 teaspoon baking soda
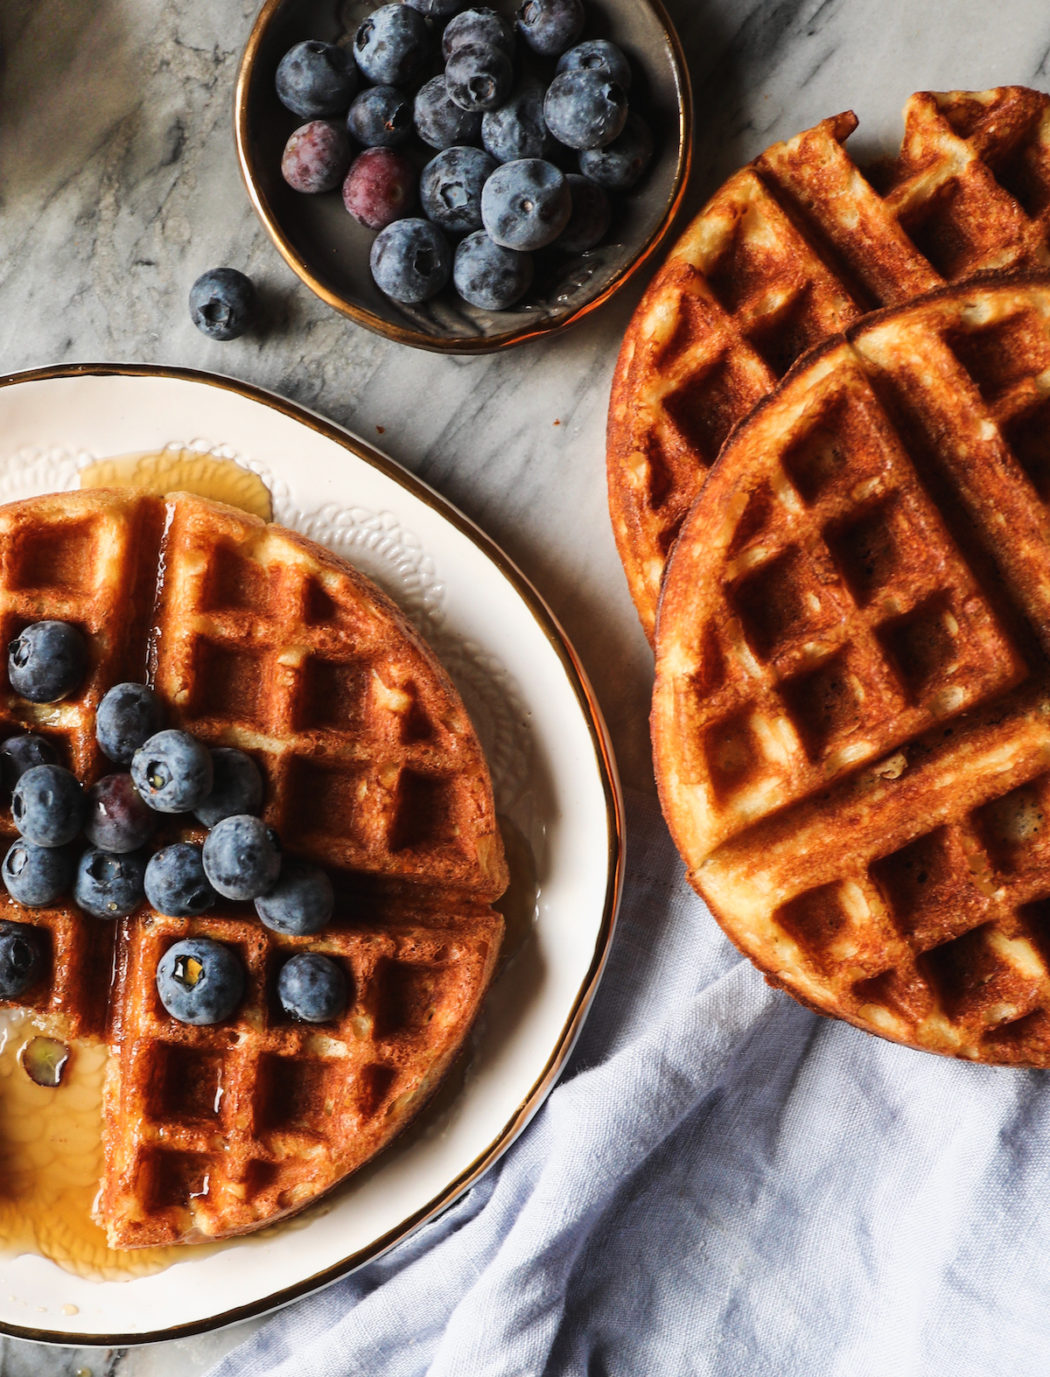
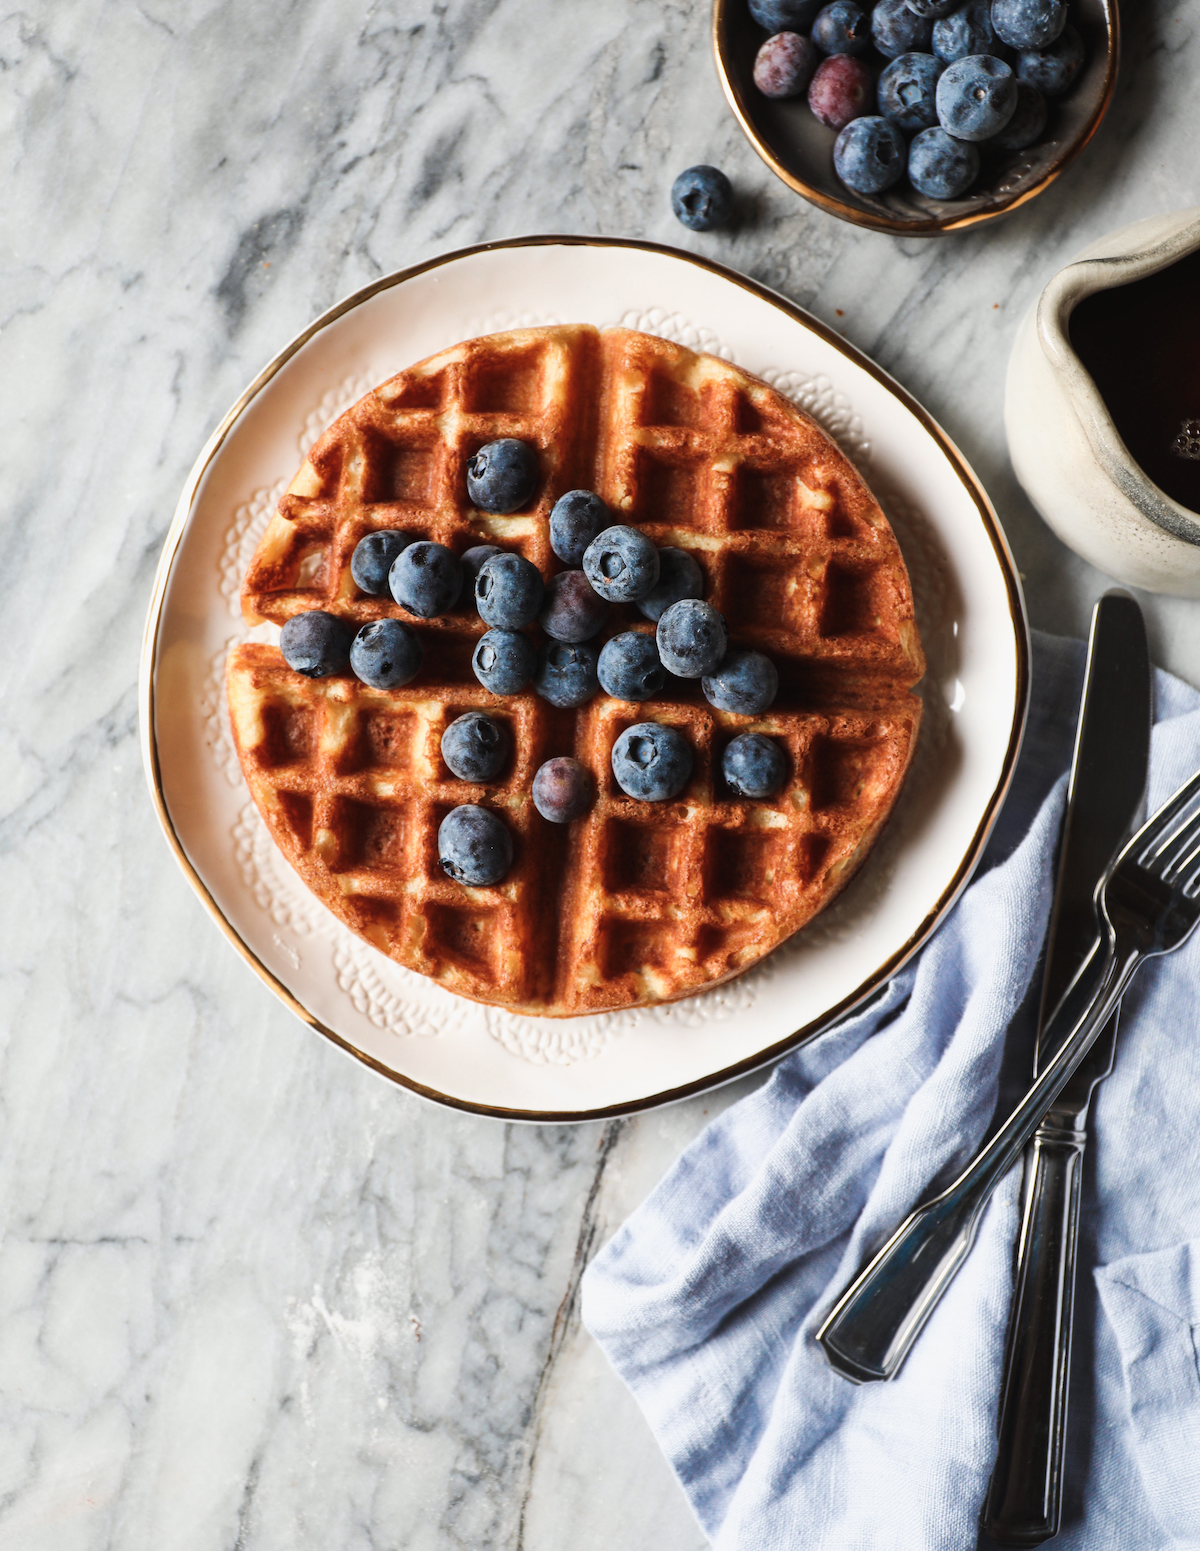
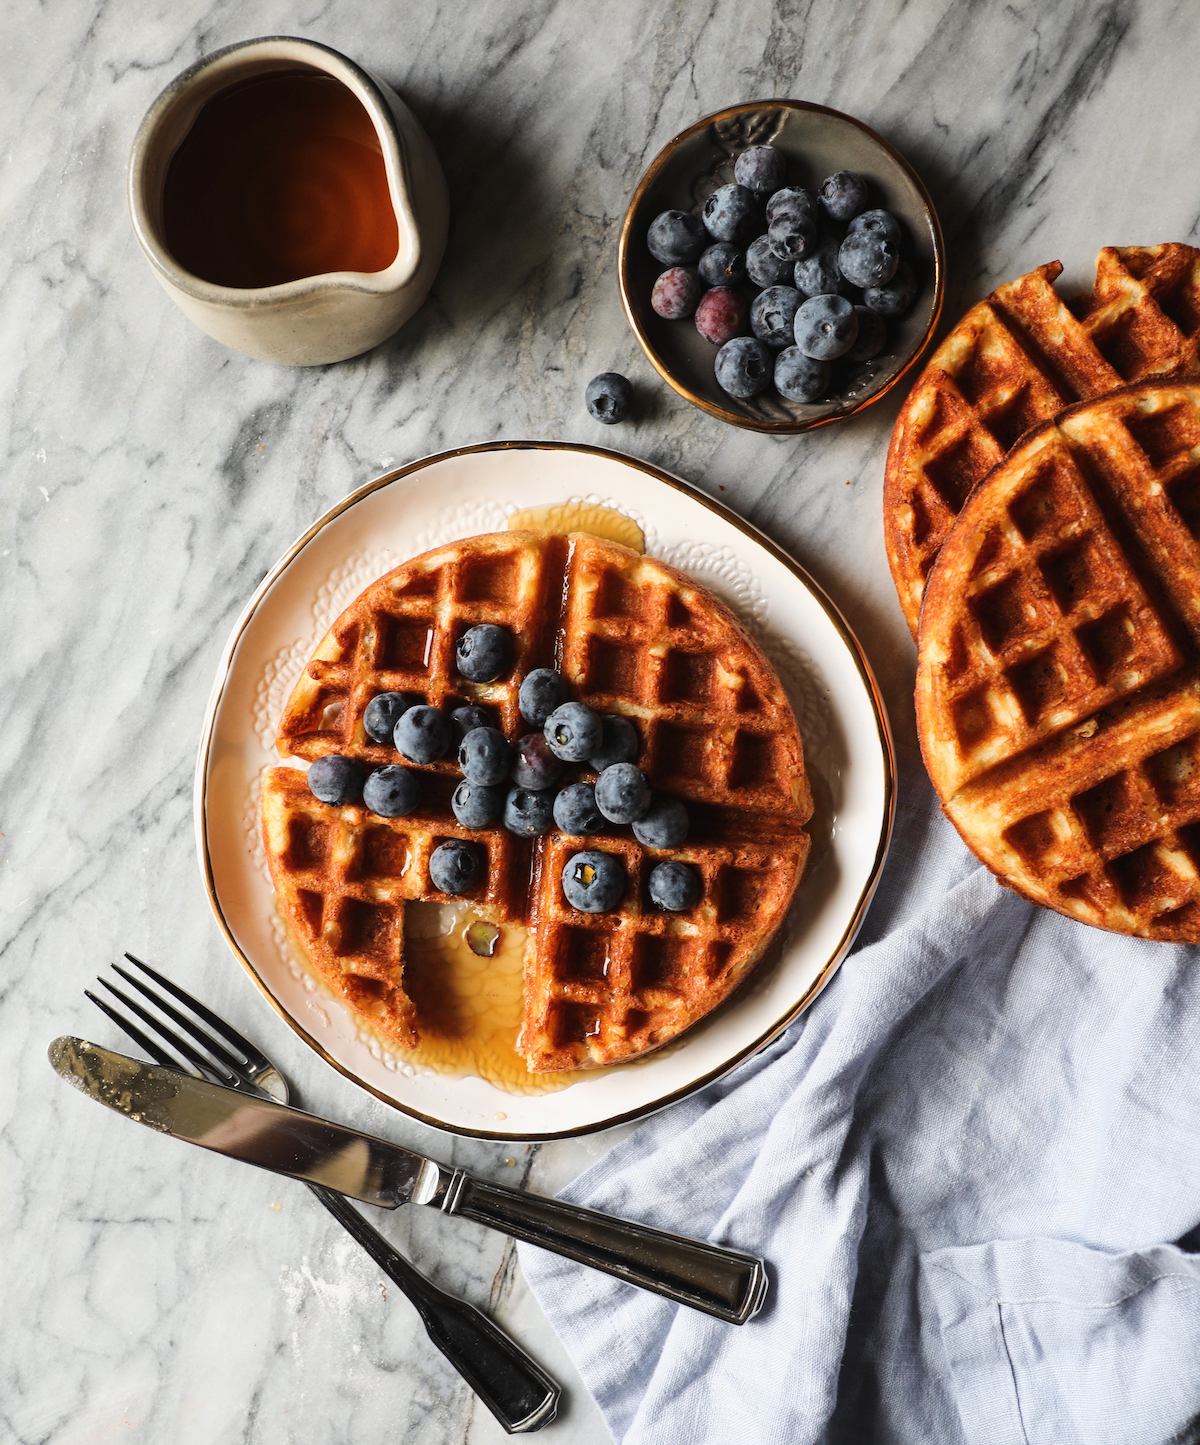
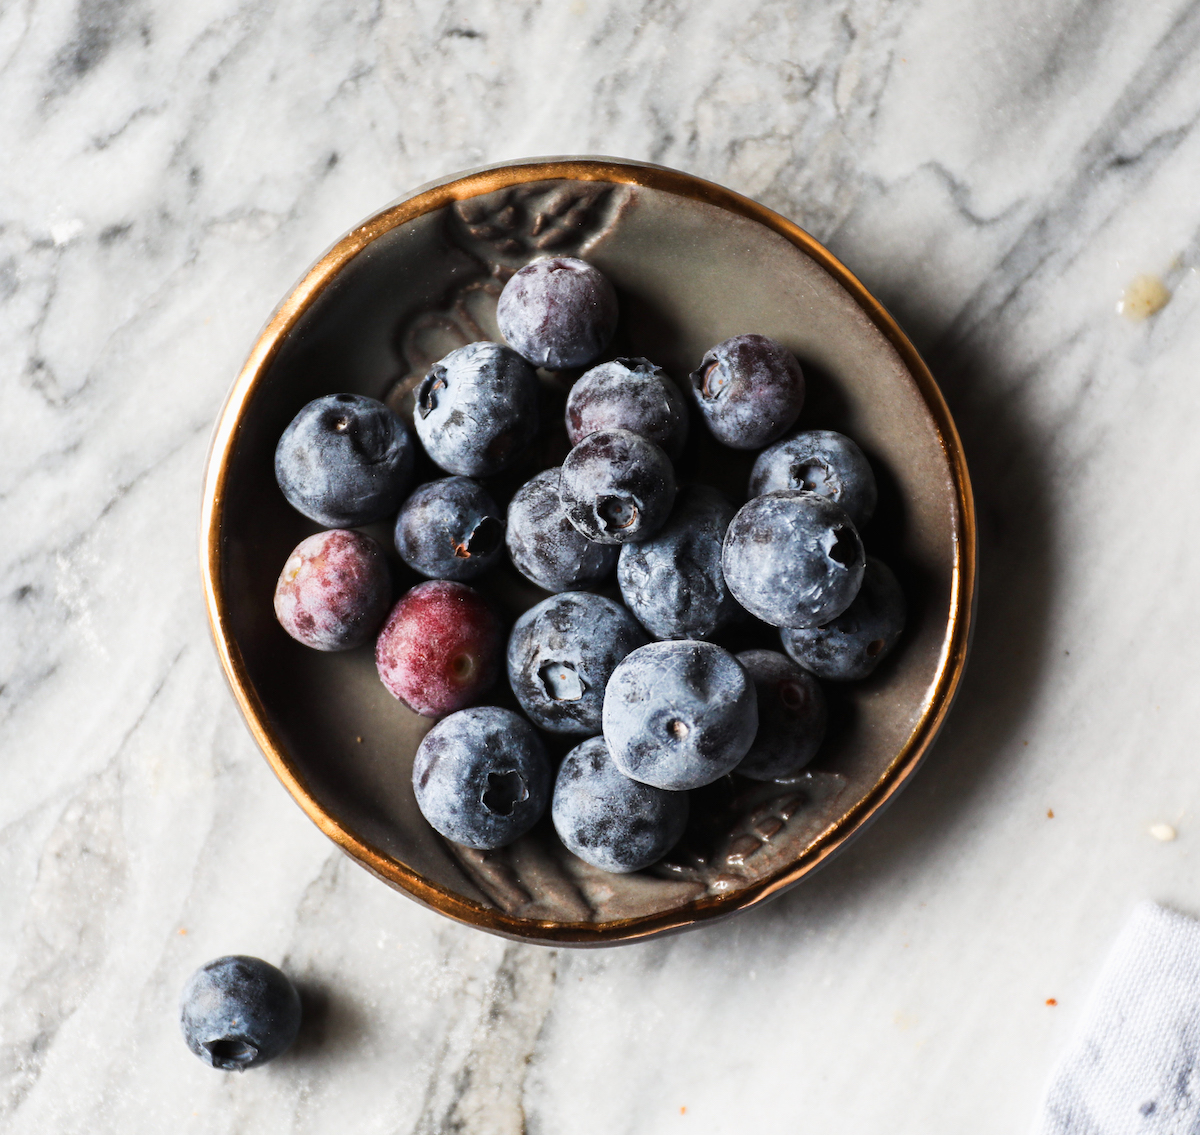
- To Serve: Real maple syrup, blueberries and all of the toppings that give you joy
Instructions
The Night Before
- In a large microwave-safe bowl add the milk and butter and run the microwave on high until the butter is melted. This takes a little over a minute in my microwave. You could also do this in a medium saucepan over medium heat on the stove. Stick your finger in the liquid, if it feels hot, hold off adding the yeast until it gets closer to body temperature. If it feels cozy and warm, the yeast will likewise find it cozy and warm. Once the temperature feels right, add in the yeast or starter and let it sit for five minutes or so. The yeast should get a bit frothy.
- When this happens, add in your sugar, vanilla, all-purpose flour, white whole wheat flour and sea salt and use a whisk to fully incorporate the dry ingredients into the liquid. This is completely contrary to the way you mix traditional waffles (they're best when the batter is a bit lumpy). Ignore the instinct to leave it lumpy, and blend completely. Cover with plastic wrap and let sit on the counter overnight.
In the Morning
- Turn on your waffle iron to get it nice and hot to yield the crispiest waffles. On my maker, that means the temperature is set to 4 1/2. If your waffle iron isn't nonstick, brush the top and bottom with melted butter.
- In a medium bowl whisk together the eggs, baking powder and baking soda and then fold into the waffle batter until blended. Pour the batter* into your waffle iron (my waffle maker takes about 1/2 cup) and set the timer on 4 minutes…your waffle maker may cook faster or slower. Use that number as a ballpark depending on whether your waffle iron runs hot or cool.
- If you’re serving a crowd, you can double the recipe and have the oven on a low 200°F/93°C. Set a cooling rack on top of a cookie sheet and place in the oven. Set the finished overnight waffles on the cooling rack in the oven as they come out of the waffle iron. Ideally, you serve the overnight waffles as soon as they come out of the waffle iron. They’re best that way.
- We like to sprinkle with powdered sugar. It looks pretty. Always 100% pure maple syrup in our house. Sometimes we sprinkle with fruit so it’s transformed into a pious breakfast fit for Gwyneth.
Love ❤️ this recipe so much, the batter is intoxicating!
This makes me SO HAPPY!!! Happy weekend! xo
These are the best waffles I have ever made. I once substituted oil for the butter. DO NOT do it! They were not as good. My family absolutely loves these. I serve them to my grandkids with butter, pure maple syrup,whipped cream and fresh blueberries! They freeze well and are great reheated in my toaster oven. Thanks for this recipe! I give them the highest rating that exists!
I think i have finally found our go to recipe for yeasted waffles! After trying just about as many as I’ve seen online, these have been my family’s favorite by far! Thank you for sharing. Out of necessity, I used 6T butter + 6T canola oil. I don’t keep white wheat flour, so it was all ap flour for me. But I followed the recipe for everything else. If you aren’t making the day before, you can let the batter rest for an hour on the counter instead. I still waited to add the eggs, baking powder, and baking soda until right before cooking. (Plus the vanilla, because I forgot it initially ) The flavor is phenomenal! The browning and crispness is perfectly lovely! You will not regret trying this recipe! Thank you again!
I forgot to add- for non-yeast waffles, my waffle iron holds 1/2 cup batter per waffle. For many yeasted recipes, I can only use about half of that without overflowing.. with this recipe, I can still use the 1/2 cup without any problems. Nice and fluffy though!
Hi… Would love to make Waffles but we don’t have eggs .Can you give substitute for eggs ,I have sourdough starter . Thanks
I’ve been reading a lot of recipes for this. Some say to whip egg white separately and fold in. Is there much of a difference? Also in your recipe how long do I nesth the eggs for what do they look like when ready to add to mixture? Sorry I’m a single dad trying to earn some cooking points with my kiddos!
in your comments at the very beginning you talk about letting sit on the counter for a couple hours and then refrigerating overnight. And then two times later you say to leave sit on the counter all night. I that might sit out for a couple hours in refrigerated this morning now it’s very hard so I’m not really sure what I’m supposed to do leave it sit all night on the counter or refrigerate after a couple hours of sitting out.
Hi Pam! The note about letting it sit on the counter for a couple of hours and then placing in the fridge is for people whose homes are 70F (21C) or warmer as that temperature will give the yeast too much of a boost; chilling it will slow down the development. If your home is cooler, you can leave it out overnight. Putting the mixture in the fridge overnight will thicken the mixture, but it shouldn’t be hard as you noted. Try letting it come to room temperature and see if that loosens the batter up. If not, I’m wondering if the liquid measurements were off? Let me know how it goes!!!
Excited to try these!! We’re having them for a Stranger Things party on Friday (get it? Eleven and her waffles, haha!) and I’m wondering how many hours “overnight” translates to when I’m making them in the morning to be cooked and eaten that evening. Thank you!
Hi Stephanie!
Yay — so excited you’re going to make these!! It would be fine if you made them in the morning and the batter hung out all day. Have fun!!! xoxo
Thanks for the recipe but I have a question.after I fold the egg mixture in how long could i keep the batter?
Hey! When I stashed it in the fridge for an extra day or two it turned a funky color. I suspect it was still edible, and it was just the top layer of the batter, but it still skeeved me out. We didn’t eat it. I prefer them whipped up the night before and eaten in the morning. I think they’re best that way. xo
Great web site. Plenty of helpful information here. I am sending it to some buddies ans
also sharing in delicious. And obviously, thank you in your sweat!
Thank you Suzanne! That’s so nice of you!!! xox
We made these this morning. Best waffles l’ve ever made!!! I used sourdough starter and whole wheat that I ground fresh last night. I did add a tsp of vanilla extract… again, thanks for sharing this our new waffle recipe!
Hi! I am so very happy that you loved these!!! And fresh whole wheat that you ground?!!? When can I come for breakfast at your house?!?! ;)
xoxo
These look yummy :-D
Do you have a recipe or blog post about your sourdough starter? Thanks!
Hi Sunny! I don’t, but I’ve been getting lots of requests so I’ve decided to put together a post with my favorite tips, websites and books having to do with starters/bread. Stay tuned!! xoxo
Can I use the batter to make pancakes? I don’t have a waffle iron.
Hey Kim! I wouldn’t use this batter for pancakes, it would be too thick. This is our favorite pancake recipe:
http://www.displacedhousewife.com/fluffy-whole-wheat-buttermilk-pancakes/
Have fun and let me know if you have any more questions!! xox
i cannot wait to make these and I’m definitely going to try with my starter!!!!!! ❤️
I can’t wait for you to make them!!!!!! You have to take pics!! xoxo
I have made yeasted waffles before and they are the best…but I have never used my sourdough starter for them…thank you for this …they will be on the table this weekend
Oh that makes me so happy!! I hope you love them!!! xox
I will definitely be trying these! It’s so funny, last night I said to Jason, “we should make waffles tomorrow!”
We didn’t, but then your recipe landed in my inbox. Yay! I’m thinking I might have to get these going tonight for breakfast tomorrow. Thanks so much, Rebecca!
Oh I hope you make them Ani!! It’s meant to be!! xox
Oh my gosh Rebecca, these look so dreamy!
Thank you Alida!! Happy new year!! xox
These look soooo good cant wait to try out the recipe, keep it up.
They’re so yummy! Thank you!!! xoxo