
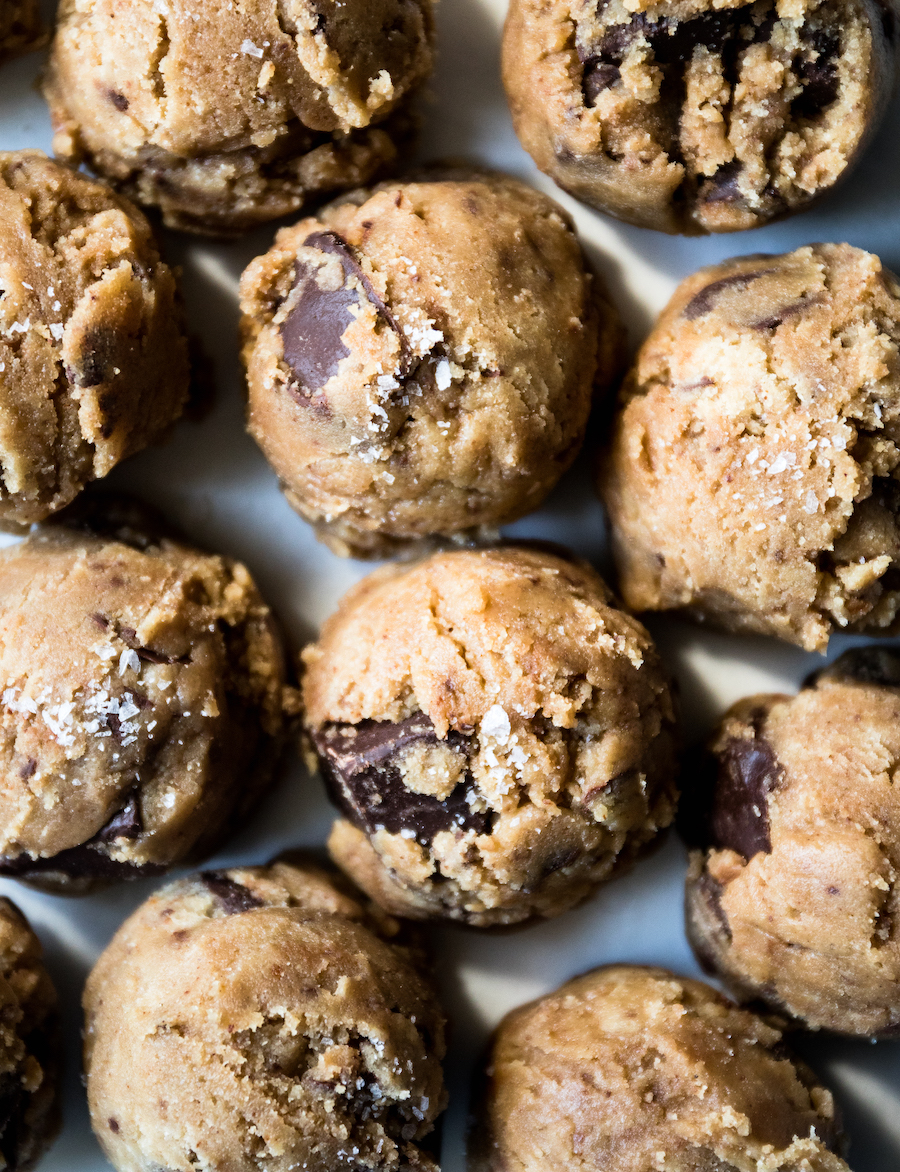
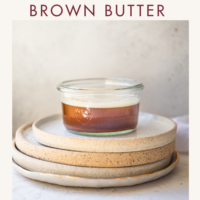
Knowing how to make perfect brown butter can take your baked goods from really good to fabulous with one easy step!
I love using brown butter in recipes: Fudgy Brown Butter Brownies, Brown Butter Blondies, The Best Banana Skillet Cake with Chocolate Chips, Brown Butter Snickerdoodles, Small Batch Brown Butter Chocolate Chip Cookies, Chewy & Fabulous Brown Butter Chocolate Chip Cookies (full batch), Banana Bread, Brown Butter Bar Cookies (yum), Brown Butter Pumpkin Snickerdoodles and buttercreams (you can find two examples with this Pumpkin Bourbon Cake with Brown Butter Buttercream and Apple Cake with Brown Butter Buttercream).
You can find all of the brown butter recipes on DisplacedHousewife here!
Brown butter can be used in both savory cooking and baking and can be used in place of both solid and melted butter (see notes below!). Think of it as melted butter but with a heap of personality!
What Is Brown Butter?
Brown butter (buerre noisette) is simply cooking butter until it gets bronzed and golden. That’s it!
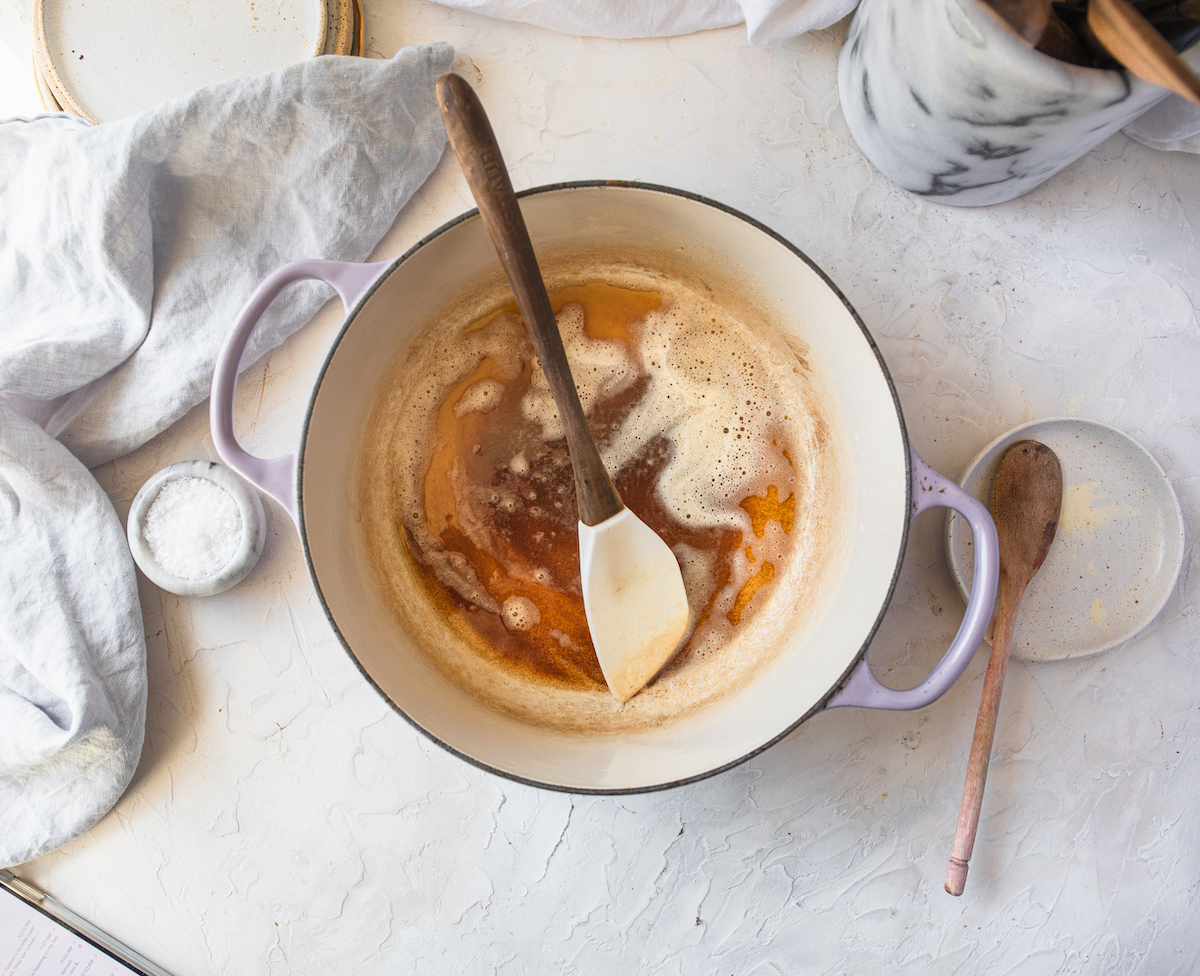
To get a wee more technical, as you melt, and then cook, the butter in a saucepan two things happen: first, some of the moisture in the butter evaporates and then as the milk solids settle on the bottom of the pan they start to turn golden brown.
When this happens, it creates all of these delicious, nutty and caramel-like flavors. The reason we go the extra step to browning butter is because it lends all of these delicious flavors to whatever we add it to.

Steps To Making Brown Butter
Below are step-by-step photos (with captions) on how to make perfect brown butter every time! My biggest tips are:
- Ideally use a light-colored, heavy-bottomed saucepan: This way you can see when the milk solids settled on the bottom of the pan start to bronze. If the bottom of your pan is dark, it’s easy to miss. A heavy-bottomed saucepan will evenly distribute the heat across the bottom of the pan allowing for even heating (and even bronzing) while also protecting it from extreme heat.
- Use a silicon spatula: I’ve found that the milk solids can clump (stick) to a wooden spoon. I’ve never had this problem with a silicon spatula.
- Use your senses: Your best tool for making delicious brown butter is you! Is it starting to smell nutty and fabulous? Are the bits on the bottom of the pan turning golden bronzed?
- Take the pan off of the heat early: If you’re new to brown butter or really want control over exactly how bronzed it gets, take the pan off of the heat when the brown bits are just turning golden. Continue stirring the brown butter in the pan while off of the burner. The heat from the pan is enough to continue browning the butter at a slower pace, giving you control over exactly how brown it gets and making sure it doesn’t burn
Let’s make some perfect brown butter, shall we?
My Favorite Brown Butter Tip:
Don’t do anything else when you’re browning butter. It happens quickly and can go from golden, bronzed heaven to a burnt disaster in mere seconds. Watch the mystery unfold.
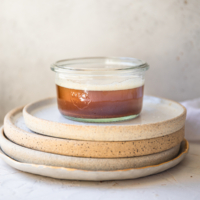
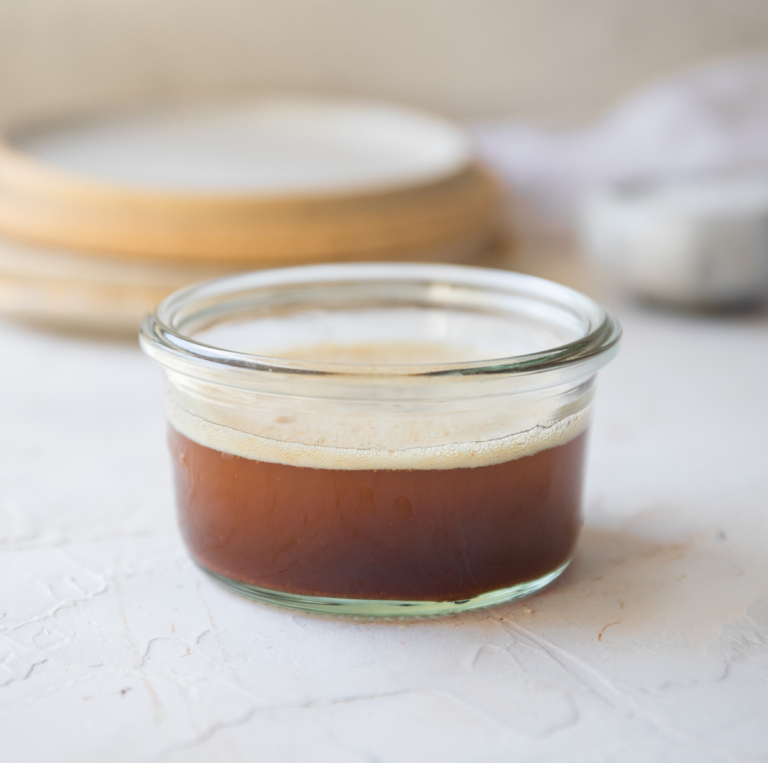
Once the bits are bronzed immediately take off of the heat and pour into a heat-safe bowl to cool. Make sure you scrape the bottom of the pan to get all of the bronzed-up milk solids.
Brown Butter Frequently Asked Questions
Why do I need a light-colored pan? And why does it need to be heavy bottomed?
You want a light-colored pan so you can see the milk solids on the bottom of the pan turning golden. If the bottom of the pan is too dark you won’t be able to see this color change happen.
Using a heavy-bottomed pan will protect the milk solids from extreme heat. Additionally, a heavy-bottomed pan will evenly distributed the heat, heating the milks solids and butter in an even fashion.
Does it matter if I use salted or unsalted butter?
Nope! Most baking recipes want you to use unsalted butter so you can control how much salt is in your baked good. However, salted or unsalted butter will both brown beautifully.
How will I know if my butter is burnt?
Your butter will smell and taste burnt. When your butter is perfectly browned it will smell slightly nutty, warm and a bit caramelized. It shouldn’t look black.
How do I substitute brown butter for melted butter in recipes?
One US stick of butter = 1/2 cup = 8 tablespoons = 113 grams
When you brown butter, you loose volume. A stick of butter (US) weighs 113 g. Post browning it will weigh about 83 grams.
1 (one) tablespoon of butter weighs 14 grams so you’re losing almost 2 tablespoons (28 g) of butter through the browning process. This happens because liquid in the butter evaporates.
If you’re replacing brown butter for melted butter in a recipe, you’ll need to make up that loss as melting butter doesn’t lose as much moisture as browning does.
Using the 1 stick of butter (113 g) example in the paragraph above, I would add an additional 1 to 2 tablespoons of butter before browning to compensate for the moisture loss.
You may lose more or less moisture when browning butter, depending on a number of variables (including how much moisture is in the butter, how hot the heat is and how long the butter is on the heat). Weighing your butter before and after browning can give you more control over the process.
What if I want the brown butter flavor but I don’t want to use liquid butter?
If you love the taste of butter but hate to miss out on creaming your butter and sugar together in recipes, you can have the best of both words. Yes, yes we can. Simply chill your butter after browning it and it will return to a solid state and then proceed with the recipe as instructed.
Again, remember to weigh your chilled brown butter before using to make sure it equals the amount listed for solid butter in your recipe.
Can I scale these instructions up or down?
Yep!
DH Hot Tip:
lf you’re new to browning butter, consider taking the pan off of the burner as soon as you start to see little golden bits on the bottom of the pan. Continue to stir until the golden bits deepen a bit and pour into a heat-safe bowl to finish cooling.
Favorite Brown Butter Recipes
Adding brown butter really elevates these recipes: Brown Butter Chocolate Chip Bar Cookies, Spiced Apple Cake With Brown Butter Buttercream, Pumpkin Bourbon Cake With Brown Butter Bourbon Buttercream and Brown Butter Banana Bread.
Here is a complete list of Brown Butter Recipes on DisplacedHousewife!
Favorite Brown Butter Equipment
The best pan to use is a heavy-bottomed, light-colored pan such as this one (the same one used in the photos and video) and I also like to use this smaller, stainless-steel pan.
A silicon spatula is best when browning butter. The Staub one featured in the photos and video is no longer available (crushing), but I love these GIR spoonulas which give a similar vibe.
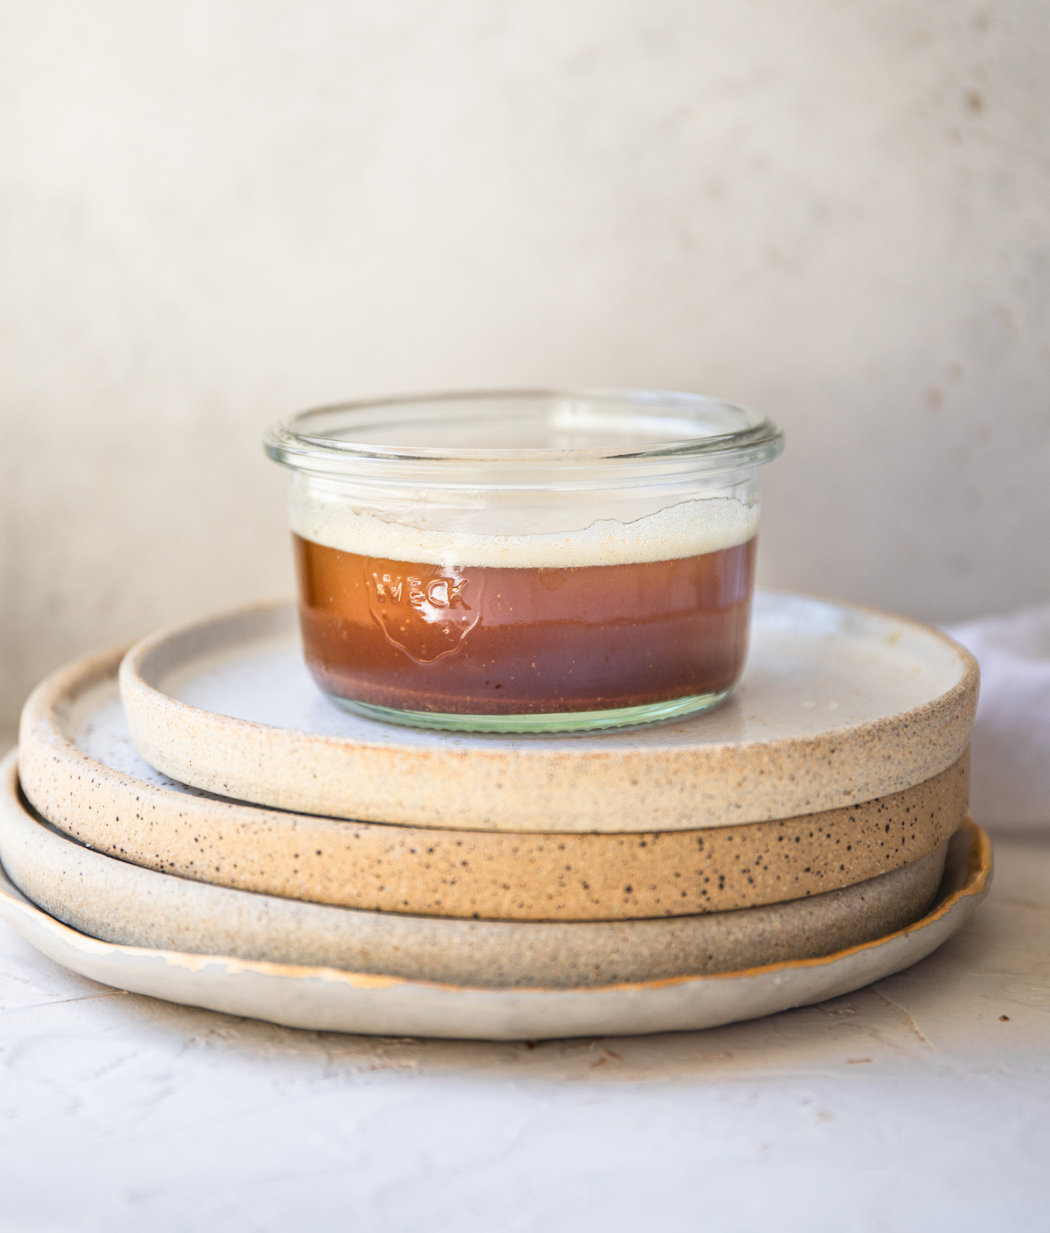
These Weck jars are great for storing brown butter and simply putting them in while it cool.
This trusty scale will help you keep track of moisture loss when browning butter; especially if you’re using it to substitute melted butter or solid butter (see notes above).
Did I miss anything? Leave any questions in the comments below and I’ll get back to you asap! xo

How To Make Perfect Brown Butter Every Time
Ingredients
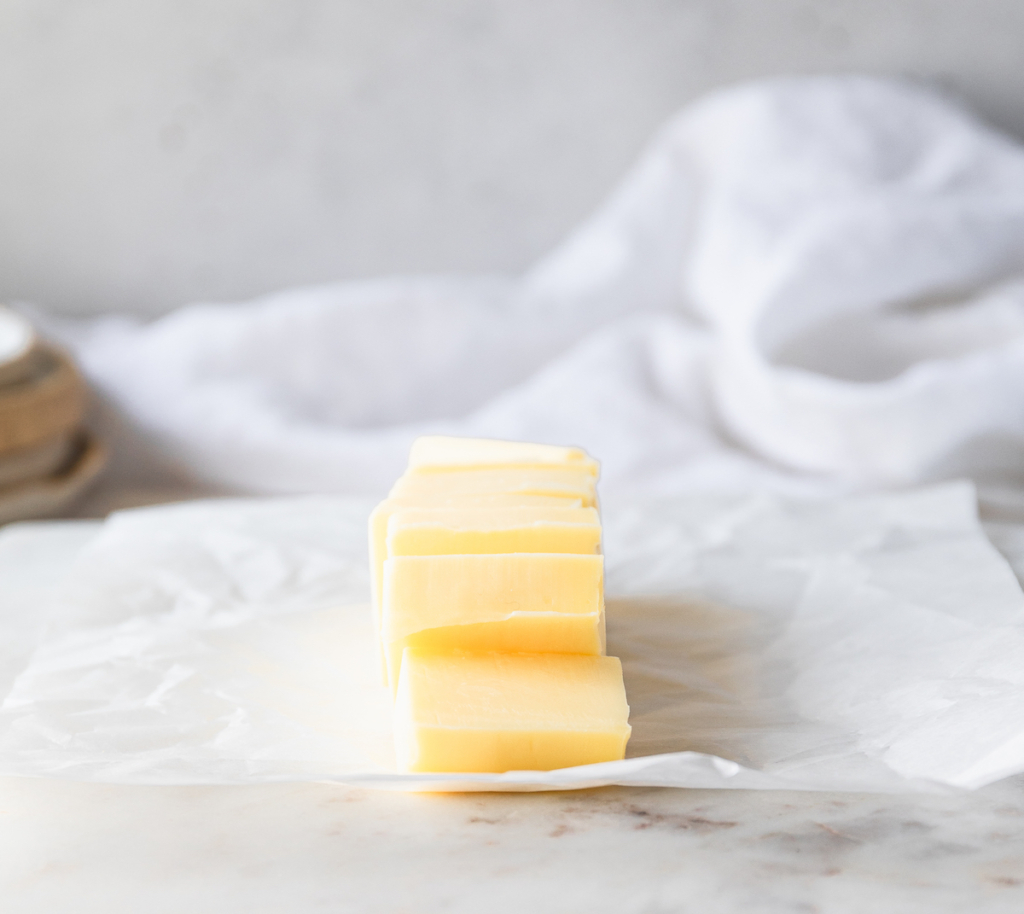
- 8 tablespoons unsalted butter (cut into 8 pieces)
Instructions
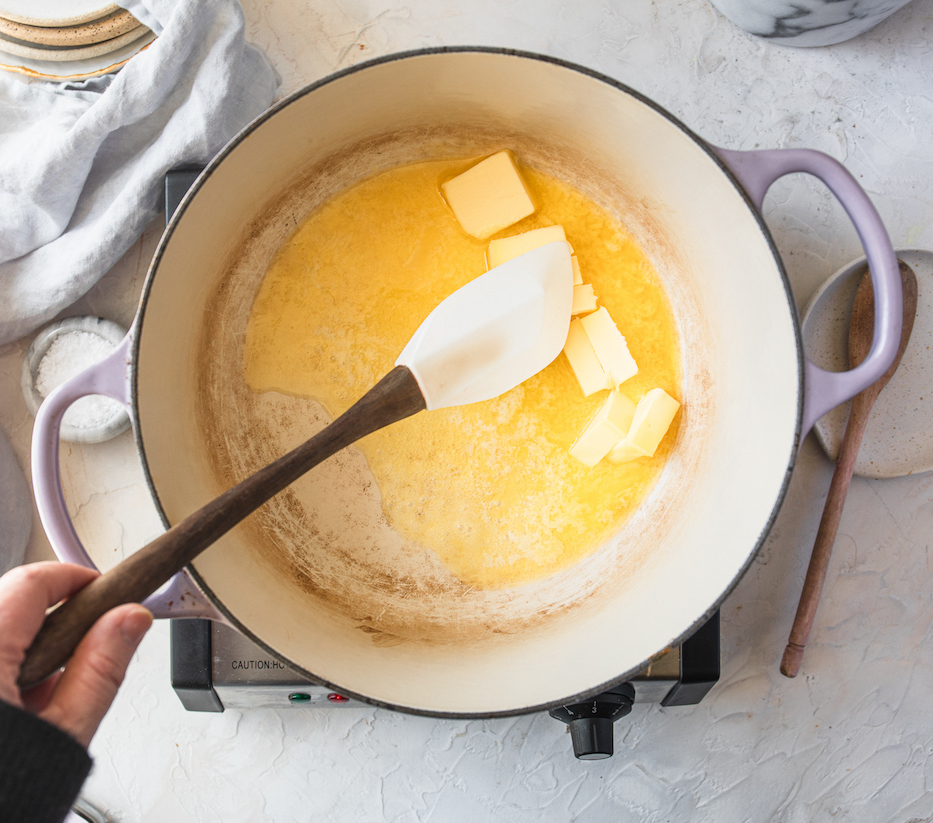
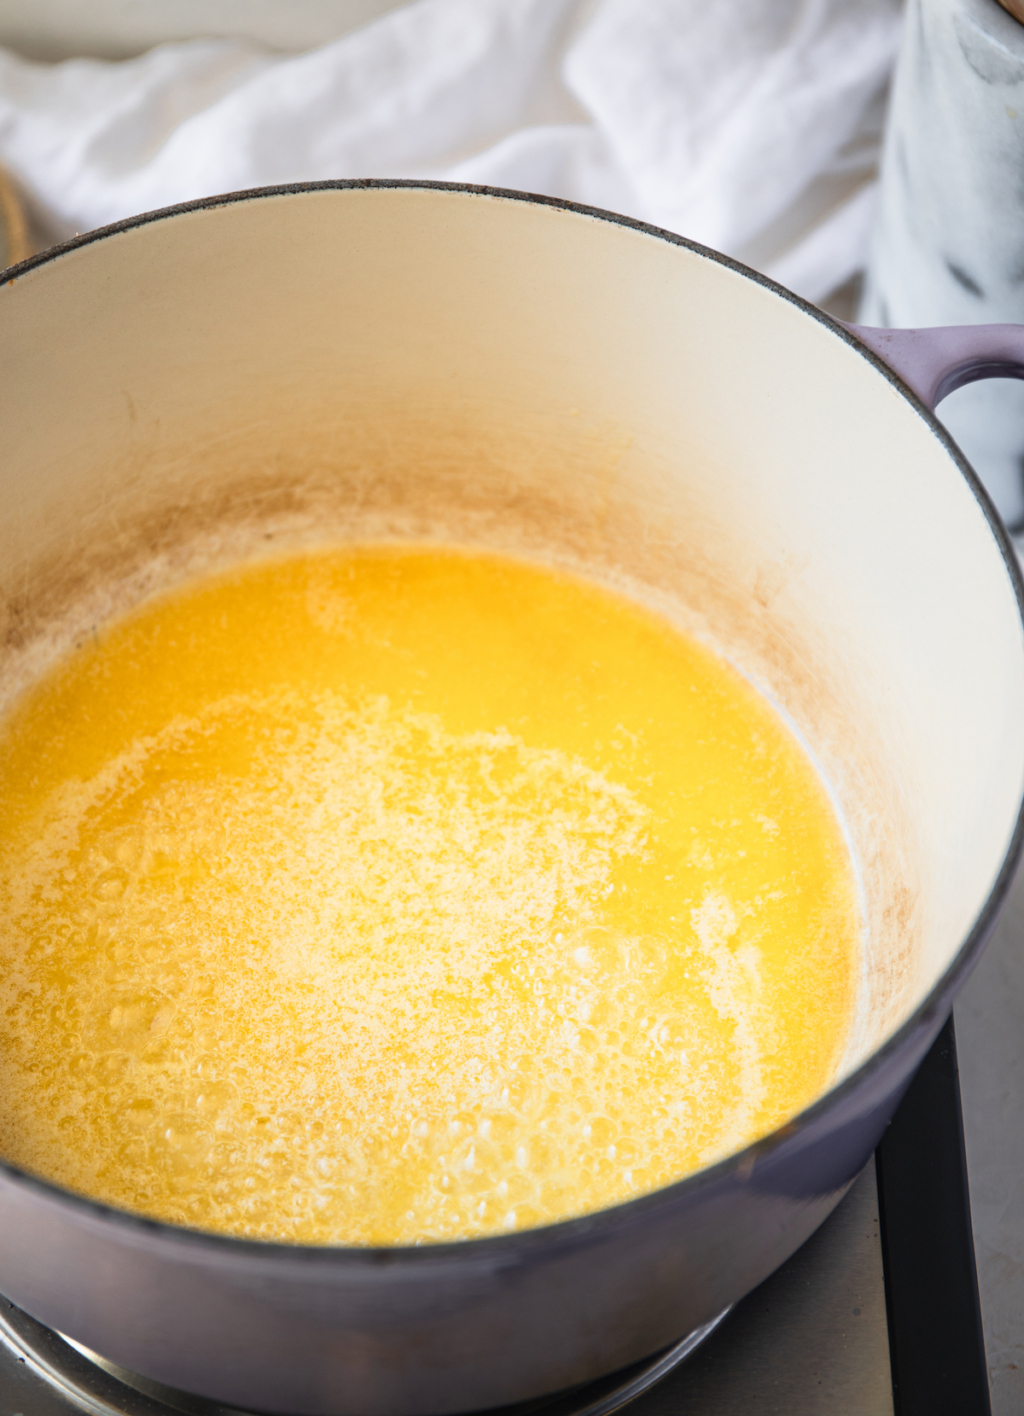
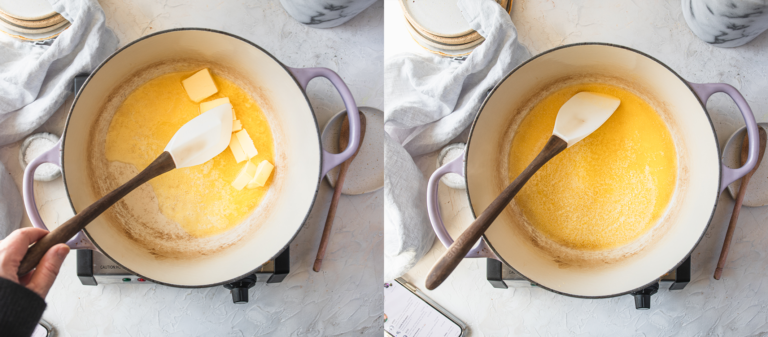
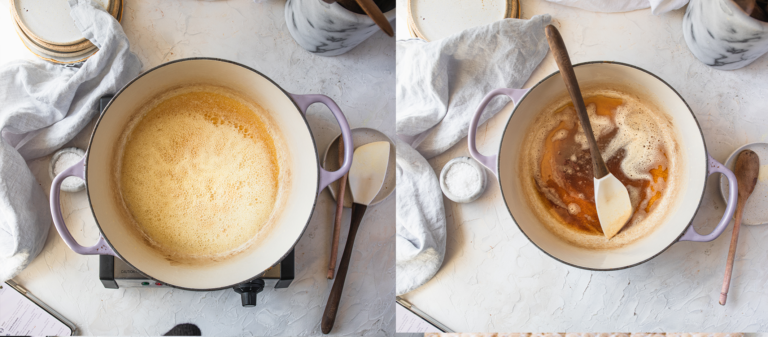
- In a small, light-colored saucepan set over medium heat, add the butter and stir until melted.

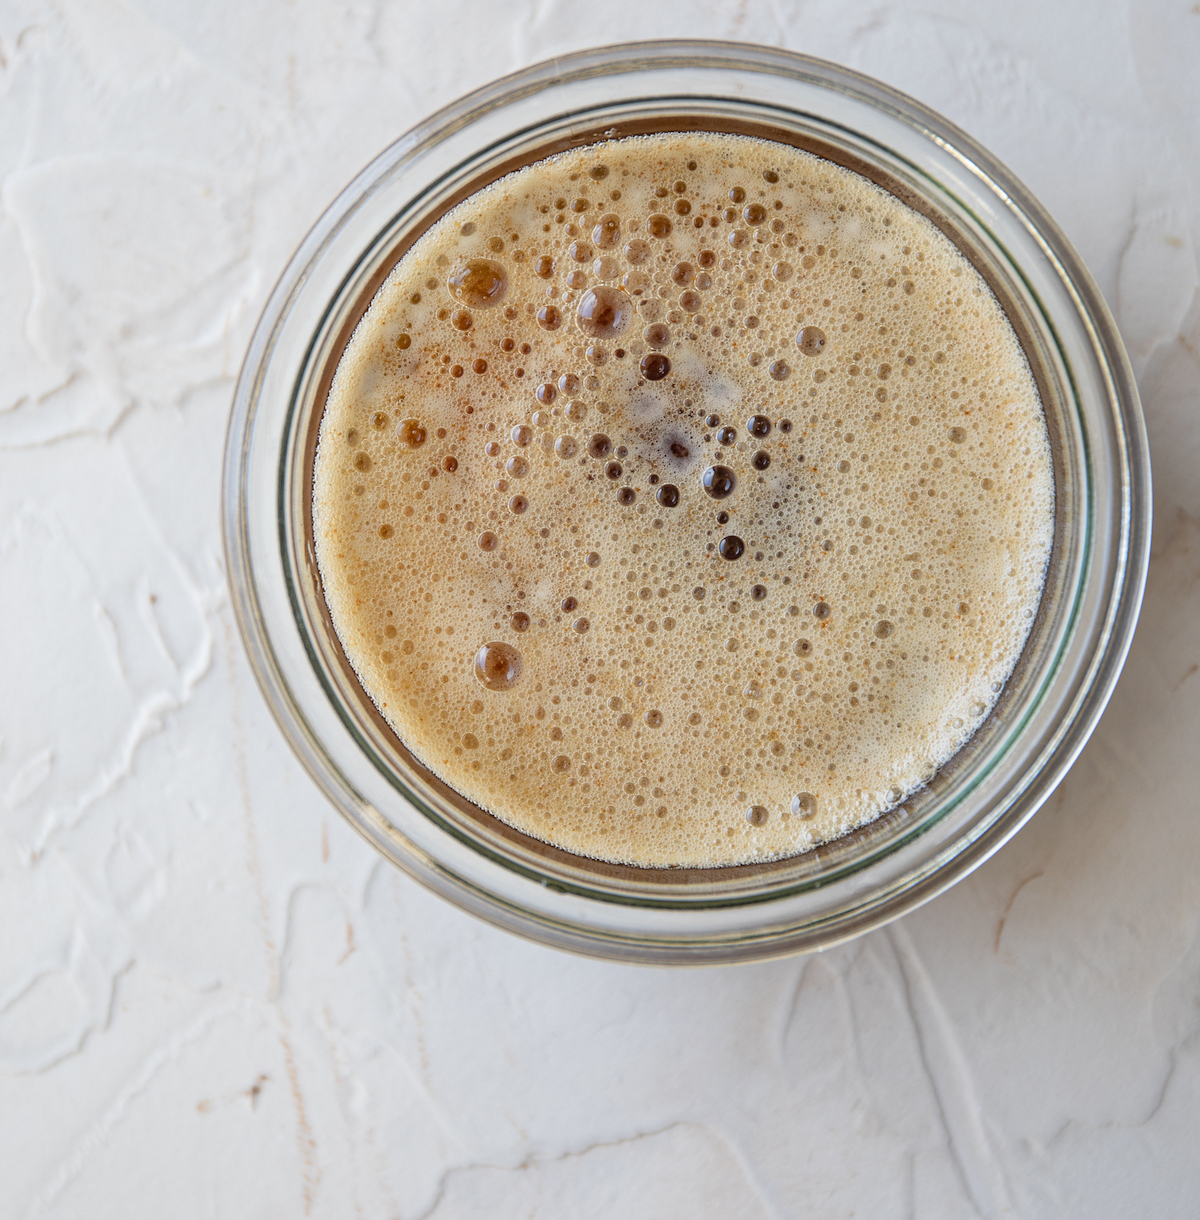
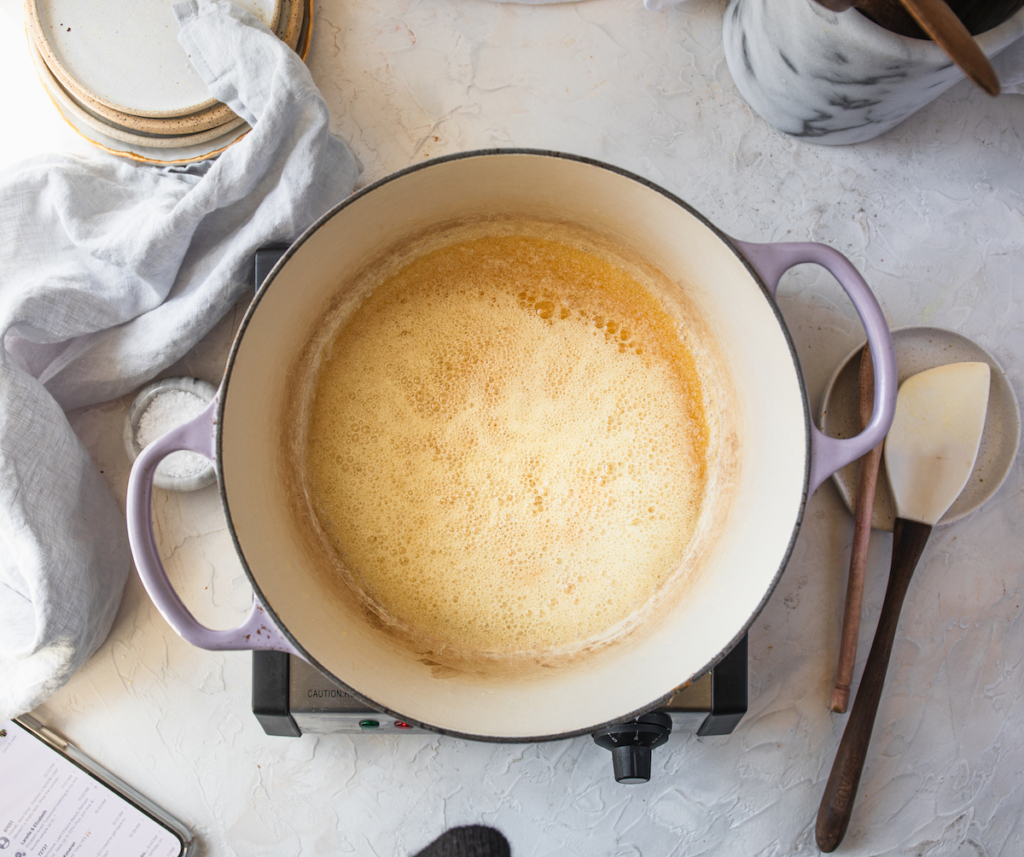
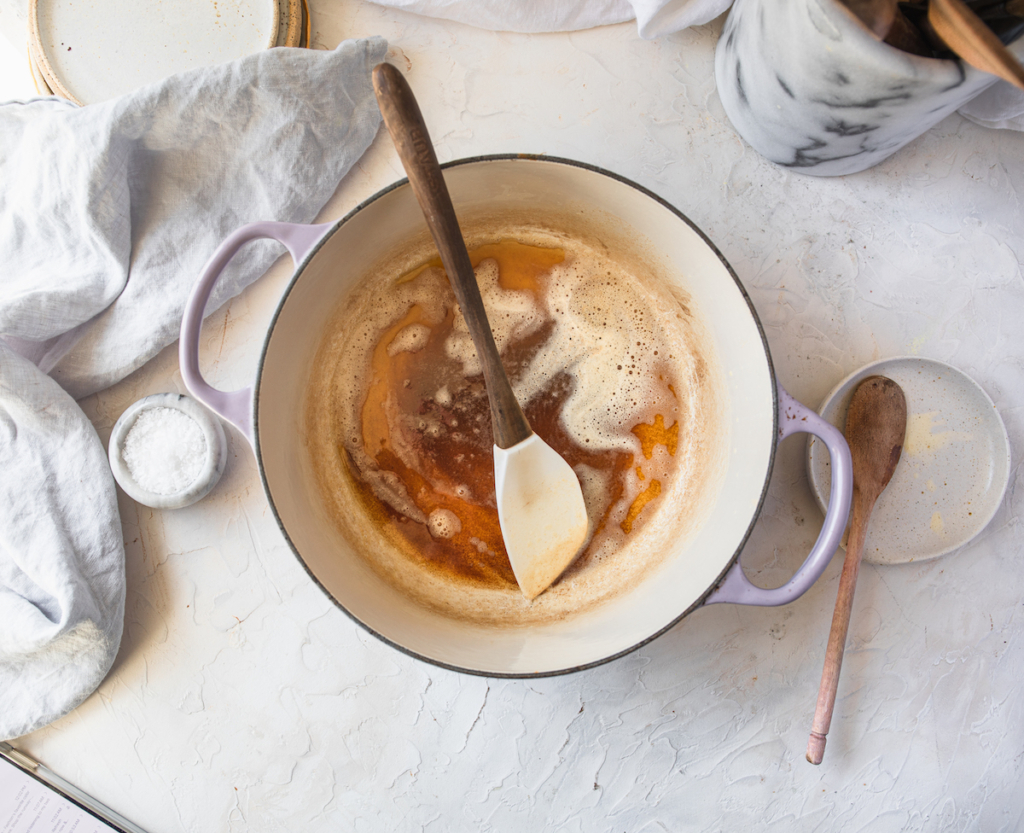
- As the butter heats up it will start to foam over the top and bubble around the edges. At this point, turn up the heat to medium high and continue stirring. Small golden bits settle on the bottom of the pan. Continue stirring and scraping the bottom of the pan for 1-3 minutes as they deepen to a bronze. Use your senses to guide you: you should see the deep golden bits on the bottom of the pan (think the color of golden pancakes) and smell the most delicious nutty, caramelized fragrance. Once the bits are a bronzed immediately take off of the heat and pour into a heat-safe bowl to cool. Be sure to scrape all of the bronzed milk solids into the bowl.
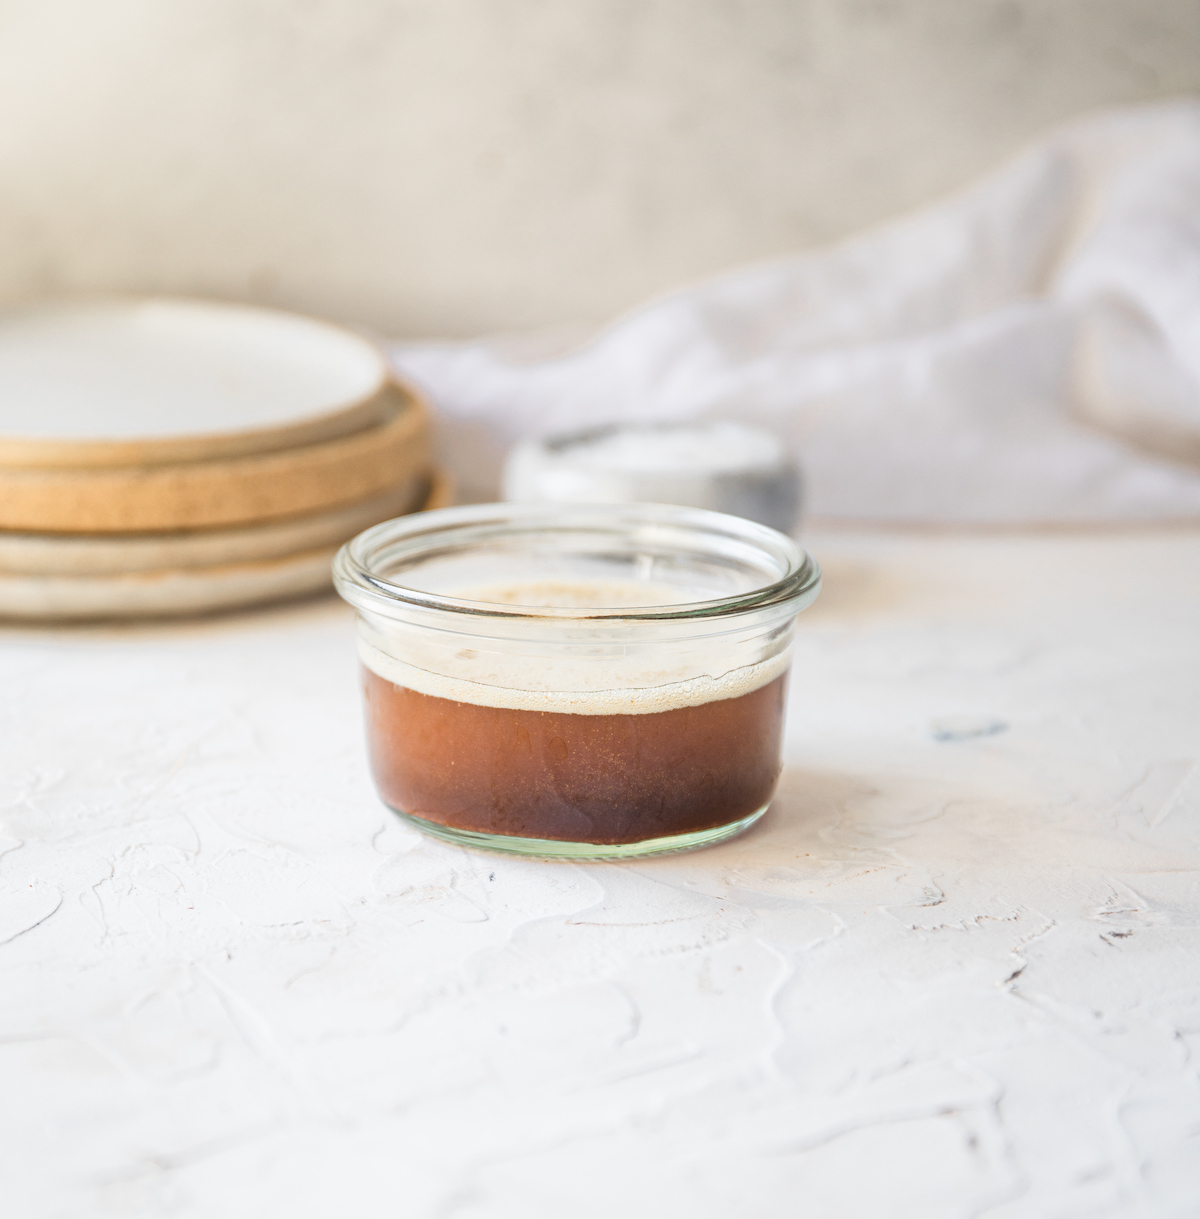
- Brown butter can be used once cooled or stored in an air-tight in the fridge for a later date.

Thank you for this detailed explanation for making browned butter. Turned out perfect.
I’m so glad Cindy!! Enjoy! xo