
I’m super excited to share my 10 favorite EASY baking tips for perfect cakes, EVERY TIME! I love cake so much that I wrote a book about it: The Cake Book!
And I’m super excited to share all of my favorite cake baking tips and secrets, for perfect, beautiful cakes, every time.
These cake tips focus mostly on classic one-layer cakes, two-layer cakes and snacking cakes (what’s not to love!). It does not focus on cheesecake (although that’s a great idea for another post!) or specialty cakes.
Here are my 10 favorite tips for perfect cakes…
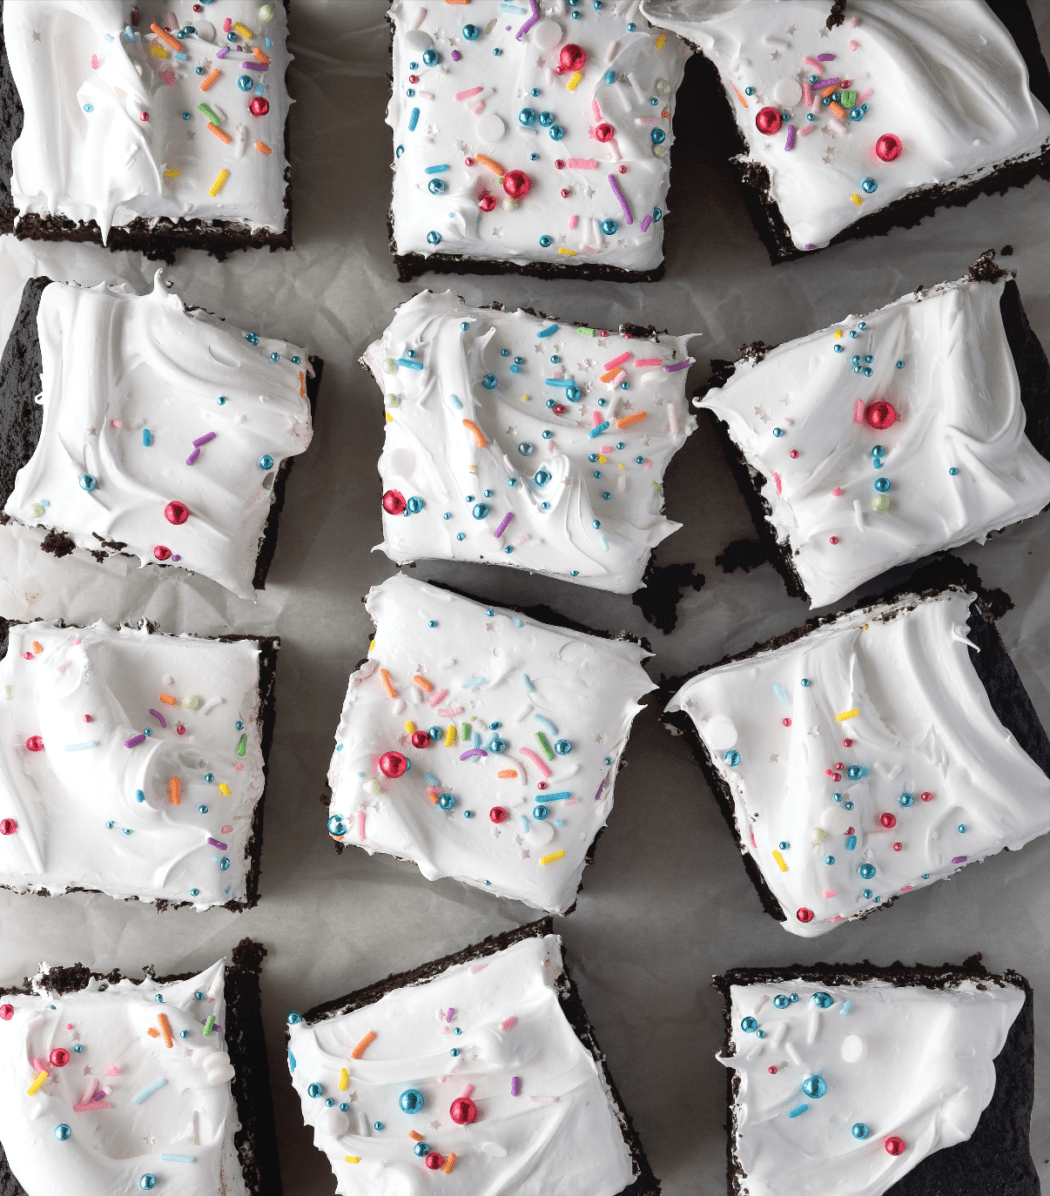
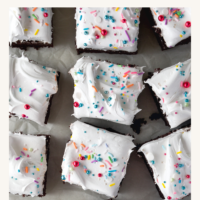
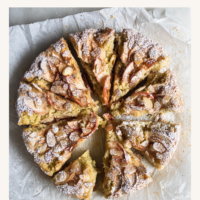
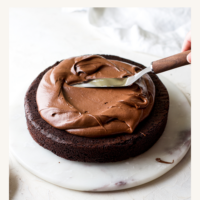
Pictured Above: Chocolate Cake with Marshmallow Frosting (a giant, fancy Ding Dong!)
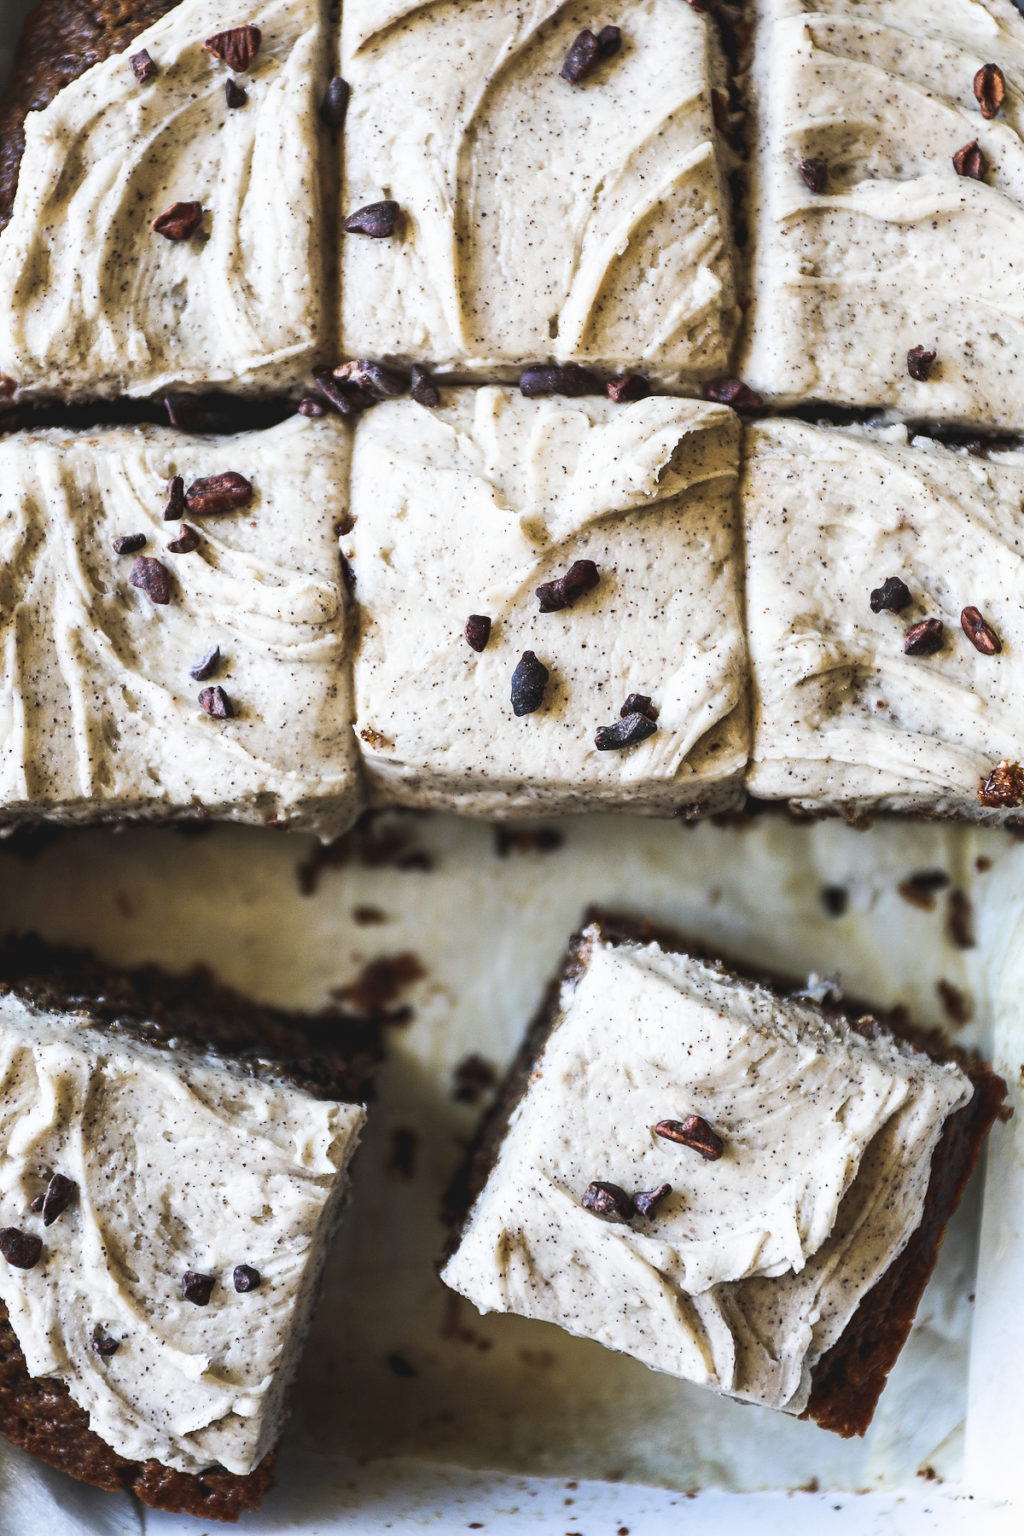
Pictured Below: Banana Espresso Cake with Espresso Bean Buttercream
1. Bring Your Cake Ingredients to Room Temperature
Gather all of your cake ingredients and bring specified ingredients to room temperature if the recipe requests it (don’t skip this step!!). I always get the chilled ingredients for the recipe out first.
Here are some tips to quickly get your cake ingredients to room temp:
Eggs
Place in a bowl of warm water while you gather and measure your ingredients. If the water gets cold quickly, refresh with new warm water.
HOT TIP: Eggs are easier to crack when cold. As an alternative to the above method and if you have a wee more time, you can crack your eggs into a bowl and let them come to room temperature that way. Once out of the shell they warm up pretty quickly.
Milk or Other Liquids
Place in a heat-safe liquid measuring cup and put in the microwave for 10 seconds on high. That should take the coolness off. It should feel just the slightest bit cool.
You can also place the liquid in a small saucepan over medium heat and stir for about 3 minutes.
If it gets too hot using either method, transfer to a fresh container to cool down a bit.
Butter
Cut your butter into equal-sized pieces. I will often cut one stick of butter (8 tablespoons; 113 grams) into 16 pieces as more surface area means it will come to room temperature faster.
If you need faster (I’m talking yesterday), set the butter on a heat-safe plate and put it in the microwave on high for 5 seconds. You may need to add an additional 5 seconds.
You do not want your butter to get mushy, melty, greasy or glossy. So error on the side of less is more.
Remember that room temperature should feel slightly cooler than your body temperature. Anywhere around 70F (21C) is your sweet spot.
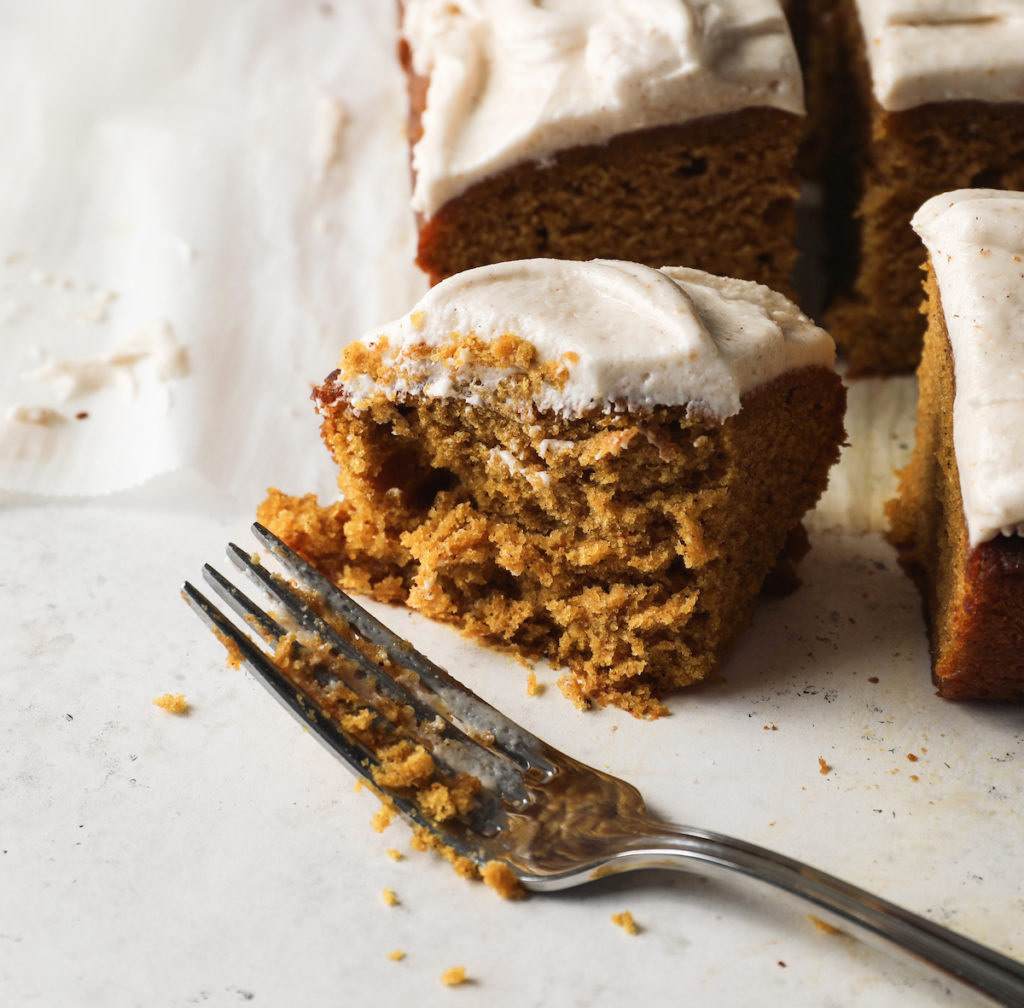
Pictured Below: Pumpkin Bourbon Cake With Brown Butter Bourbon Buttercream (YUM)
What Can Go Wrong If You Don’t Have Cake Ingredients at Room Temperature?
If your butter is cold it won’t whip up as nice and light and fluffy as it should when you’re creaming butter and sugar together.
At this stage of cake baking you’re whipping air into your cake batter. Cold butter resists this and your cake won’t be as light and airy.
If you’ve taken the time to get your butter to room temperature and then you add your eggs (that are still cold), your cake batter will curdle at this stage. It’s not end-of-days scenario, but it’s not ideal.
You can also curdle your cake batter by adding too much liquid (yes, eggs count as liquid) too fast (more on that below!).
Similar to adding cold eggs to your cake batter, adding cold liquids will do the same: they’ll curdle your cake batter.
When a cake batter curdles the fat becomes less evenly distributed throughout the batter and this will effect your cake’s final texture.
Bottom line, follow the instructions. Trust that the cake recipe author has your back (this one does!) and bring the specified ingredients to room temp!
The short cuts above should make it happen pretty quickly so you won’t waste time sitting around (although, sounds kinda nice, doesn’t it?).
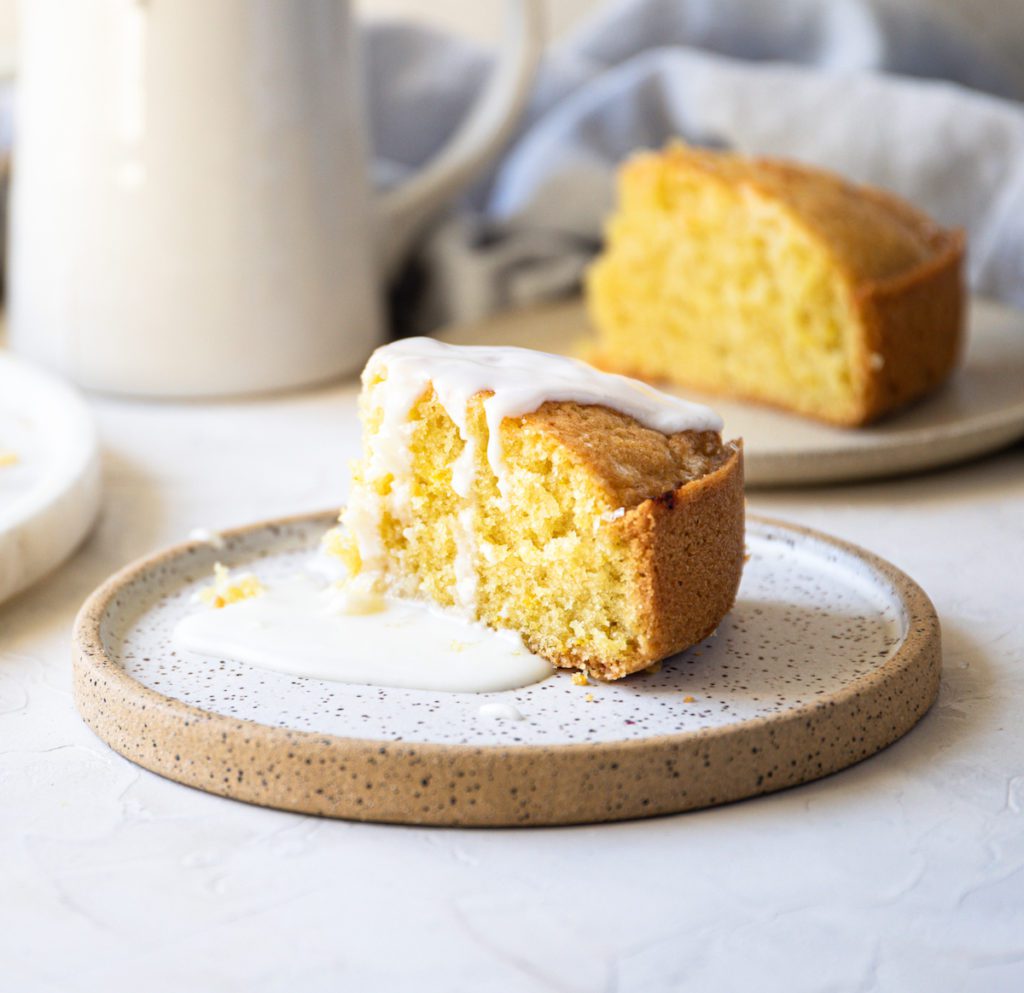
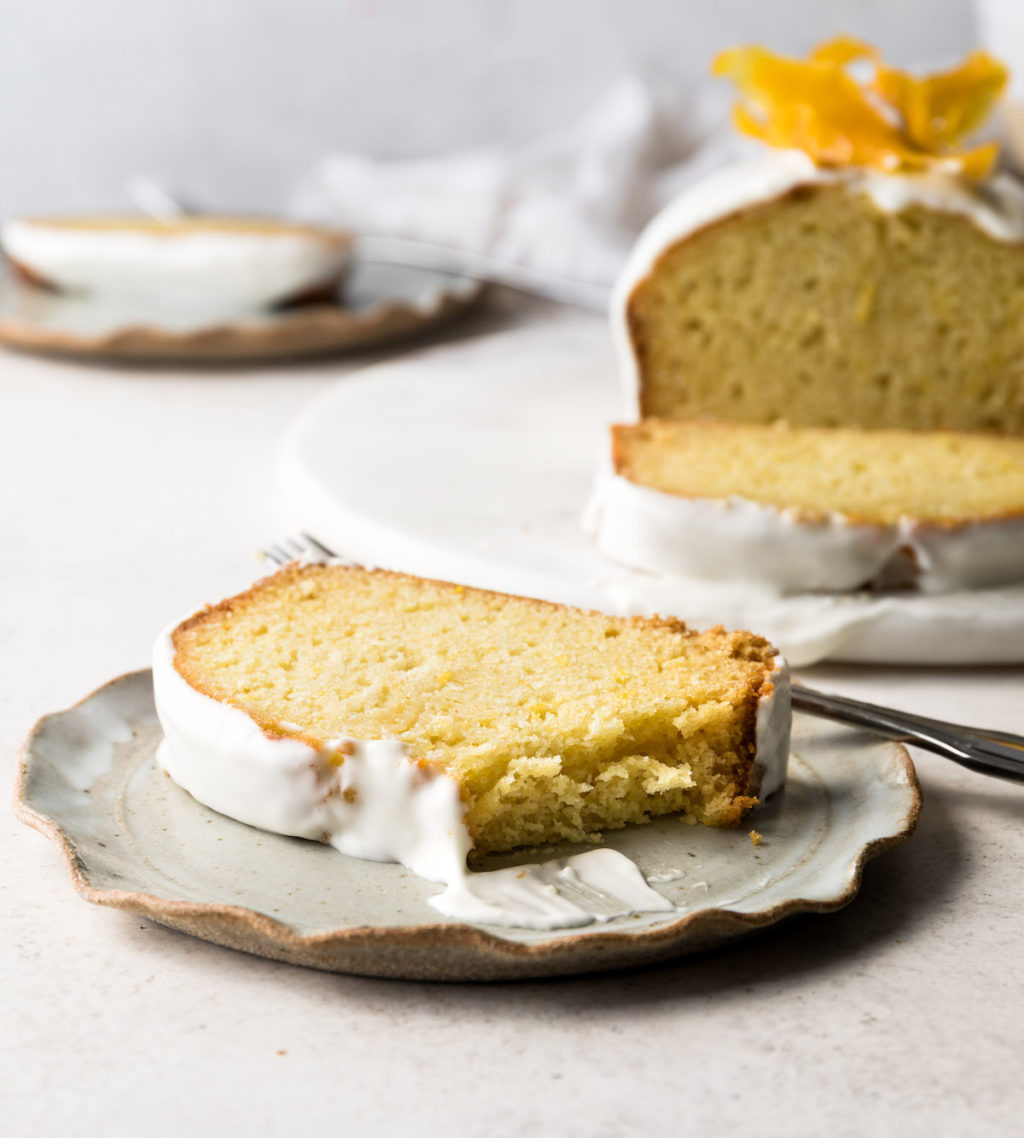
Pictured Below: Mega Delish Lemon Olive Oil Cake
2. Always Use the Correct Cake Pan & Properly Prep
Choosing Your Cake Pans
Always always always use the cake pan that’s specified in the recipe as that’s how the recipe’s author tested it and that’s how you’ll get the best results!
Going up or down in pan size will change your bake time. Additionally, some cakes just don’t do well going from, say, a rectangle cake pan to a loaf pan. That’s just the way life is.
Save your time and money spent on ingredients and find the proper pan. I’m usually pretty flexible, but I’m firm on this one!
My Favorite Cake Pans!
When writing The Cake Book, I tried to limit the number of pans I used (It was hard!). My most frequently used pans are 8-inch cake rounds, 9-inch cake rounds, a classic loaf tin, 9×13-inch (23×22-cm) baking dish (LOVE), 8-inch square cake pan, 9-inch square cake pan and a classic bundt cake pan.
For the angle food and chiffon cakes in The Cake Book, I use this angel food pan.
Oh, and pre-Cake Book, I used this dish A LOT for cakes and cookies! It’s beautiful and the dimensions (8×11-inch/20×28-cm) work for some of my older snacking cake recipes, bar cookie recipes and the bar cookie recipes in The Cookie Book (think my pre-2020 recipes!)!
These are the pans I use to bake and test all of my recipes. If I’ve left any out, let me know in the comments below!
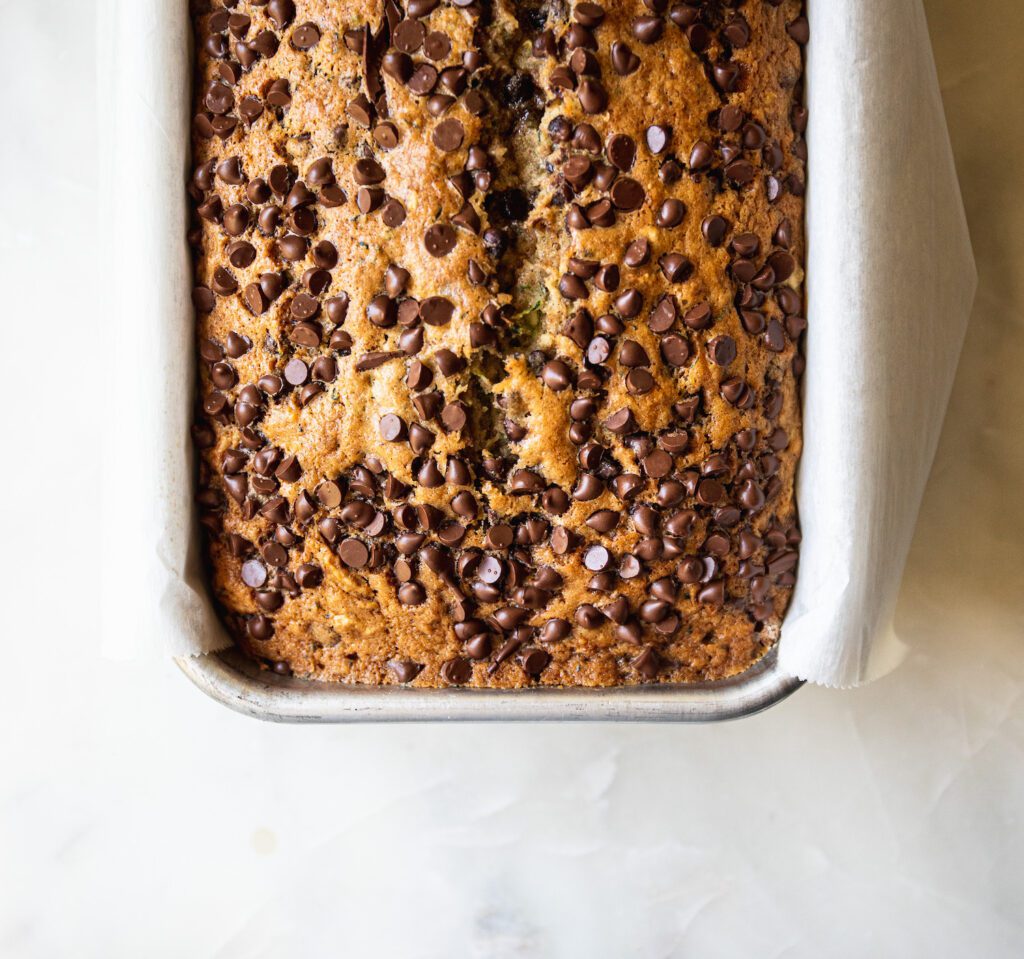
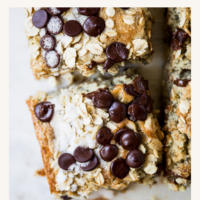
Pictured Below: Spiced Zucchini Chocolate Chip Cake from The Cake Book
Prepping Your Cake Pans
Always follow the instructions. In my recipes, if it just says to ‘grease’ your pan, then you get to choose whether you grease with butter, oil or baking spray.
The majority of the time, I use Baker’s Joy (amazing for Bundts) or another baking/cooking spray to grease my baking pans. They work great!
If a recipe specifies to use butter and flour (or unsweetened cocoa powder which I often recommend for chocolate cakes), then follow those instructions.
Parchment Paper
I love to line my cake pans with parchment paper for easy cake removal once baked. I love to use parchment rounds for round cakes. You can buy them pre-cut for the pan size or you can simply trace the bottom of the pan on a piece of parchment and cut it out.
Be sure to flip the parchment over so the pencil or ink doesn’t touch the cake batter.
I have two visual examples for lining cake pans. The first, is the Spiced Zucchini Chocolate Chip Cake from The Cake Book and it’s baked in a loaf pan (pictured above). I like to cut a piece of parchment that hangs over the long sides of the pan to make it easy to lift the cake in and out of the pan.
Make sure the parchment is pressed into the corners. I often use clothes pins to hold the parchment in place while I pour the cake batter into the pan. I used this method for both square and rectangle cakes.
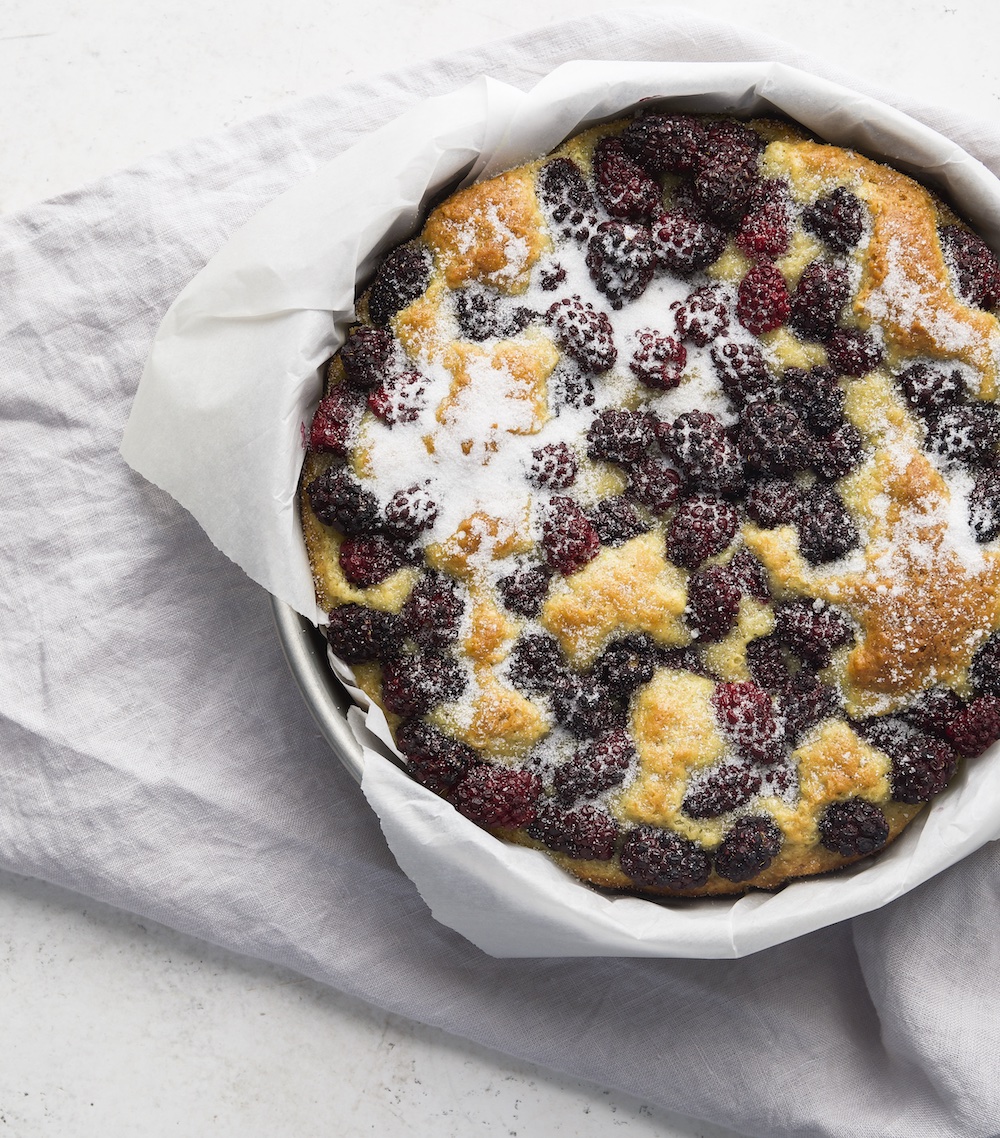
The second example is the Blackberry Lime Breakfast Cake from The Cake Book, see the photo below? It’s a round cake pan rustically lined with parchment. It hangs over the sides. I like to do it this way when I’m baking casual, round cakes.
If you use this method, really make sure you press the parchment into the corners of the cake pan. I wouldn’t use this for a cake when I want really crisp edges (I would use the parchment cake rounds mentioned above).
Pictured Below: Blackberry Lime Breakfast Cake from The Cake Book
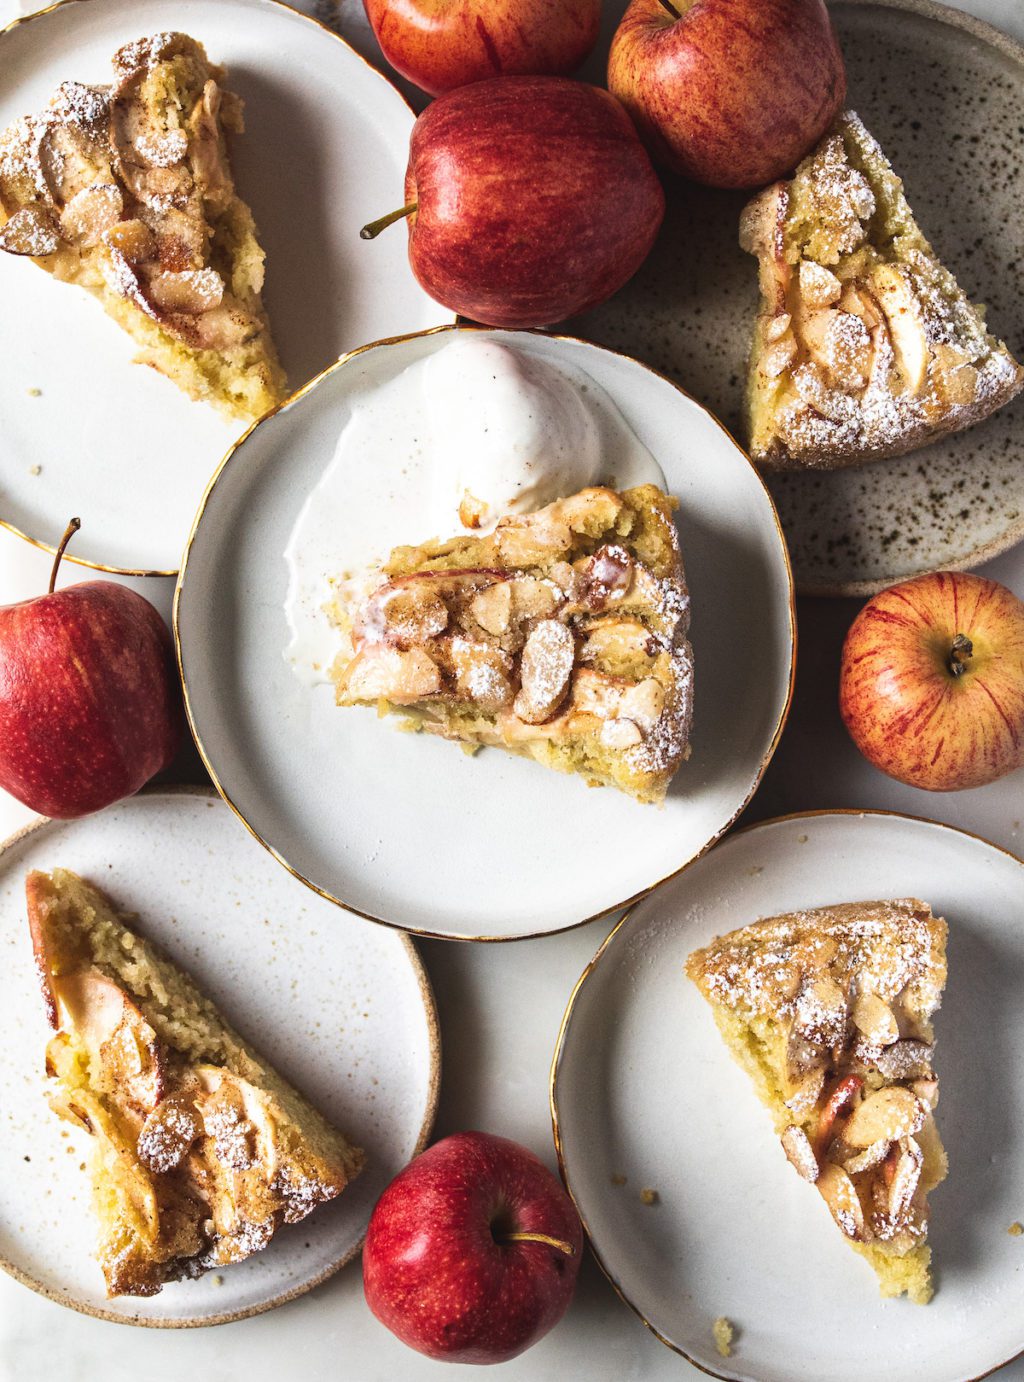
Pictured Below: Easy Apple Cake
3. Read Through the Cake Recipe!!
I have to admit, many times I’ve just looked at the ingredients and proceeded how I think it should be done.
But when you do this you’re missing out on all of the great nuggets that the recipe author (me!) has to share with you.
Plus, it gives you a good idea of how long it’s going to take (1 hour? 4 hours? Overnight?) and any special tools you might need. What ingredients do you need on hand? Should you run to the store (god forbid)? Is it time to get those ingredients out and start bringing them to room temperature (see Cake Tip #1!)?
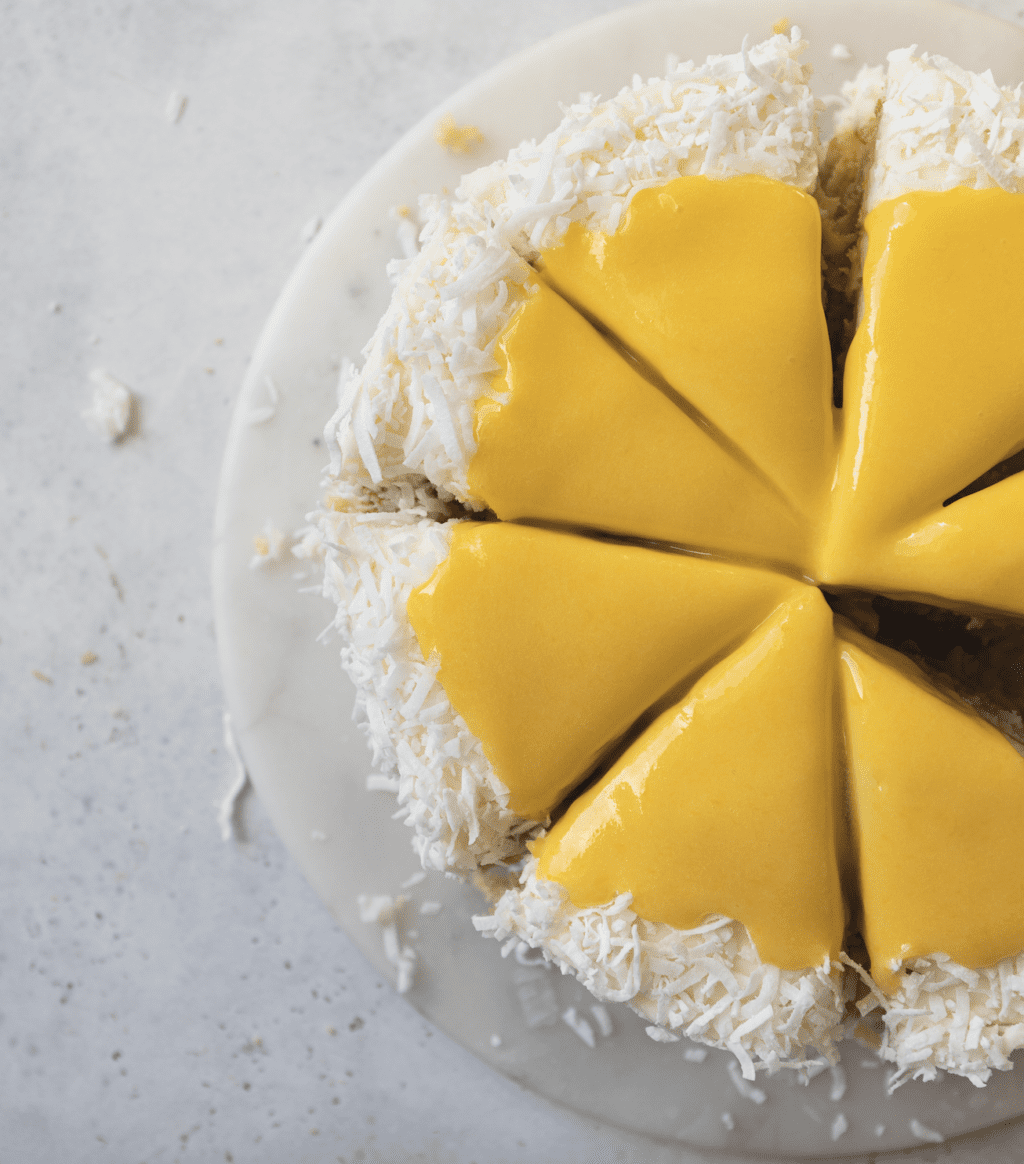
Pictured Below: Coconut Olive Oil Cake with Pineapple Curd (recipe available in The Cake Book)
4. Preheat Your Oven Please!
Ovens often aren’t warmed to the appropriate temperature even when they say they are. Make sure you give yours ample time to warm up and come to the proper temp.
Know thy oven. Grab yourself some oven thermometers (I use this one) so you can rest assured that your oven is heating properly and adjust your bake time accordingly.
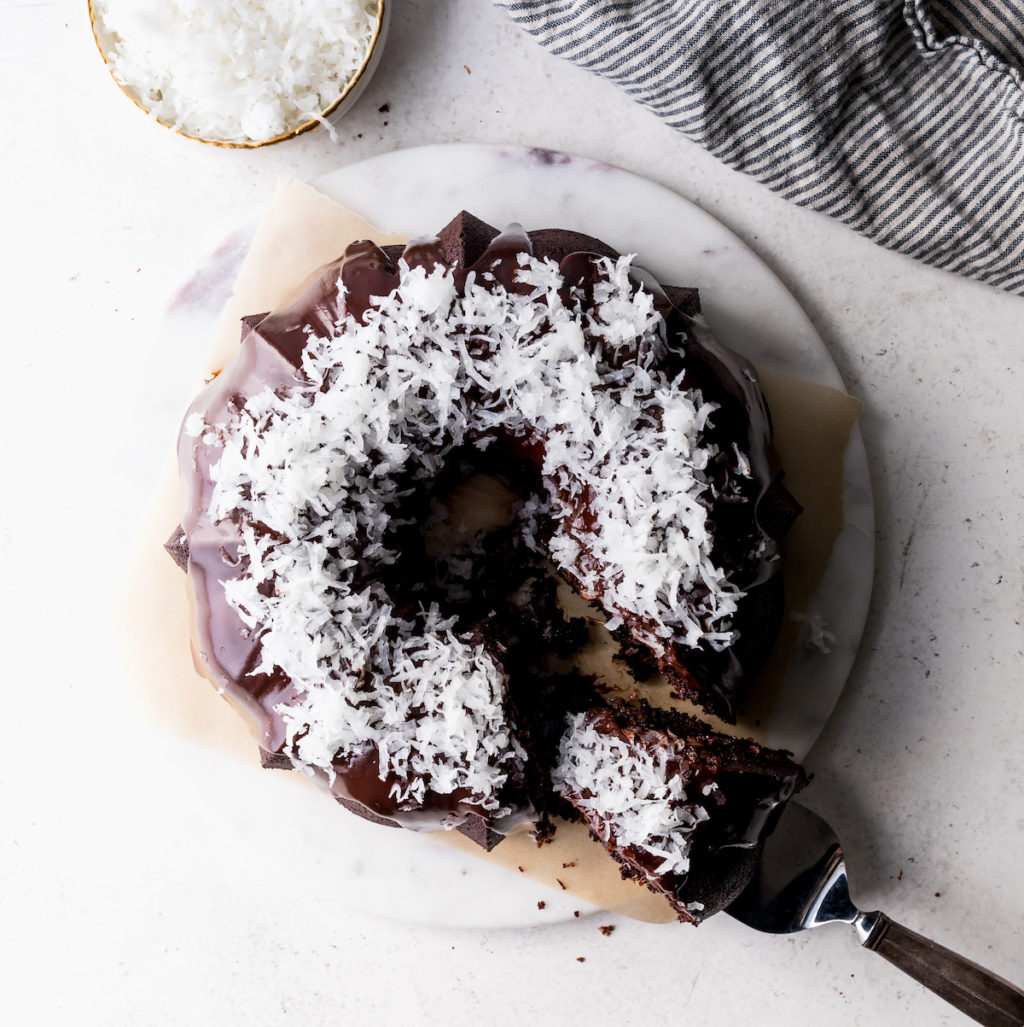
Pictured Below: Chocolate Coconut Candy Bar Cake
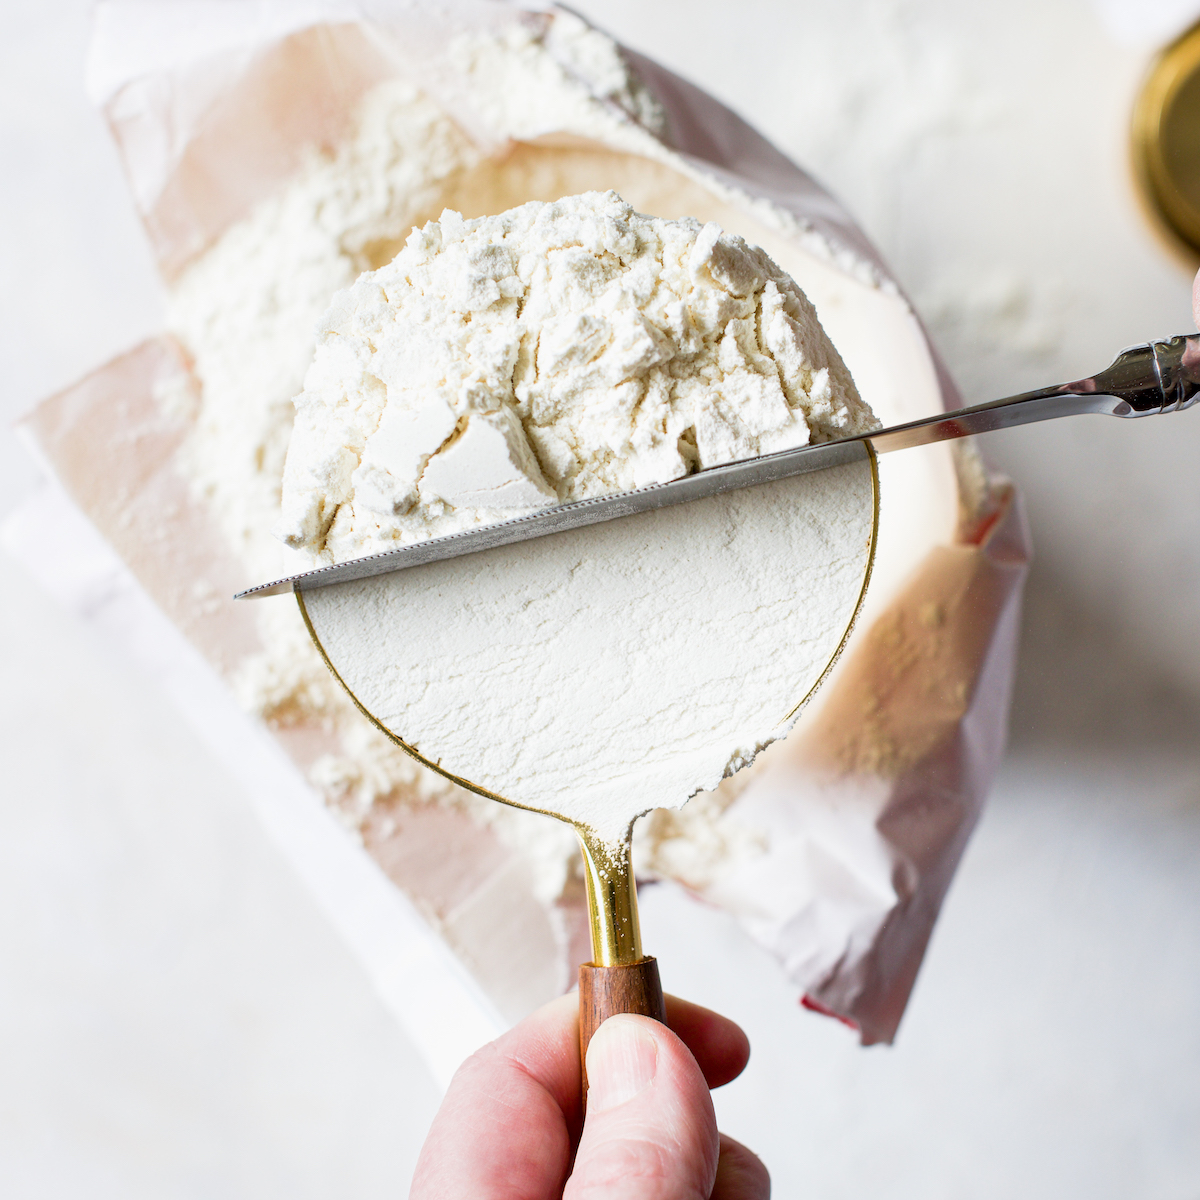
The Baker’s Guide to Measuring Flour
One of the biggest (and most common) mistakes in baking is how we measure flour. If you find yourself without a scale, see my top tips on how to properly measure flour for the perfect amount every time!
5. Weigh Your Cake Ingredients
My recipes include both volume (cups and spoons) and weight (grams).
For accuracy and getting the same exact cake every time, I can’t recommend a scale enough: they can be purchased inexpensively, you’ll create fewer dirty dishes (YAY!) and you’ll consistently get perfect cakes every time. Have I convinced you yet?!
**Some of my oldest recipes do not include weight measurements. If you would like a particular recipe in weights and it isn’t, just drop a request in the comment section of that post and I will knock it to the top of the list! xo
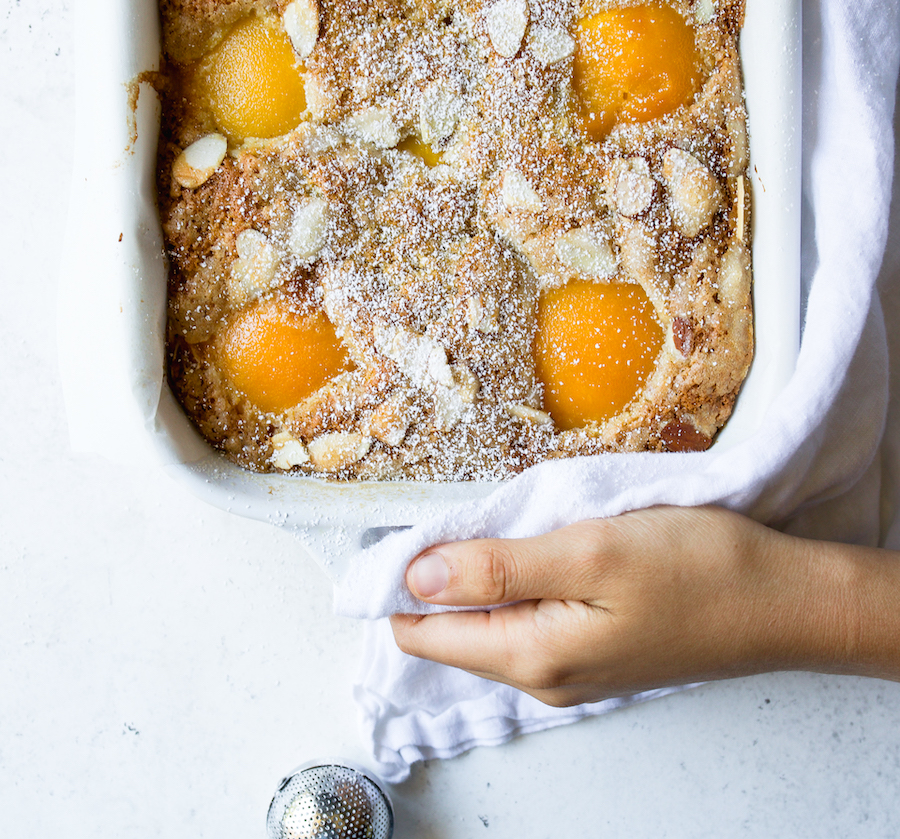
Picture Below: Almond Peach Cornmeal Cake
6. Careful When Mixing Your Cake Batter
First, be careful when you’re adding in liquids (even eggs!). Too much liquid added into your cake batter can make it curdle. Add any liquid very slowly so that it will gently mix into the batter.
Curdled batter can effect the texture of your cake since the fat won’t be as evenly distributed. The cake will still work, but it won’t be the best it can be.
Second, use a very gently hand when mixing in your flour, using as few strokes as possible. You don’t want to activate the gluten.
Use slow, deliberate strokes taking care to scrape the sides and bottom of the mixing bowl so that everything is well combined.
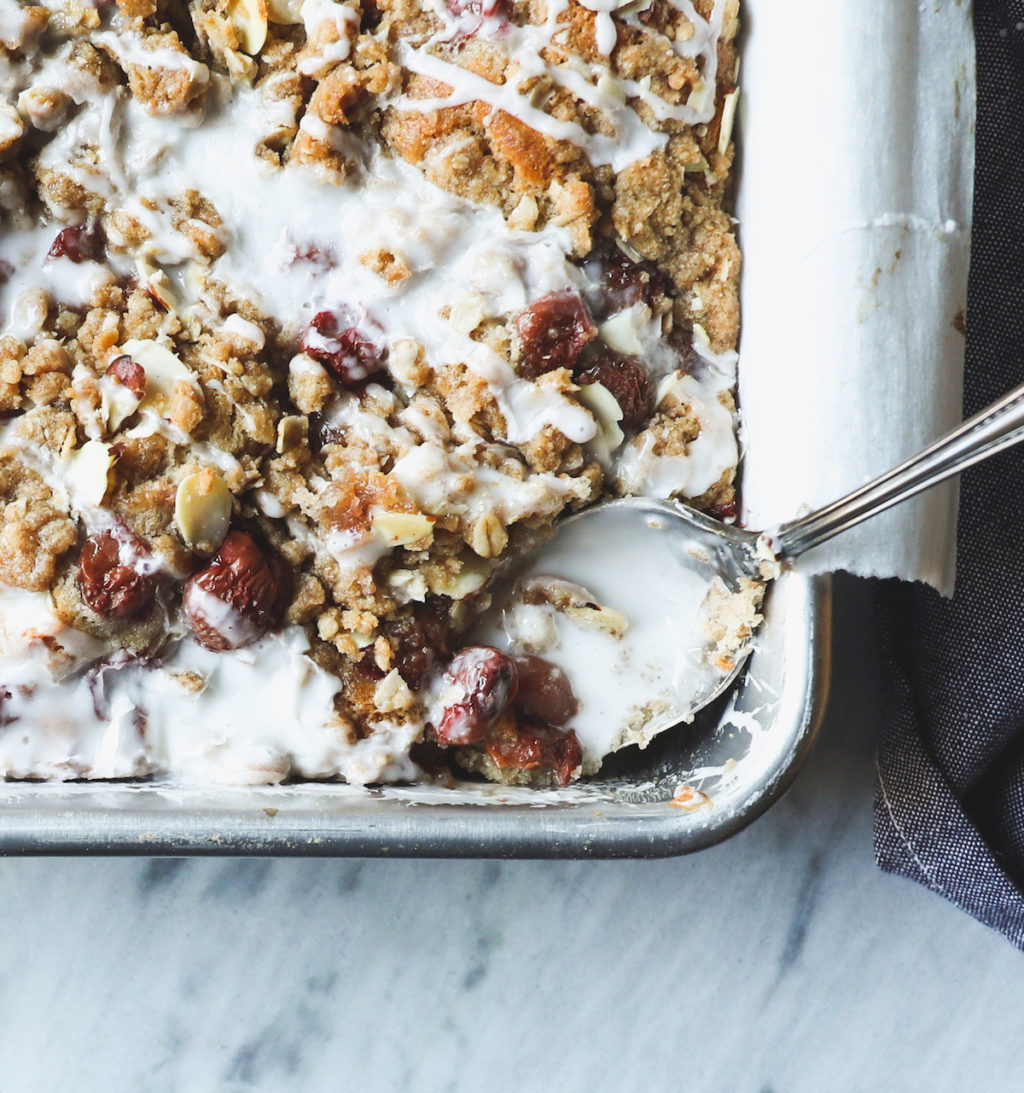
Picture Below: Cherry Streusel Coffee Cake
7. Don’t Rotate Pans or Open The Oven Door
Every time you open your oven door you change the temperature inside. Those temperature fluctuations will extend your bake time, can lead to the outer edges of the cake baking faster than the middle and result in a sunken cake.
It’s not what we’re looking for in our cake endeavors.
For this same reason you’ll never see one of my recipes telling you to rotate a pan mid-bake. Nope. Not necessary, don’t do it!
Pictured Below: Citrus Loaf Cake (use any citrus you like!)
8. When Is Your Cake Done?
Every oven is different. If yours runs hot, check your cakes earlier. If it runs cooler, they may need a little extra time.
Look for signs that your cake is done: has it puffed up, gently pulled away from the sides, does the center spring back when gently pressed? These are all clues that your cake is done.
Baking times are based on thorough recipe testing. But they’re not bulletproof. Your oven’s temperature, along with the pan you’re using, can impact the bake time. So get that oven thermometer as I mentioned above!
HOT TIP: I’m not a huge fan of using cake testers, toothpicks or kebab sticks in the middle of your cake. If your cake isn’t quite done it can cause the cake to sink. Which, it will still taste delicious, but isn’t ideal. I prefer to look at lightly bronzed edges and pressing the center of the cake to test for doneness.
I also swear that cakes talk to you when they’re done. I know it sounds bonkers :) but next time you take a cake out of the oven, lean in close and you’ll hear it. Seriously. Do it next time and report back!
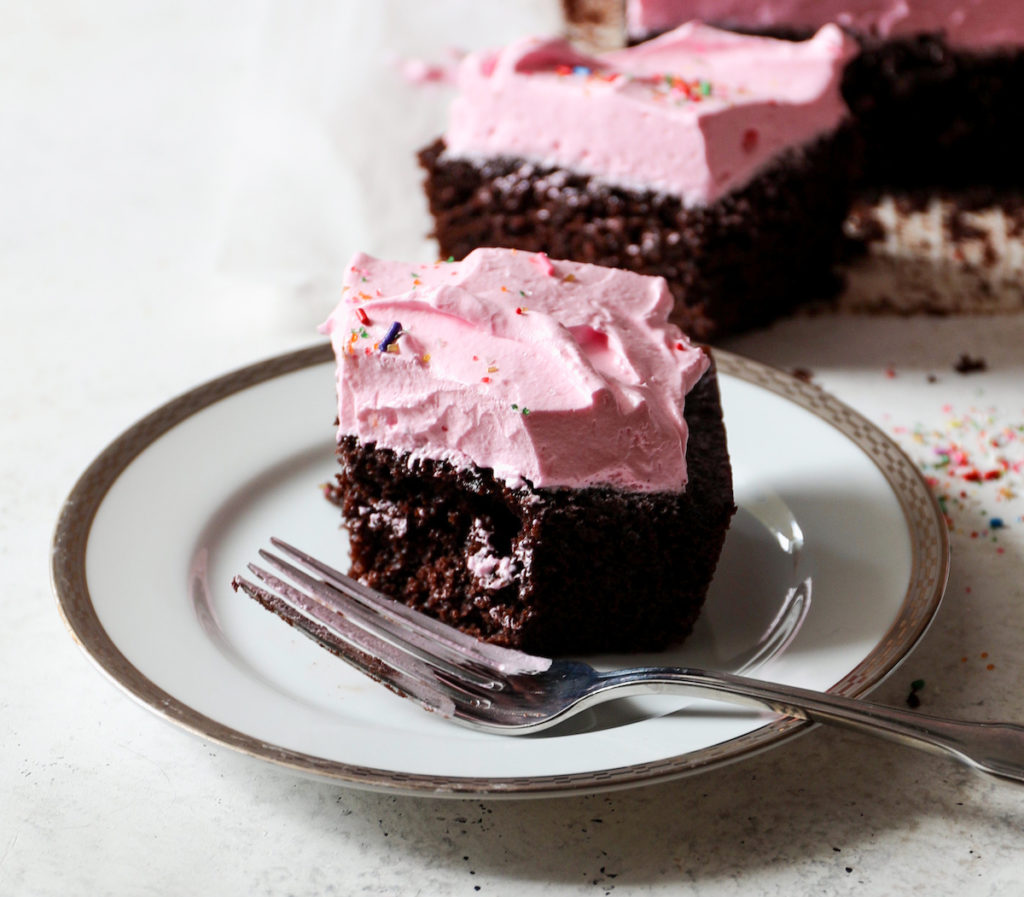
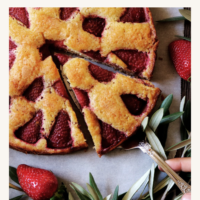
Pictured Below: Jessie’s Birthday Cake with Fresh Strawberry Marshmallow Frosting
9. Hot Tip! Let Your Cakes Cool
I get so impatient waiting for any sweet treats to get out of the oven and I definitely (sometimes…often) rush the cool-down time. Don’t do like me! Nine times out of ten, your cake will taste better if it’s cooled.
Also, trying to frost or glaze a still-warm cake is a fool’s errand.
So set your cakes on a cooling rack, turn them out to finish cooling outside of their pan when noted in the recipe and then go take a bath, read a book, go for a walk, whatever until that baby has cooled down.
Then and only then can you proceed with frosting or glazing or ganache-ing until your heart’s content.
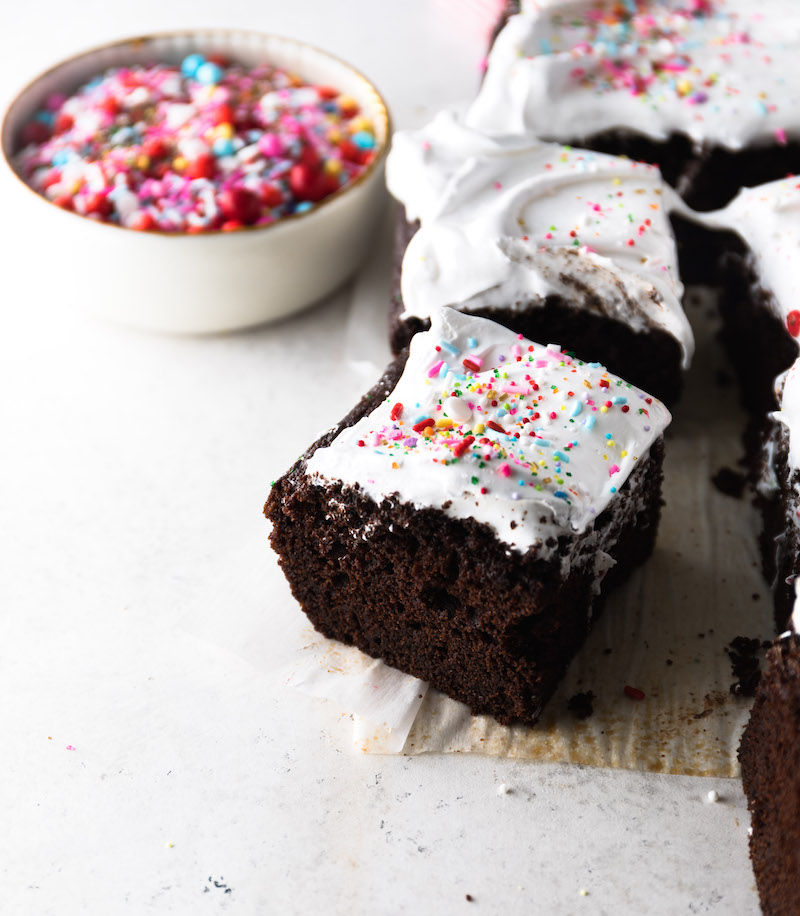
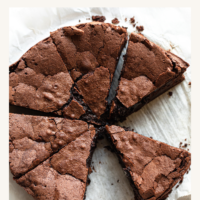
Pictured Below: Granny Pete’s Chocolate Cake With Marshmallow Frosting
10. Store Your Pretty Cakes!
You worked hard on that cake and you deserve to admire your work!
Nothing makes me happier than a pretty lidded cake pedestal. I love this one and this one (I use the glass dome for both stands) for keeping cakes on my counter.
I don’t have this cake dome but I am OBSESSED with it and it’s on my wish list! (I store cookies in domed cake pedestals as well…you can read my favorite tips for fabulous cookies (every time!) right here.)
If the interior of my house is cool and there isn’t any raw egg in the buttercreams, then I’ll store the cake at room temperature, in an air-tight container for several days.
If it’s warm, humid or I used raw egg than I will keep the cake, wrapped tightly, in the fridge.
I hope you enjoyed My 10 Favorite Tips for Perfect Cakes! If I missed anything, leave me your questions in the comments below!


#10 Storing your cakes, you mentioned your favorite pedestal cake stand. Is it air tight? Will you please give us the link to this one? Thank you!
Hi Colleen! Thanks for the note, I forgot to add those links, so I appreciate it!!
I store cookies and cakes in my pedestals and it keeps them quite fresh. I’ll even store sourdough in there…I often add a ramekin with some water with the sourdough to keep it from drying out (as sourdough tends to get firm fast). I don’t do that with cookies or cakes.
As a note, add two layers of parchment to the marble one before adding the cake. It will probably still get some light staining but it doesn’t bother me much. Depends on how buttery that cake is!
Let me know if you have any other questions! xo
Thanks so much for all the important information. Things I never knew!
Glad you learned some stuff!!! xo
Love your cakes. These tips are great, thanks
Thank you Susan!!!