
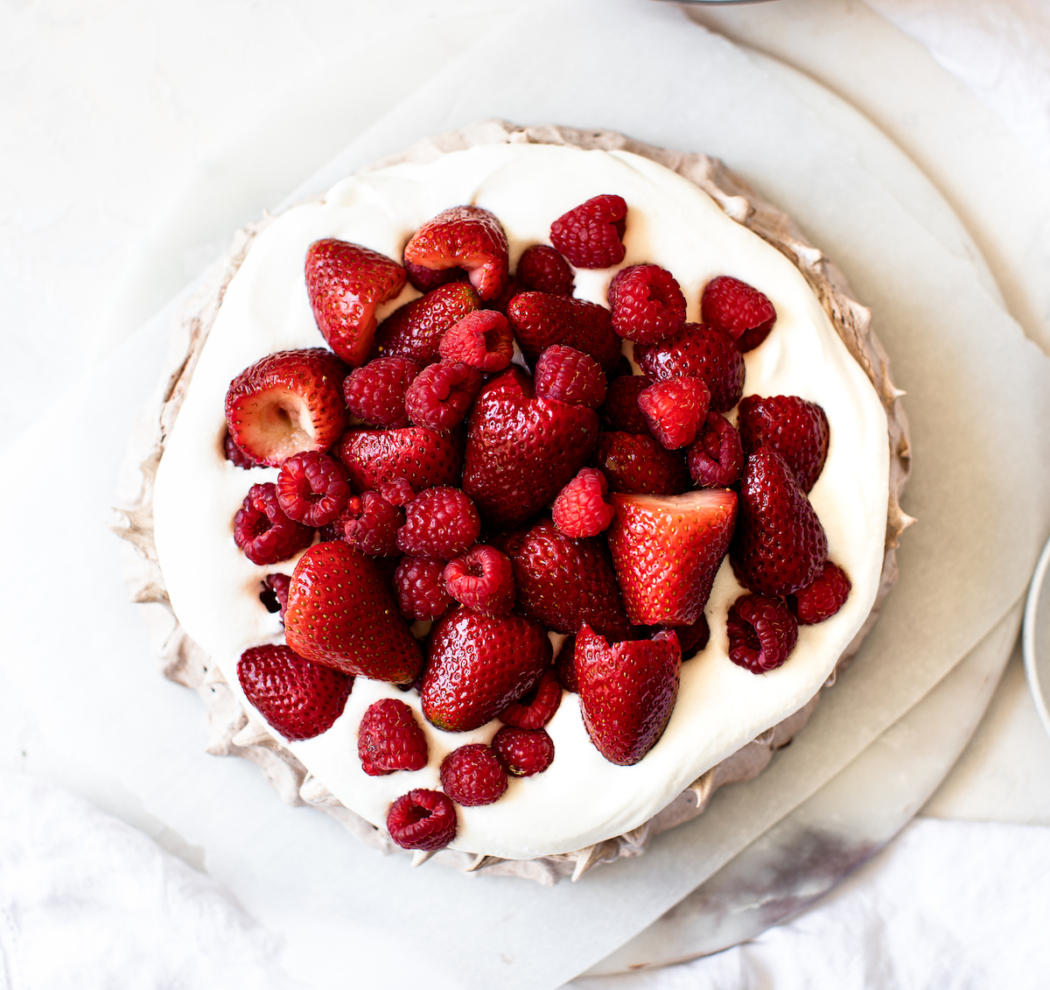
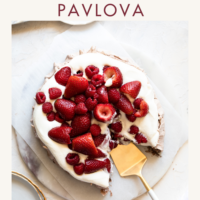
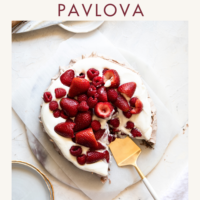
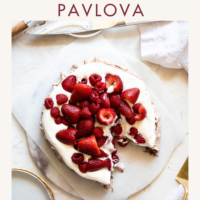
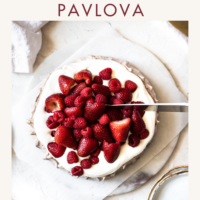
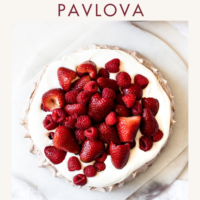
Brace yourself for the magic that is this Chocolate Pavlova Recipe with Berries and Whipped Cream. For this showstopper, we whip up meringue until it holds stiff, shiny peaks and then barely (and I mean barely) fold in the decadent trio of espresso powder (always optional), cocoa powder and finely chopped chocolate.
I included a holiday palova in The Cake Book (in the Holiday Chapter) and I absolutely LOVE them. This particular chocolate pavlova was inspired by one I had at a Folded Hills wine release party (I think it was for rosè?). I’ve been wanting to recreate it ever since, it was so good!
If you love meringue, check out these Chocolate Orange Meringues, this Chocolate Brownie Meringue Cake or these Crispy French Meringues.

Why You Should Make This Double Chocolate Pavlova Recipe
- A naturally gluten-free dessert if that’s your jam (even if it’s not, you’ll love this decadent dessert!)
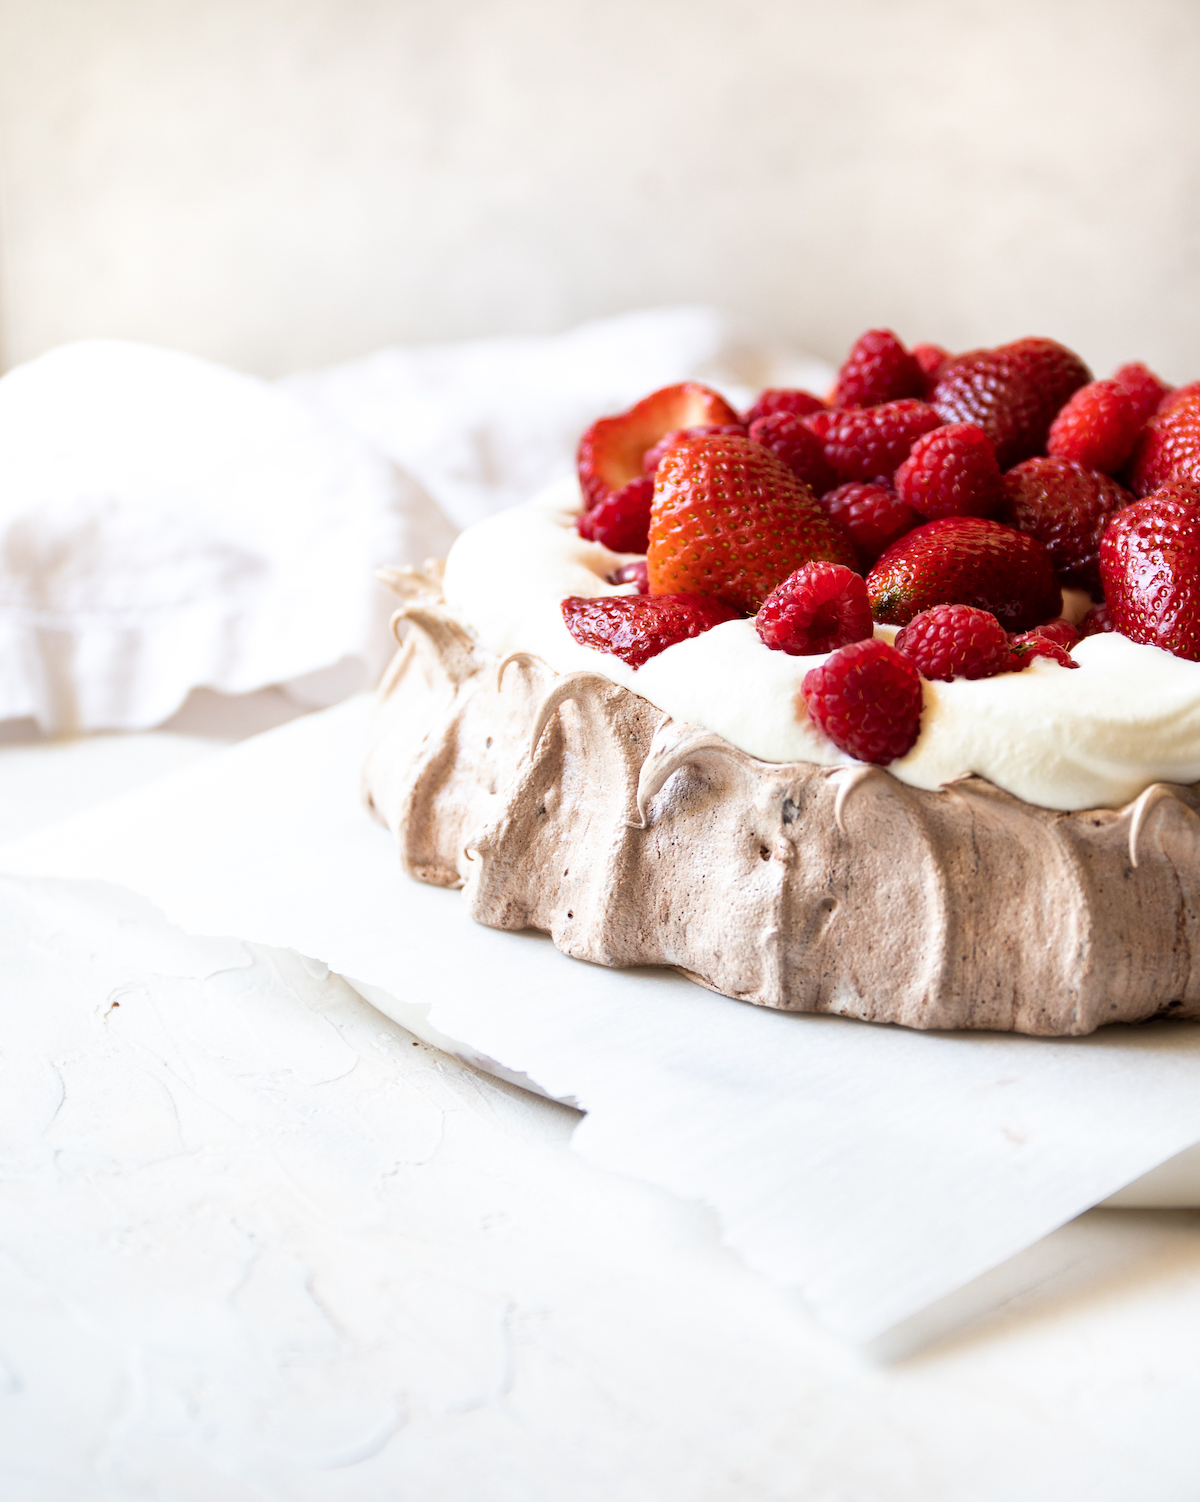
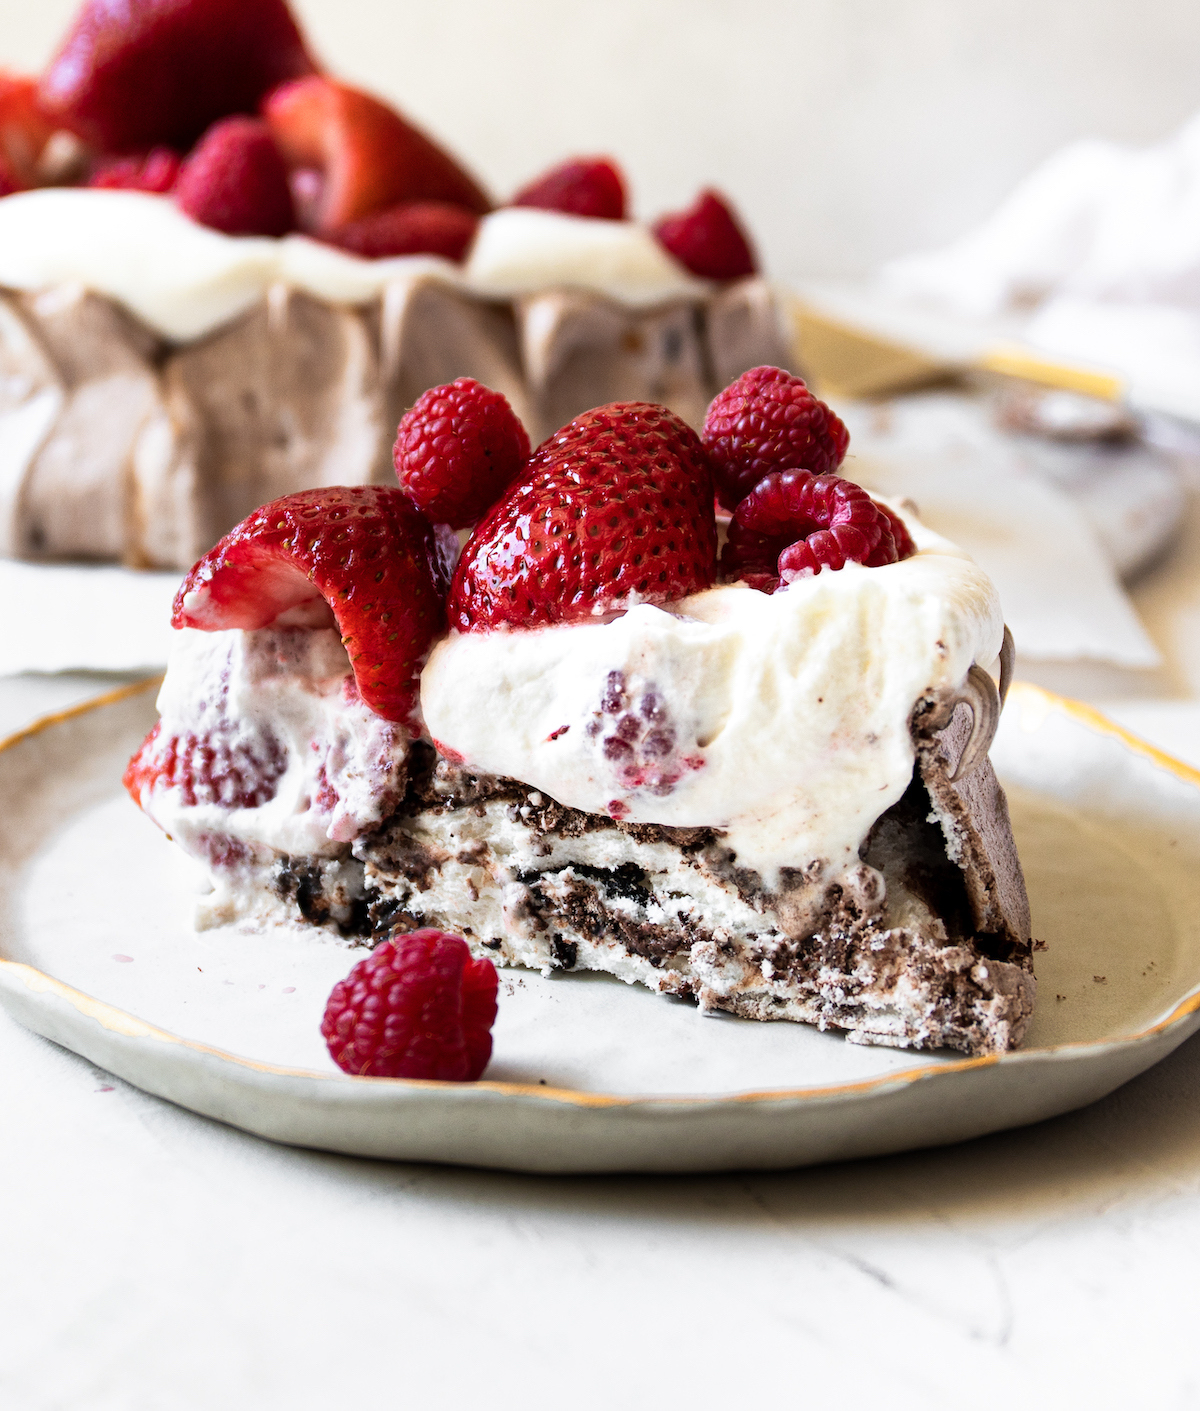
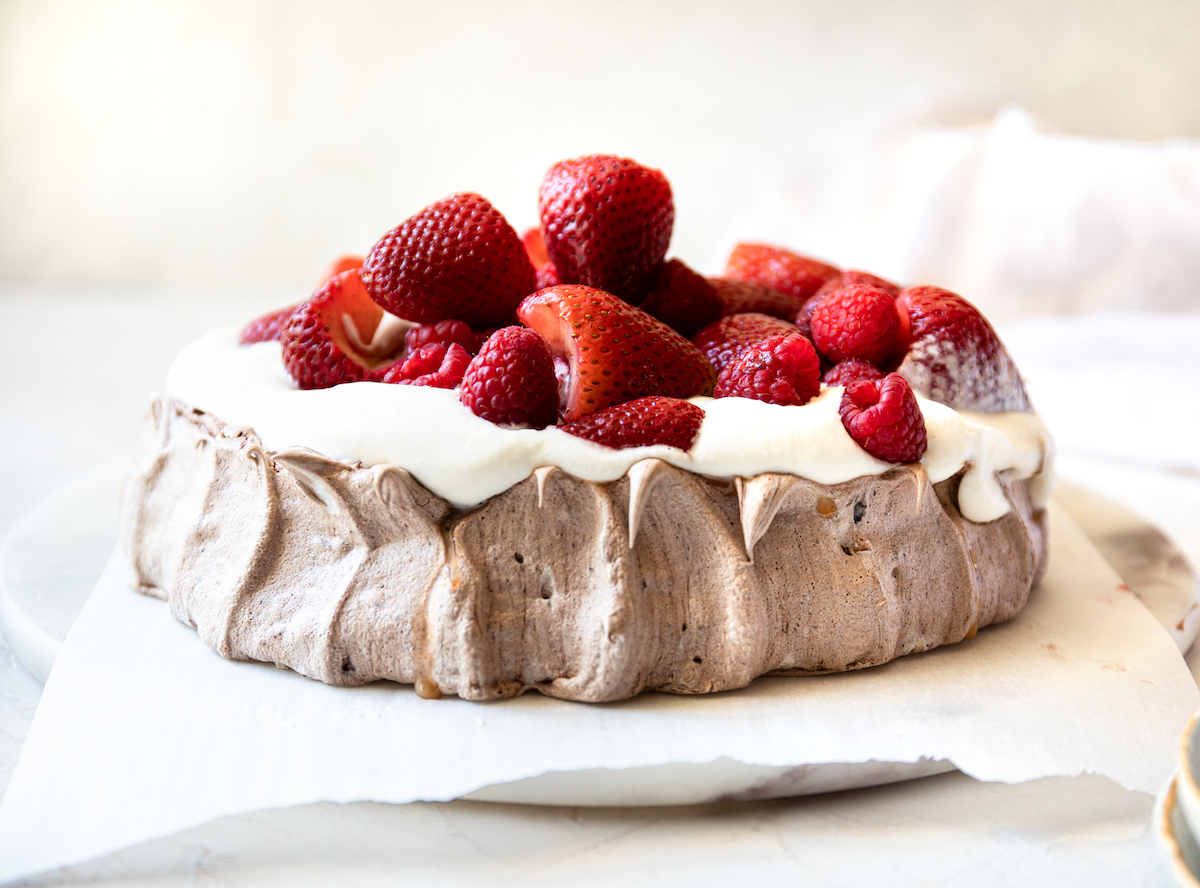
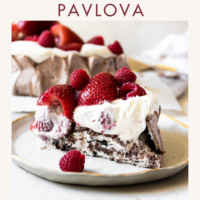
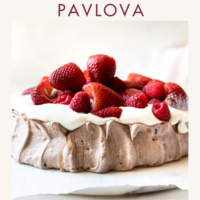
- It has a perfectly crispy exterior that gives way to a heavenly, chocolate marshmallow center
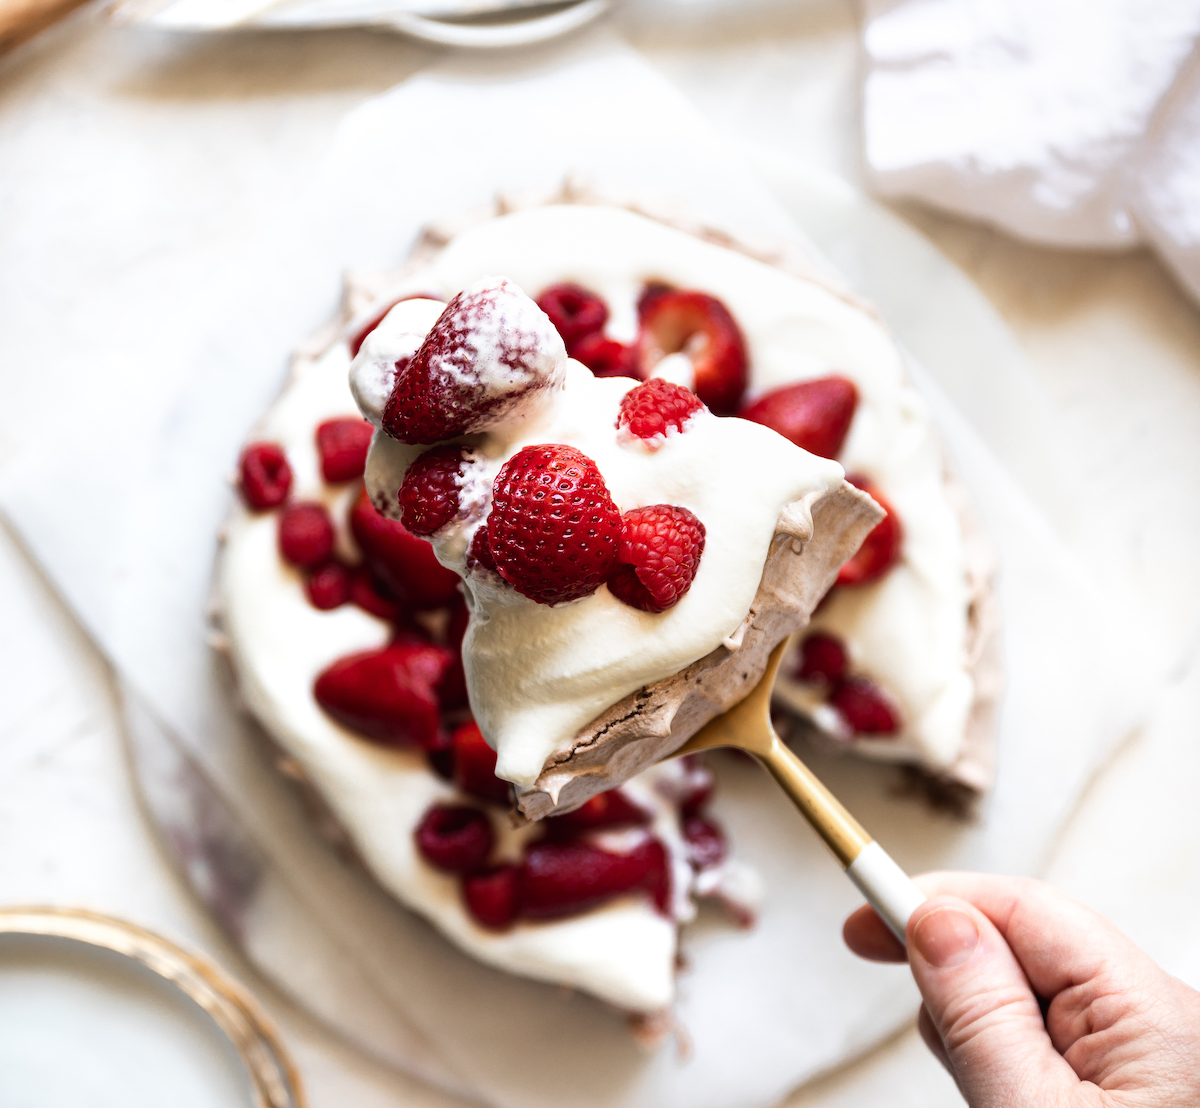
- Anything piled high with stabilized whipped cream (meaning we make it ahead of time!) and fresh berries is a win in my book.
- It’s super simple to throw together (I promise)
- Needs ample time to bake (2 hours), plus hours to cool down in the turned-off oven making it an ideal, make-ahead dessert
- I used strawberries and raspberries, but use any fresh berries you can find!
- I have tips below on troubleshooting as well as how to crisp it up if you did, indeed, make it ahead of time
What Type of Chocolate to Use for Your Pavlova
Finely Chopped Dark Chocolate
Use a nice dark chocolate for this pavlova. For this recipe, you can use chips, bars of chocolate, callets or discs. Pick a chocolate that you love the flavor of and make sure you chop it up until it’s very fine.
I love these baking chips and these are my most favorite Callebaut callets; I used both when testing this recipe.
Dutch-Process Cocoa Powder
Double chocolate (both chips and unsweetened cocoa powder) mean this pavlova has mega flavor (but also manages to *not* be a chocolate bomb, if you know what I’m saying).
I love this Hershey’s Dark as it’s easy to find and yields beautiful flavor + color; you can, however, use any unsweetened cocoa powder you have on hand.
Tips on Separating Egg Whites for the Perfect Pavlova
While your whole eggs are chilled and fresh from the fridge, separate them into bowls.
Have one bowl for the yolks (use a storage container that you can stash in the fridge or freezer until ready to use) and another one for the egg whites.
Make Sure Everything That Touches The Egg Whites is Freshly Cleaned & Dried
Before cracking and separating your eggs, make sure your hands are freshly washed and clean from any grease or lotions.
It’s incredibly important that anything that comes into contact with the egg whites (bowls, hands, whisks) is free from any oil or grease.
Don’t Use Egg Shells to Separate the Eggs for your Pavlova
I’m not a fan of using the shells of the egg to separate them, it’s too easy to puncture the yolks this way (and then you have to start over and you’ve wasted an egg).
Instead, crack the egg and then pour the yolk and white into your hands. Let the white fall into bowl below while your fingers keep the yolk from falling through.
Hot Tip!
Separate your egg whites from the yolks when your eggs are cold; it’s easier this way!
Step-by-Step Instructions for this Chocolate Pavlova Recipe
Below are step-by-step photos (with captions) to make your Double Chocolate Pavlova Recipe with Berries and Fresh Whipped Cream perfect every time! My biggest tips are:
- Have everything that comes into contact with your egg whites squeaky clean. I always wash my hands before separating eggs and make sure the mixer bowl and whisk are freshly cleaned and dried. Additionally, make sure nary a drop of egg yolk makes it into your egg whites or they won’t whip properly.
- Make sure slowly whip your egg whites to build structure and stability. Slowly whipping your eggs gives them enough time to cool to room temperature as well as creating good structure within the meringue. Don’t rush this step.
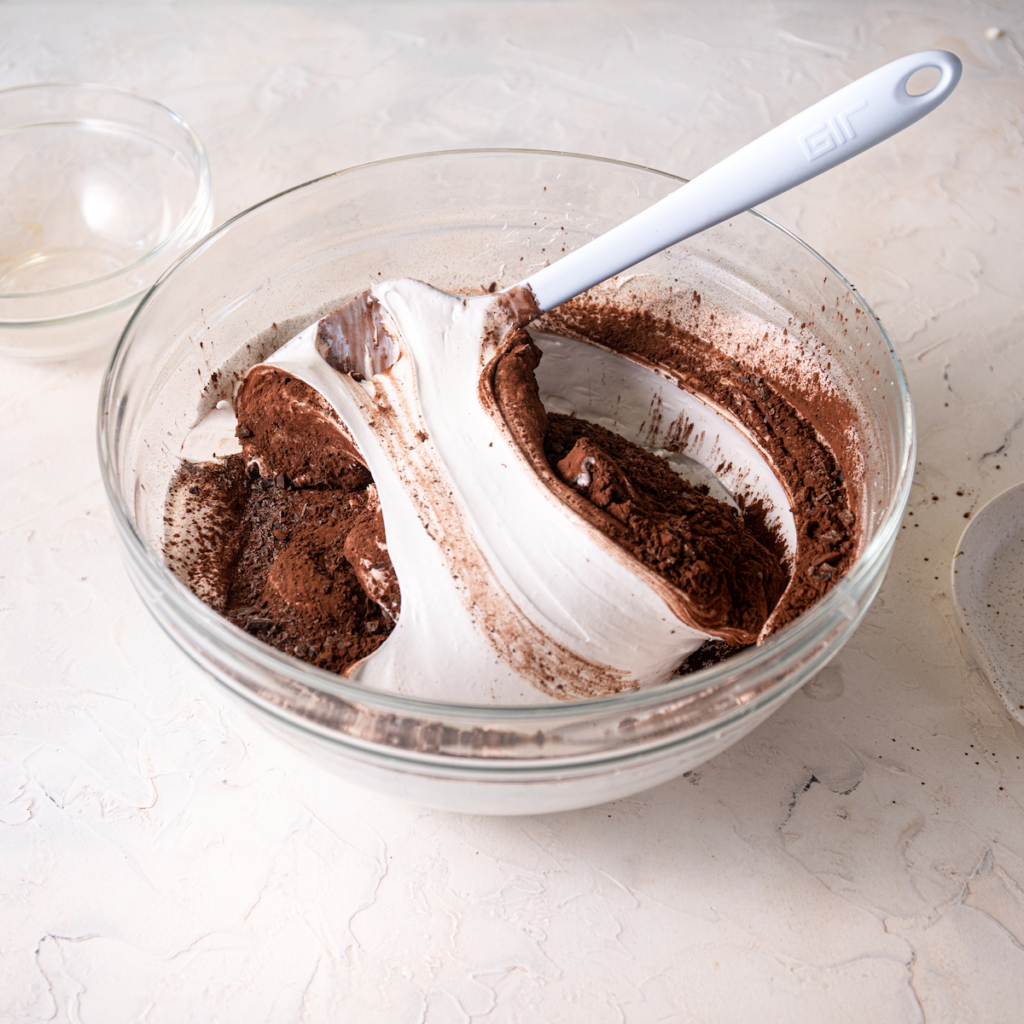
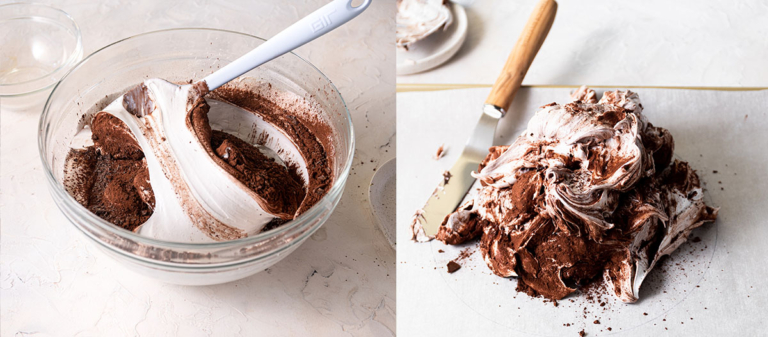
- Don’t mix the espresso powder, cocoa powder and chopped chocolate fully into your whipped eggs (you’ll deflate them). Instead, sprinkle all three over the top of your perfectly whipped meringue and do a couple of folds. It won’t look mixed enough. And when you put it on the parchment paper some of it will fall out and make a bit of a mess. That’s ok. As you shape and sculpt your meringue, it will all get mixed in. I promise.
- Bake for a long time! This pavlova bakes for a whopping 2 hours. This long and slow bake time gives it time to develop a crispy exterior and marshmallowy interior (heaven!). Additionally, give the meringue several hours to reach the proper texture. While the oven cools the exterior will continue to get crispy. If you test earlier it may still feel tacky.
What are STIFF PEAKS?
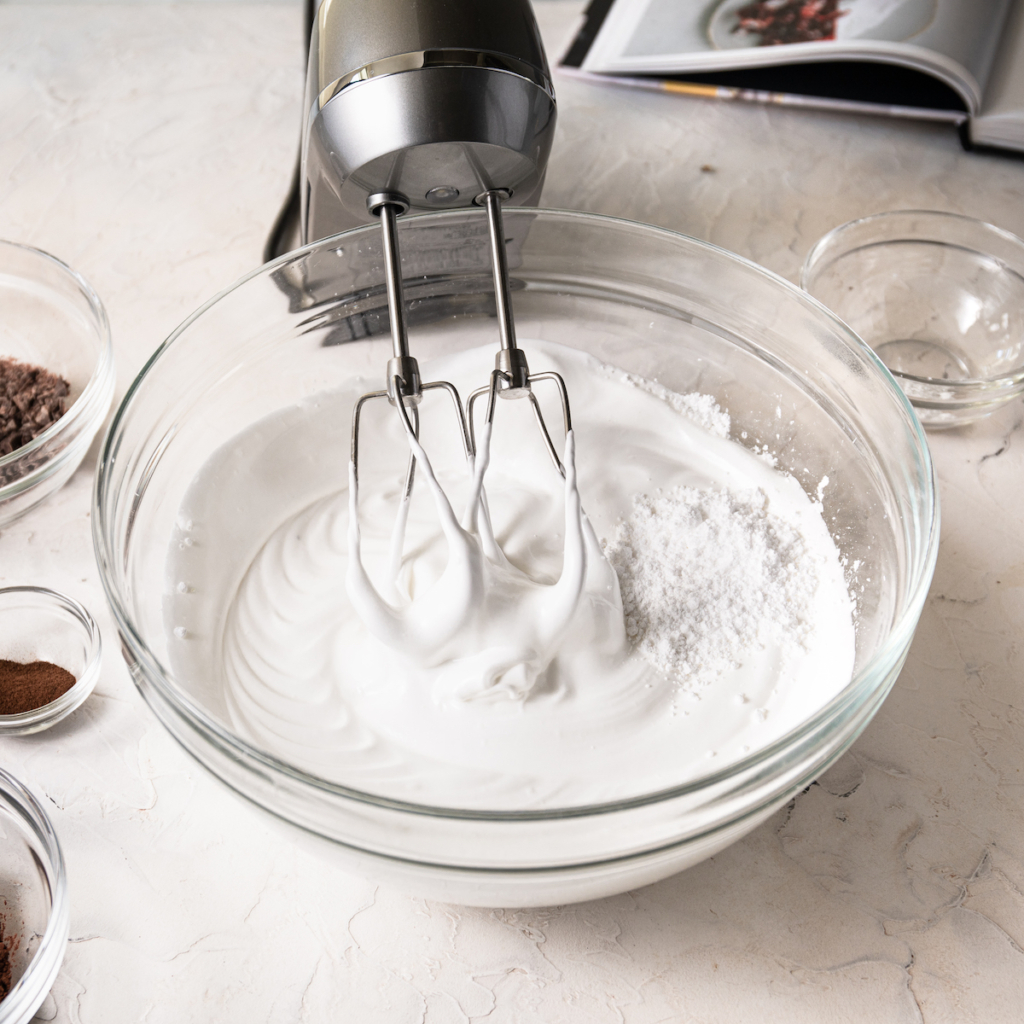
To get this pavlova perfect you want to whip your meringue until you have stiff peaks. To check, swirl the whisk throughout the meringue, pull straight up from the bowl and then invert the whisk. The tip of the meringue should slope barely to one side instead of pointing straight up. And that, my friend, is stiff peaks!


Pavlova Q&A
Why is my pavlova not crisp on the outside?
Humidity is pavlova’s nemesis. If your pavlova doesn’t have a crispy outer shell after baking and cooling it needs more time in the oven (see the notes below).
Additionally, for best results don’t test for crispiness as soon as it’s done baking as the exterior will still feel tacky at that point. Keep the oven door closed and let it cool completely (for hours).
Only after that time has passed will you truly be able to tell if it’s the proper consistency.
If your pavlova is still tacky and not crisp after all of that, then follow the instructions in the note below the recipe (it’s simple!).
What can I do with my extra egg yolks?
Store your egg yolks in an air-tight container in the fridge for several days. Sprinkle a little water over the tops to keep them moist.
If you’re looking for recipes to use the egg yolks, I love making Mark Vetri’s 9-Yolk Pasta from his cookbook Mastering Pasta if you’re interested in sacrificing more eggs.
I also LOVE these Chocolate Caramel S’mores Tarts (chocolate pudding filled!) or this Bright Lemon-Chocolate Tart.
Best Pavlova Baking Tools
These are the tools I used to make this pavlova:
Electric Stand Mixer (I prefer the Artisan to the Professional).
Or Breville Handheld Mixer, this one has a bunch of speeds, dough hooks, whisks. I was never a fan of handhelds until I got this one!
A whisk if you’re not using a mixer (bless); you’ll also need a spatula to scoop the meringue onto the baking sheet.
You’ll also need an awesome, sturdy baking sheet.
My trusty scale for precision.
I love this offset spatula for shaping my pavlova and making pretty swoops and swirls.
These heat-safe nesting glass bowls for whisking the egg whites and sugar.
For more fun shopping, check out my Shop (aka my favorite things!).
More Meringue Party Recipes
If you want to dive more into whipping up eggs and churning out something beautiful, take a look at these recipes: Fudgy, Chocolate Brownie Meringue Cake, Perfect French Meringues, Chocolate Orange Meringue Cookies (these are super fun to make!) or my favorite Chocolate French Macaron recipe (with Marshmallow Filling, swoon).
Looking for more cream of tartar recipes?! They are what makes a snickerdoodle a snickerdoodle! Try these Classic Super Soft Snickerdoodles, Five-Spice Snickerdoodles and my favorite Soft & Chewy Brown Butter Snickerdoodles.
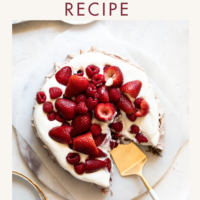
Enjoy your Chocolate Pavlova Recipe with Berries & Whipped Cream!

Perfect Chocolate Pavlova Recipe with Berries and Whipped Cream
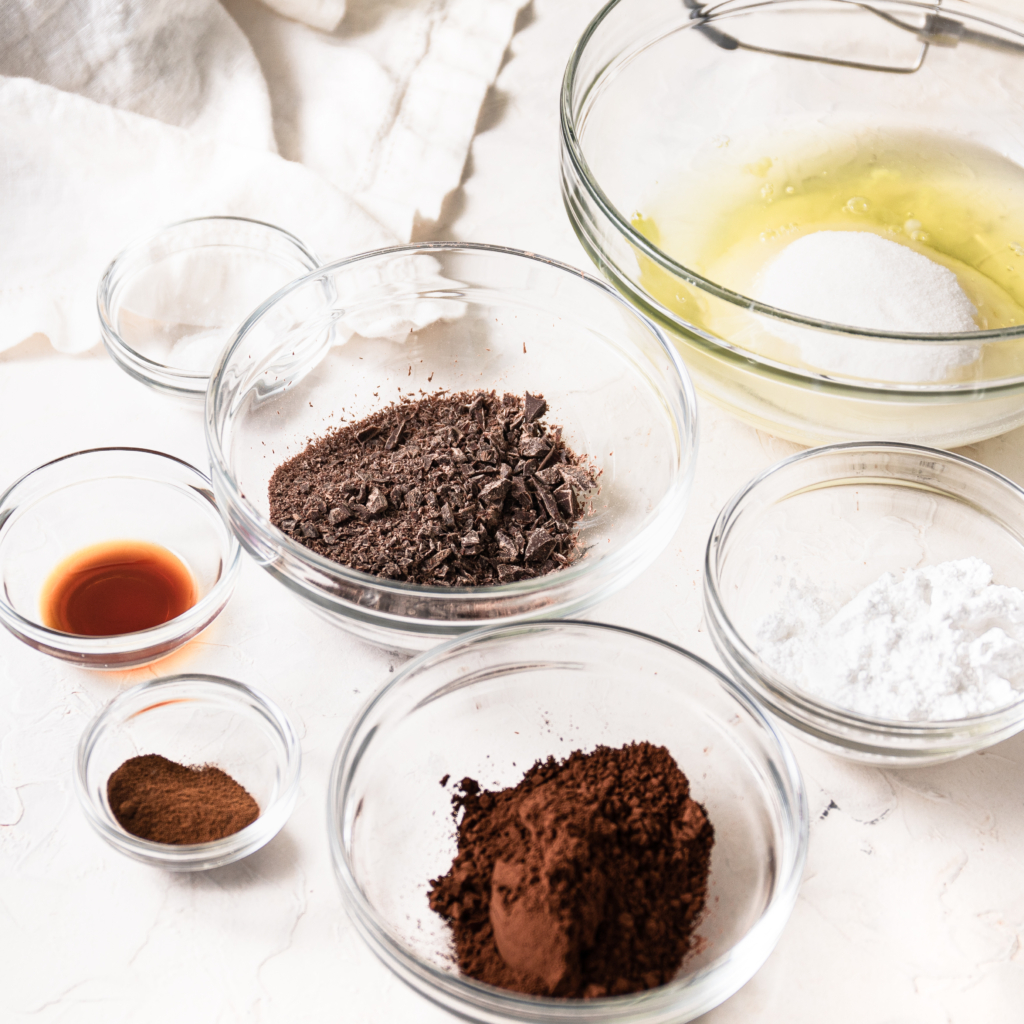
Ingredients
For the Pavlova
- 5 large egg whites
- 1 cup (200 g) granulated sugar
- 1 teaspoon (3 g) cream of tartar
- 1/2 teaspoon sea salt
- 1⁄4 cup (30 g) confectioners’ sugar
- 1 teaspoon (4 g) vanilla paste or real vanilla extract
- 1/3 cup (25 g) dark unsweetened Dutch-process cocoa powder (sifted)
- 1 teaspoon espresso powder (optional)
- 1/4 cup (43 g) dark chocolate (very finely chopped)
For the Berries
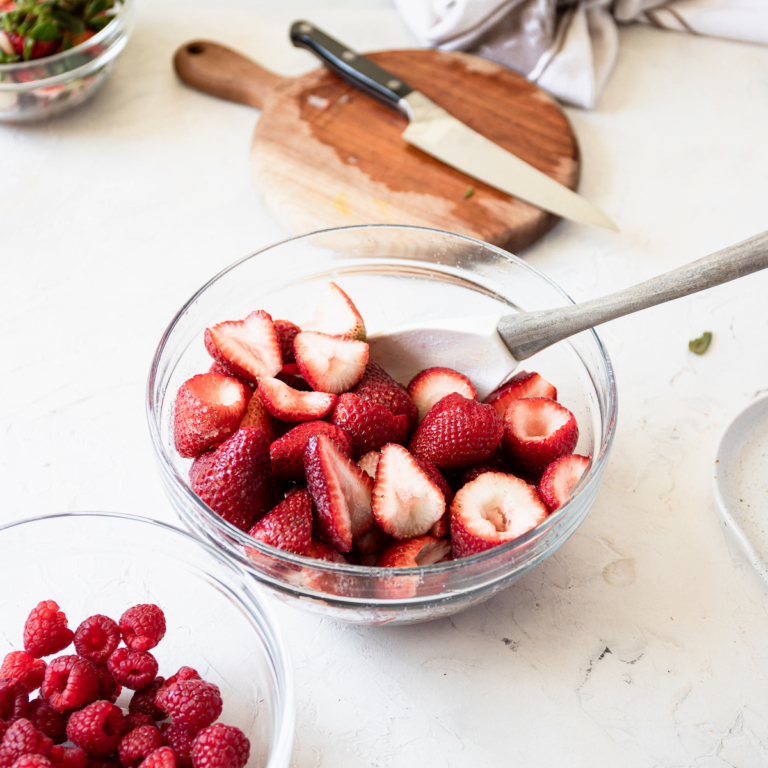
- 32 oz (908 g) fresh strawberries (washed, hulled and halved (I leave some smaller ones whole))
- 2 tablespoons granulated sugar
- 6 oz (170 g) fresh raspberries (gently washed and dried)
For the Stable Whipped Cream
- 1 batch Stable Whipped Cream
Instructions
For the Pavlova
- Preheat the oven to 350°F (177°C). Line a baking sheet with parchment paper. Draw a 9-inch (23-cm) circle on the parchment paper and then flip the parchment paper over. *Take note that you'll reduce the oven temperature to 200°F (93°C) as soon as you put the pavlova in the oven.
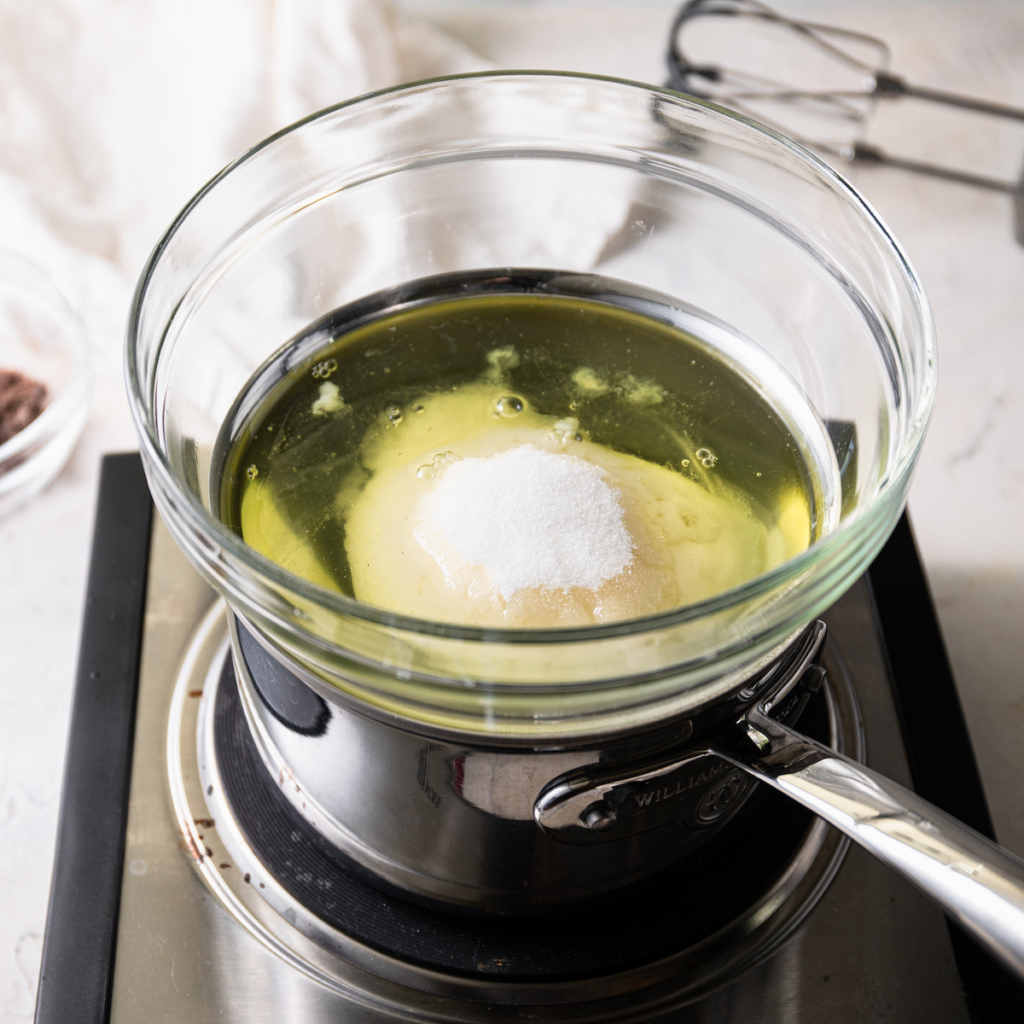
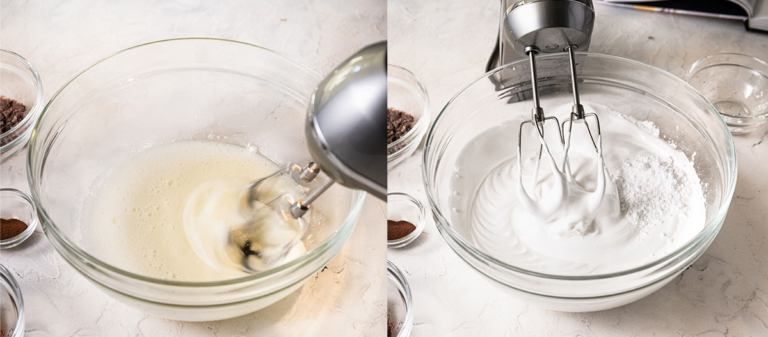
- Add the egg whites and sugar to a large bowl (make sure it's heat-safe) and set atop a saucepan of simmering water over medium-high heat. Do not allow the bottom of the bowl to touch the water. Whisk until the mixture is thick and frothy, the sugar is melted (rub some between two fingers; if it feels gritty, keep whisking). This should take about 3 to 5 minutes.

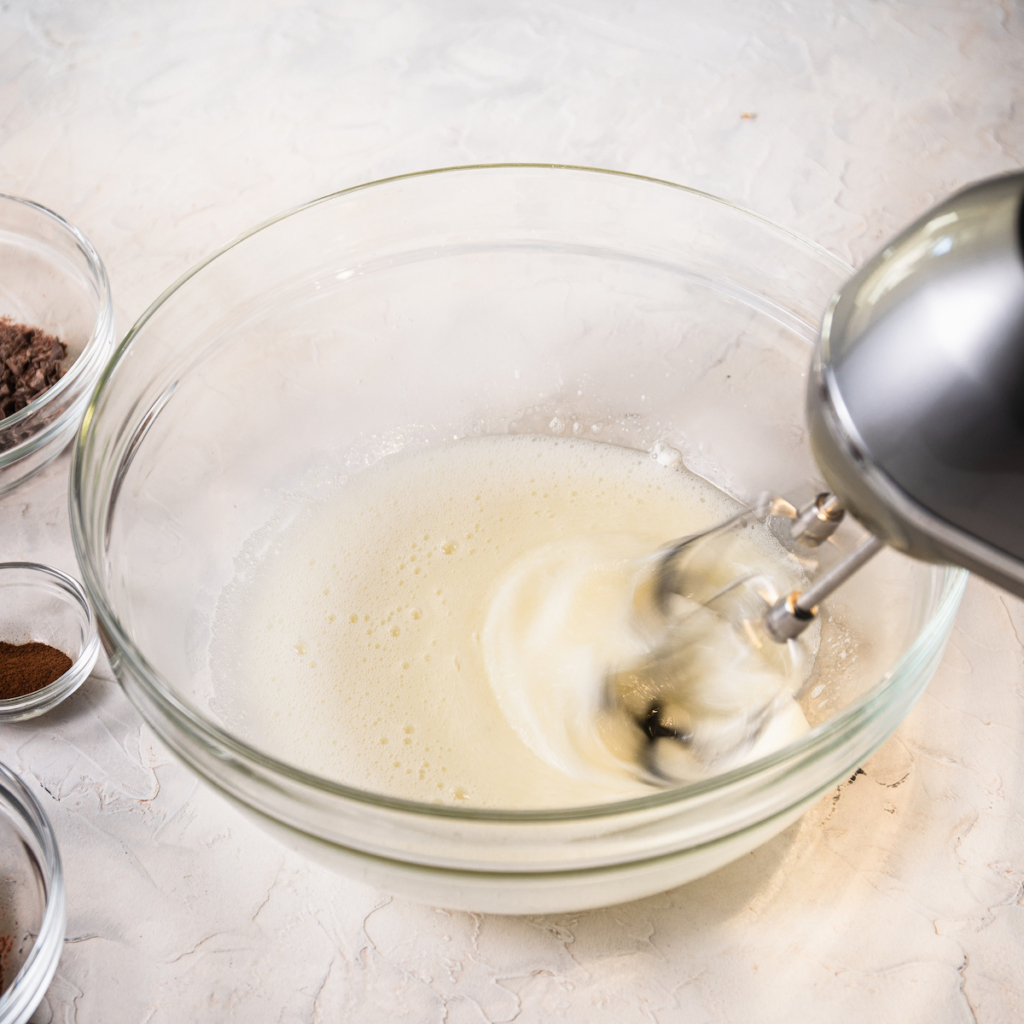
- Remove the bowl from the heat, transfer the sugar-eggs to the bowl of a stand mixer fitted with the whisk attachment and add the cream of tartar and salt. Mix on medium speed until you have stiff glossy peaks and the meringue is cool to the touch, about 8 minutes (don’t rush it). Add the confectioners’ sugar and vanilla and whisk on high for 1 minute more until stiff peaks return. When inverted, the tip of the meringue should point just off to the side (not quite straight up).

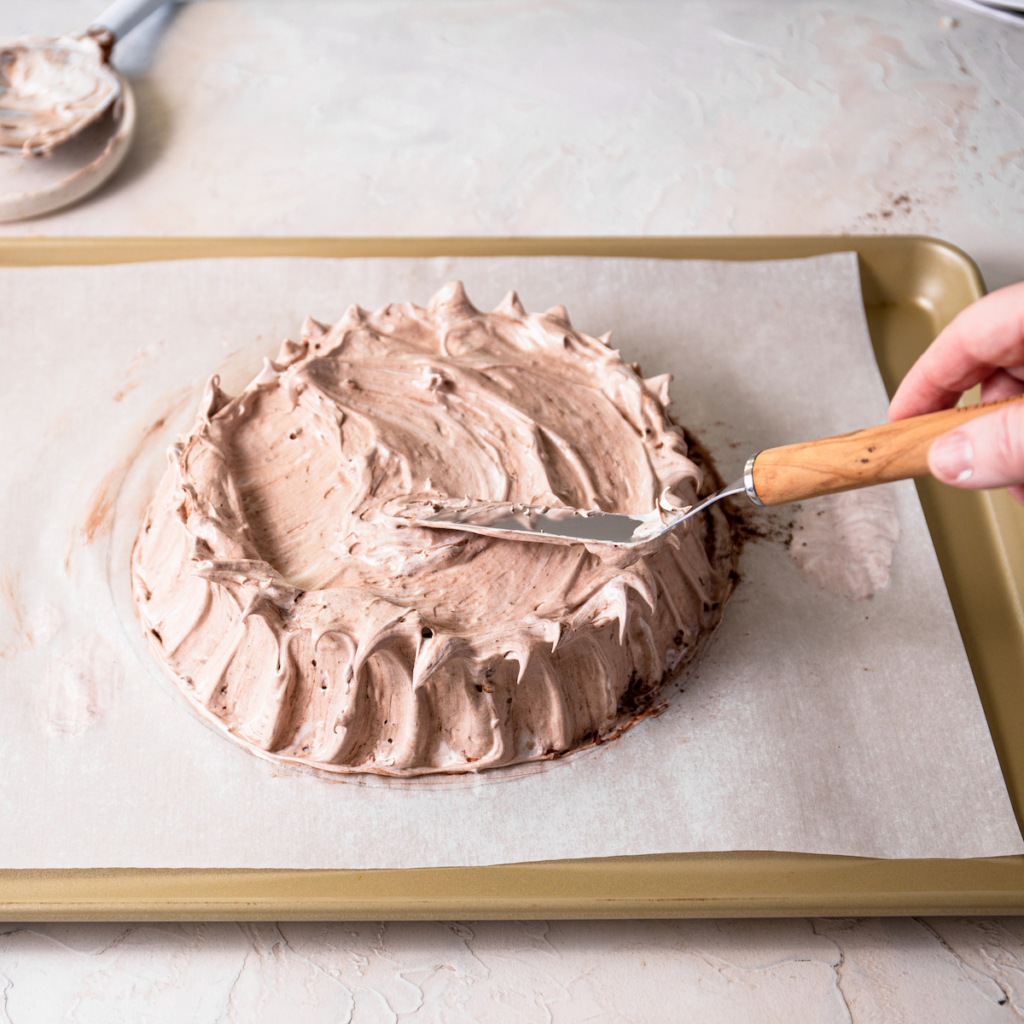
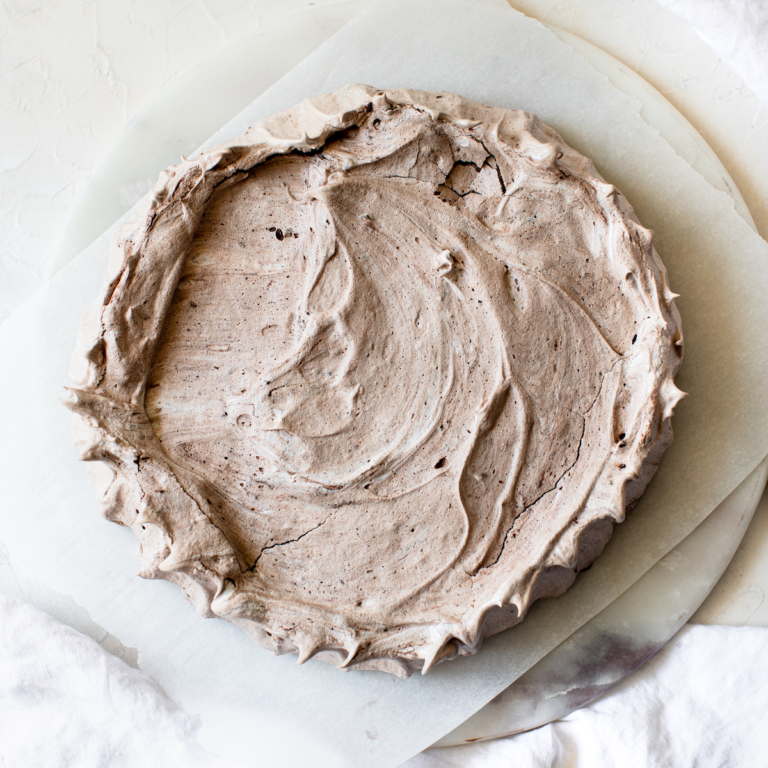
- Sprinkle the cocoa powder, espresso powder and chocolate over the top of the meringue and give it 2 or 3 folds. It will not be combined. Spoon meringue onto center of the circle you drew on the parchment paper (on the prepared baking sheet). It will be a bit messy with loose chocolate and cocoa powder, but that's ok (see video). Use an offset spatula or the back of a spoon to sculpt the meringue into a round, flat disc that fits inside the 9-inch (23-cm) circle you drew. Don’t overwork or over-mess with the meringue. It may look messy but that’s it’s magic.
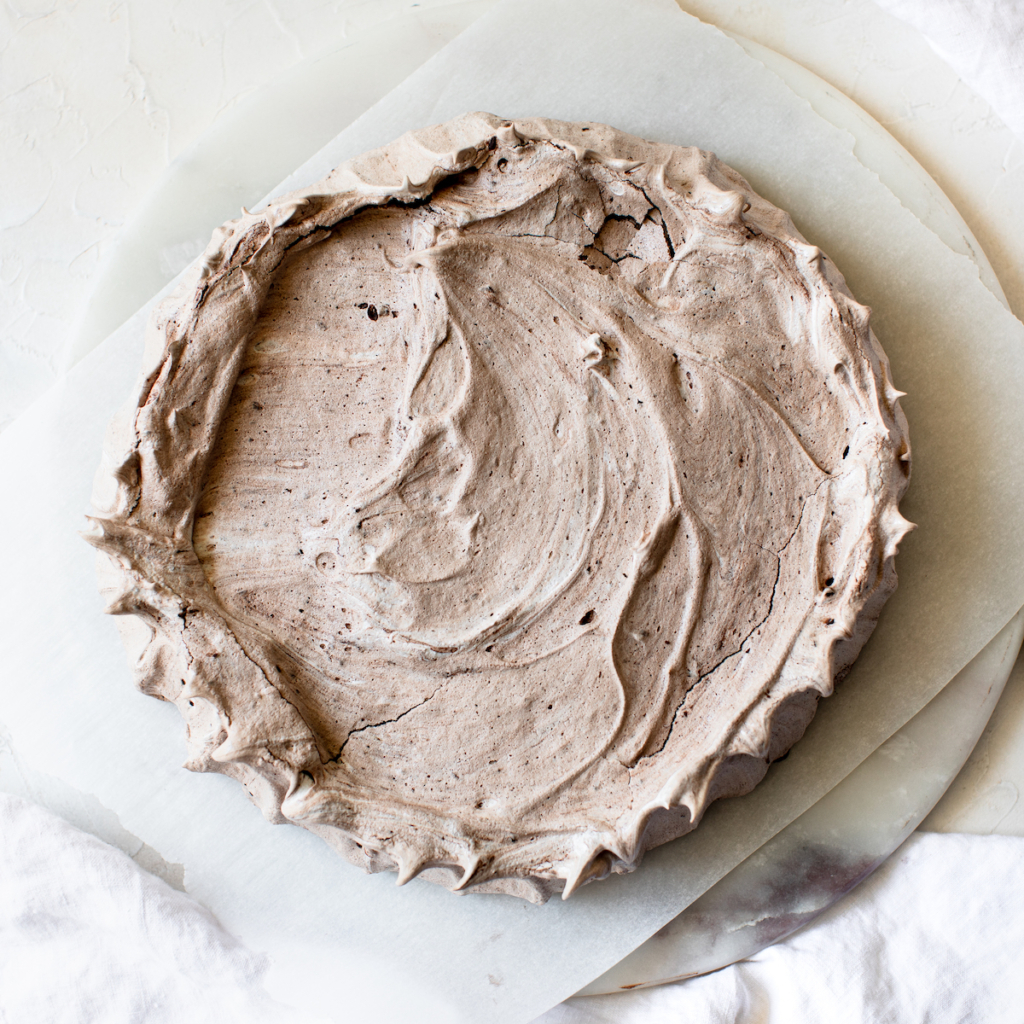
- Place the pavlova in the center of the preheated oven and immediately reduce the oven temperature to 200°F (93°C) and bake for 2 hours. Once done, let it sit in the turned-off oven with the door closed until it has cooled to room temperature. When done, it should have a crisp outer shell and marshmallowy center. It will take several hours to cool and become the correct consistency. Leave in the turned-off oven until ready to serve.

For the Berries
- In a medium bowl, toss the strawberries with the sugar and let sit for at least 1 hour and up to overnight in the fridge. You won't need the raspberries until serving.
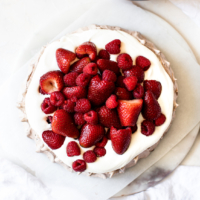
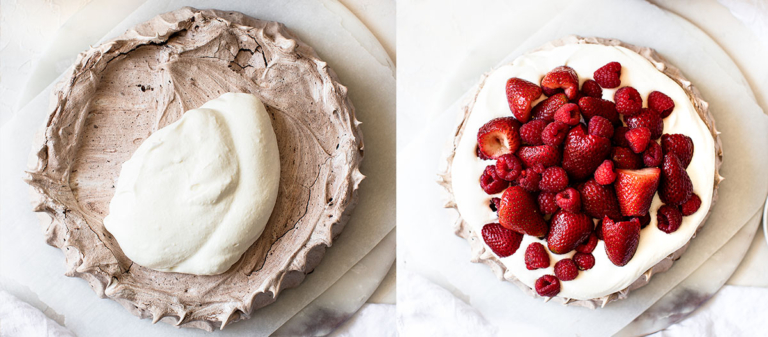
To Assemble
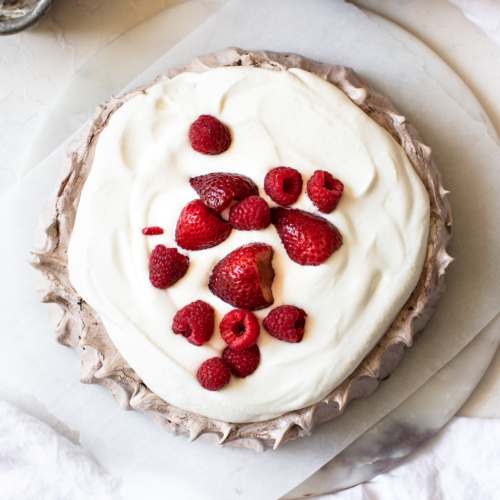
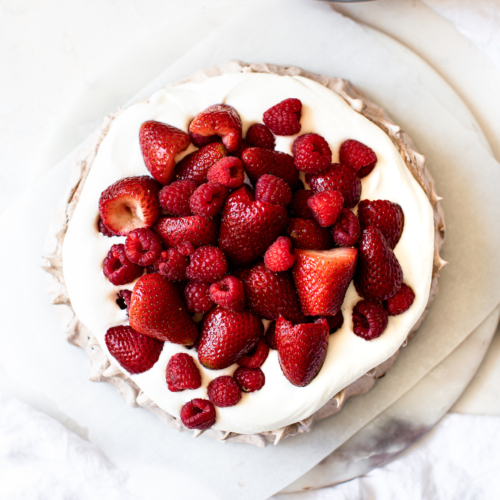
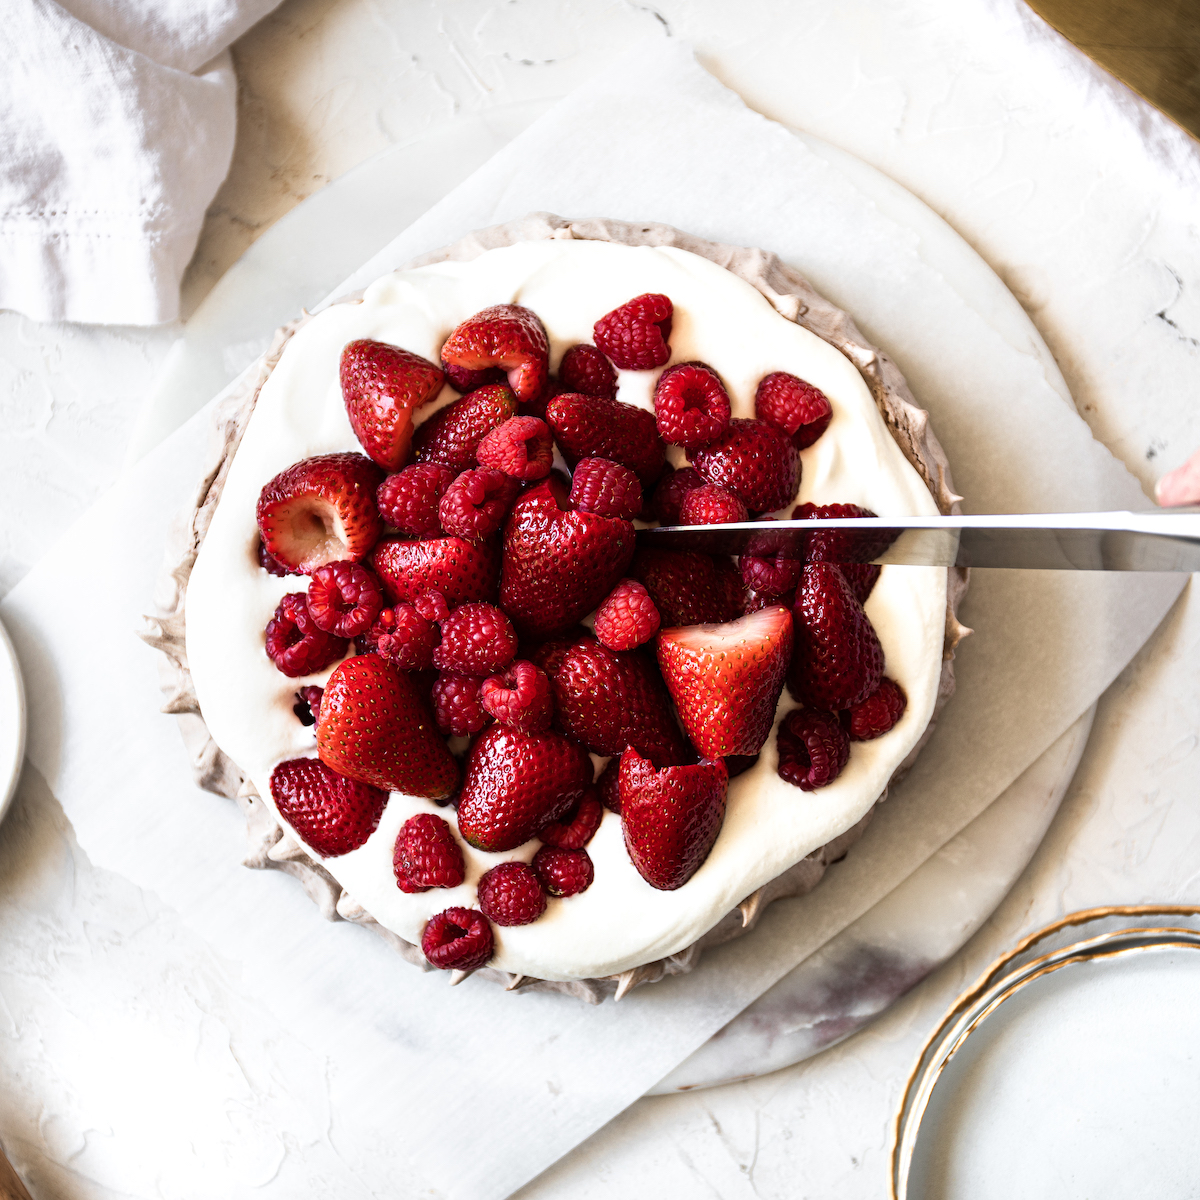
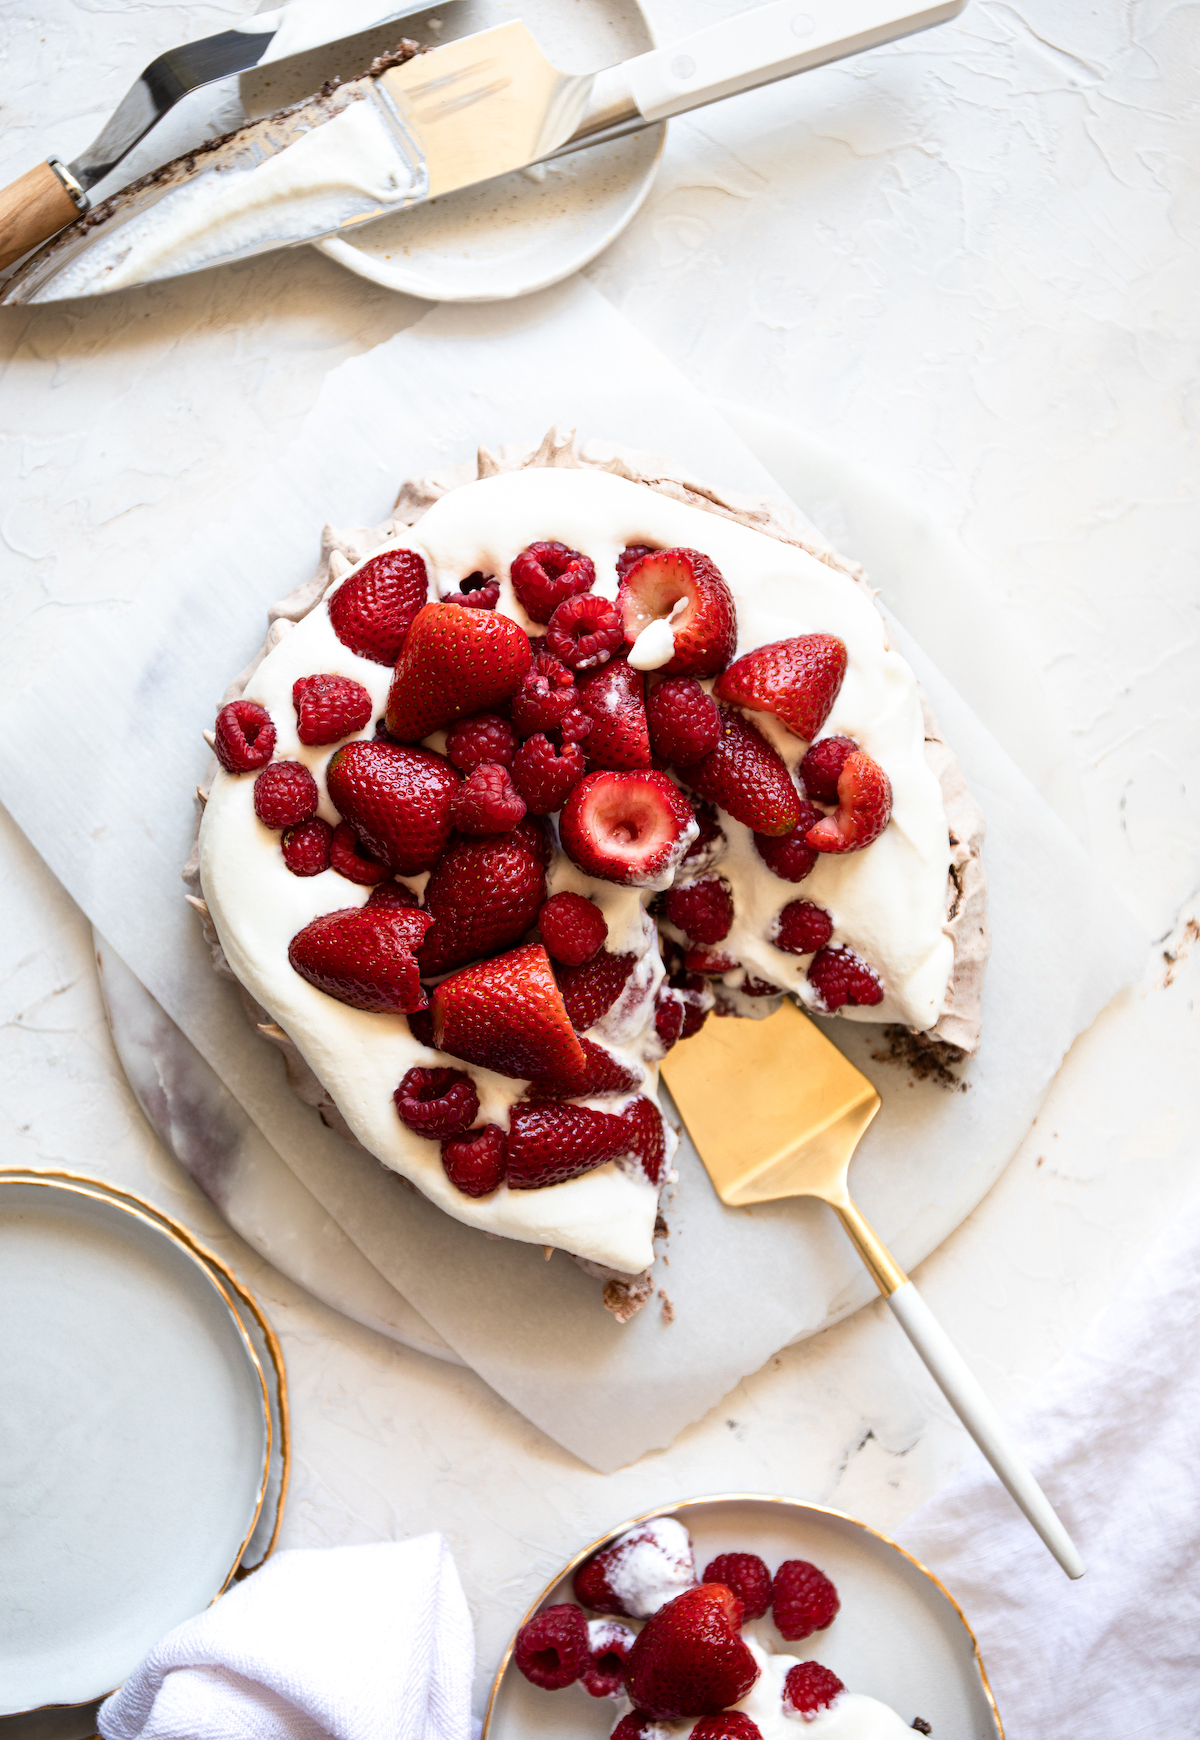
- Set the pavlova on a serving platter and top with a high, pillowy layer of whipped cream. Add half of the strawberries on top of the whipped cream (straining out any excess liquid). Add the raspberries and serve with the remaining strawberries on the side.

Looks delicious and very doable.
It’s so good and easy, you will love! xo